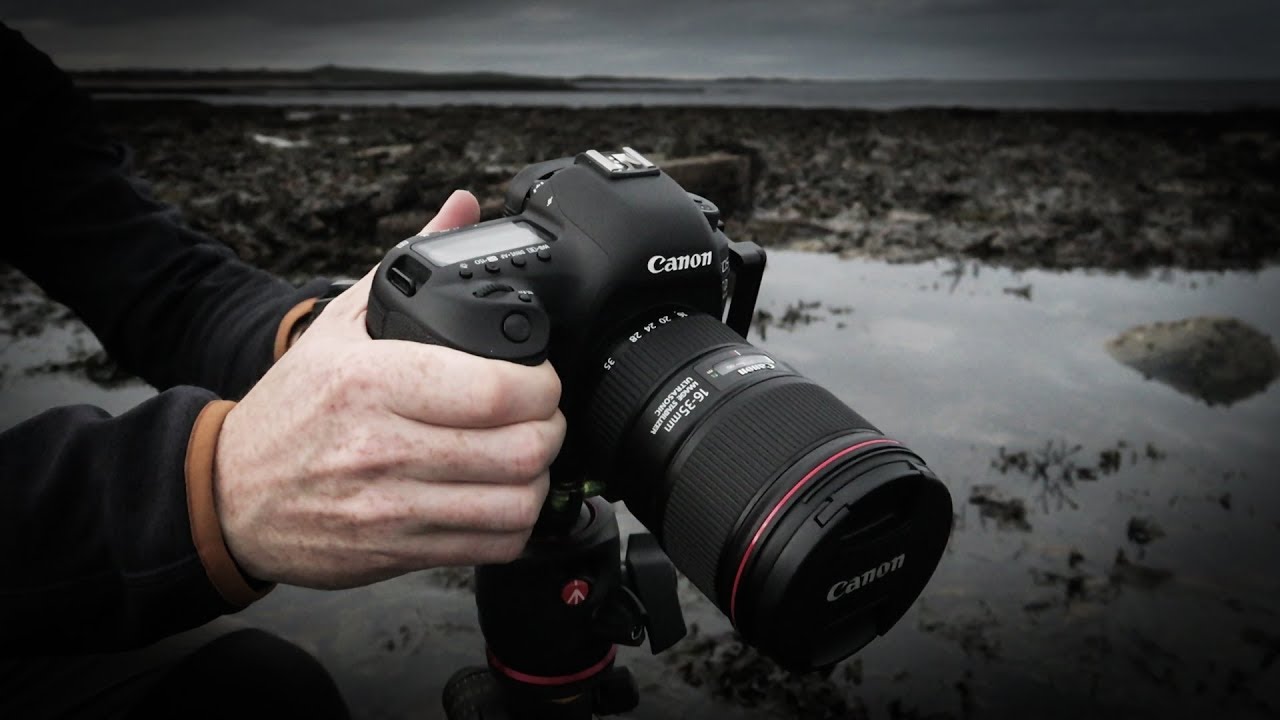
I resisted buying a wide angle lens for a long time. My logic was the same logic a lot of budget-minded shooters use: the kit lens covers 18mm, that’s basically wide, close enough. Then I started shooting more outdoor work around Colorado and kept running into the same wall. I’d find incredible foreground detail, rocks or wildflowers or ice patterns, and no matter how I framed it, my 24mm equivalent just couldn’t pull the scene together. The foreground felt small, the background felt disconnected, and the whole image fell flat. I’d lost the sense of depth that made the location worth shooting in the first place.
That frustration sent me down a rabbit hole of wide angle tutorials, and the one that actually changed how I think about ultra-wide focal lengths is this one from landscape photographer Thomas Heaton. Watch the full tutorial on YouTube. What I appreciate about Heaton’s approach is that he’s not theorizing from a studio. He takes a brand new lens out into genuinely bad weather and works through the learning curve in real time. That’s the kind of teaching that actually sticks.
This isn’t a gear tutorial dressed up as a technique video. Heaton uses his own decision to sell a premium prime and pick up a Canon 16-35mm f/4 as a jumping-off point, but the real subject is compositional thinking. Here’s how I’d break down what he demonstrates, step by step.
Step 1: Choose Your Focal Length Based on How You Actually Shoot
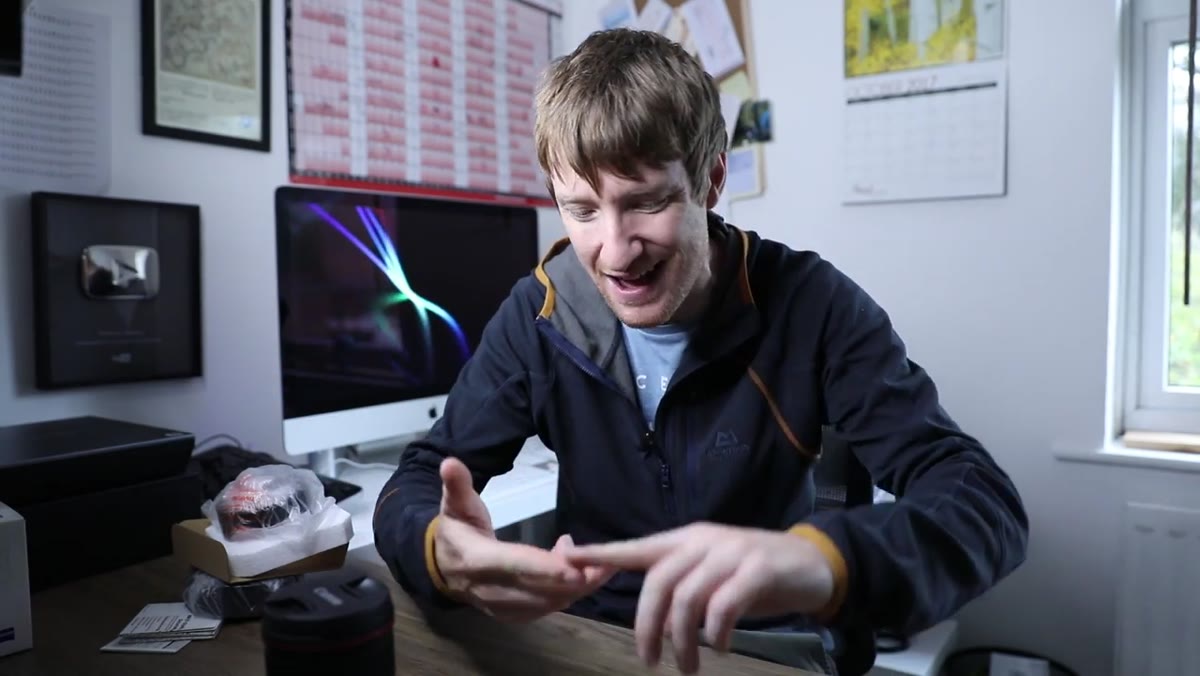
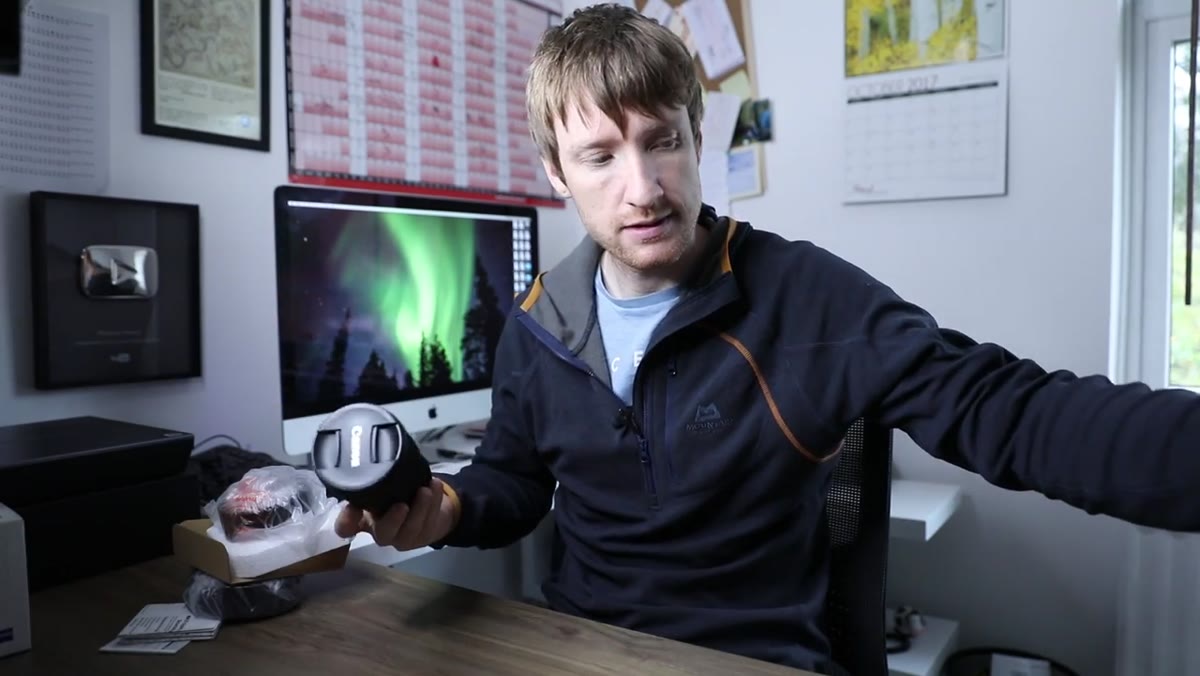 Heaton explaining f/4 vs f/2.8 tradeoffs at his desk
Before you ever touch a wide angle lens in the field, you need to be honest about your shooting style. Heaton walks through his own reasoning: he shoots landscapes at sunrise and sunset, almost never shoots astrophotography, and rarely goes below f/5.6. That thinking led him away from the heavier, more expensive f/2.8 version and toward the f/4, which is lighter and significantly cheaper. The optical difference at f/11, which is where landscape photographers spend most of their time, is essentially zero in real-world output.
The lesson here isn’t “buy the f/4.” It’s that you should be making gear decisions based on your actual shooting habits, not on specs that sound impressive. If you’re never going to use a feature, you’re just paying for weight.
Step 2: Identify the Real Problem Wide Angle Solves
 Heaton describing foreground emphasis concept before heading out
Wide angle lenses are not for “getting everything in.” Heaton is direct about this. The mistake most beginners make is treating ultra-wide focal lengths as a way to capture more of a scene, like zooming out until the whole vista fits. That approach almost always produces flat, empty-looking images with no clear subject.
The actual power of a wide angle lens is in foreground exaggeration. When you get physically close to something on the ground, a wide lens stretches that foreground element dramatically, making it feel massive and immediate while still capturing the full background. That tension between a large foreground subject and a sweeping background is what creates the sense of depth and scale that makes landscape images compelling.
Step 3: Get Low and Get Close
 Heaton crouching near the beach to position himself close to foreground elements
This is the technique that actually separates good wide angle shots from mediocre ones, and it requires you to physically commit. Heaton demonstrates getting down low to the ground, sometimes nearly flat, and positioning the camera just inches from a foreground subject. At 16mm, being a foot away from a rock or a patch of texture makes it look enormous in the frame.
The specific mechanics: get your tripod as low as it goes, or ditch it and shoot handheld close to the ground. Tilt the camera slightly downward to keep your foreground element in the lower third of the frame, then let the lens naturally stretch the perspective toward whatever is in the background. You’re using physics here. The wider the lens and the closer you are to the foreground, the more dramatic the depth compression becomes.
Step 4: Let the Conditions Shape the Shot
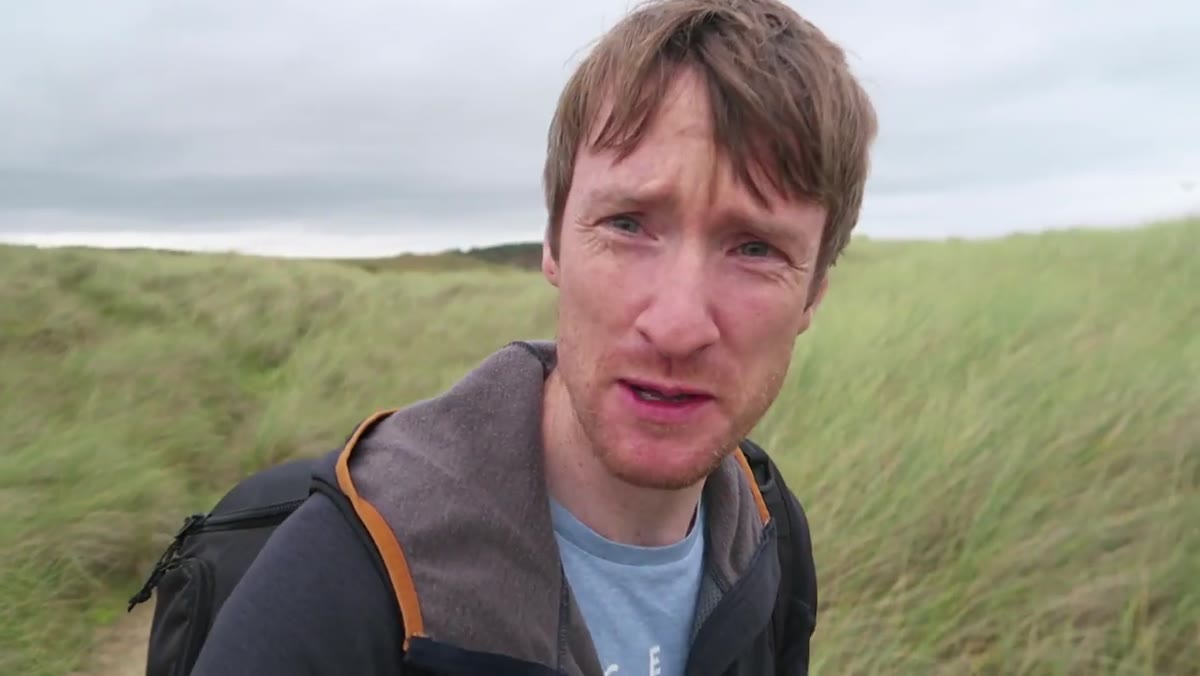 Grey overcast sky above the beach as Heaton scouts for compositions
One thing Heaton does well is resist the urge to wait for perfect light. He heads out in grey, flat, genuinely unpleasant weather and shoots anyway, specifically because the conditions are part of the story. Overcast skies mean even lighting across the foreground, which can actually make textured foreground subjects, wet sand, pebbles, tide pools, look better than they would in harsh direct sun.
The practical takeaway is to stop treating bad weather as a reason to stay home. Adapt your subject selection to what the light is actually doing. Soft grey light calls for shots with strong texture and pattern, not the kind of dramatic sky work you’d do at golden hour. Match the technique to the conditions.
Step 5: Use Your Background as an Anchor, Not the Subject
 Heaton describing using cliffs, waves, and buildings as distant anchors
Once your foreground is established, the background becomes a supporting element. Heaton talks about using a cliff, a wave, a building, or any strong visual anchor in the distance to give the eye somewhere to travel after it moves through the foreground. The wide lens does the work of connecting them, but you need to make sure the background element is actually worth looking at.
Practically, this means scouting your location with the background in mind before you lock in your foreground position. It’s easy to get fixated on a great foreground detail and then realize the background is a parking lot or a flat horizon with nothing on it. The two elements need to work together, and the wide angle lens will expose the relationship between them ruthlessly.
What I’d Add from My Own Testing
Heaton’s tutorial focuses almost entirely on the creative side, which is exactly right for a technique video. But there’s a practical issue he doesn’t cover that bit me the first few times I shot wide: depth of field management at close focus distances.
When you’re six inches from a foreground rock at 16mm, you might assume everything is sharp because wide lenses are known for deep depth of field. That assumption will cost you shots. At very close focus distances, even at f/8 or f/11, your nearest foreground can still be soft. I learned to shoot a focus bracket when the foreground is that close, one shot focused on the foreground detail and one focused at infinity, then blend in post. It adds two minutes to the workflow and saves the image. Heaton’s an experienced shooter who probably does this instinctively, but if you’re newer to ultra-wide work, it’s worth building into your process from day one.
The single most important thing Heaton communicates, and the thing I wish someone had told me earlier, is that a wide angle lens is a foreground lens. It rewards photographers who get physically low, physically close, and think about depth rather than coverage. If you’re using it to simply fit more into the frame, you’re working against it.
Watch the full tutorial on YouTube to see Heaton demonstrate these techniques in real conditions. Watching him work through an actual scouting session, including the shots that don’t work, is worth more than any gear spec sheet.
Comments (3)
Clear and practical. No fluff. Appreciate that.
Been doing this wrong for years apparently. Thanks for the wake-up call.
The before and after really sells it. Incredible difference.
Leave a Comment