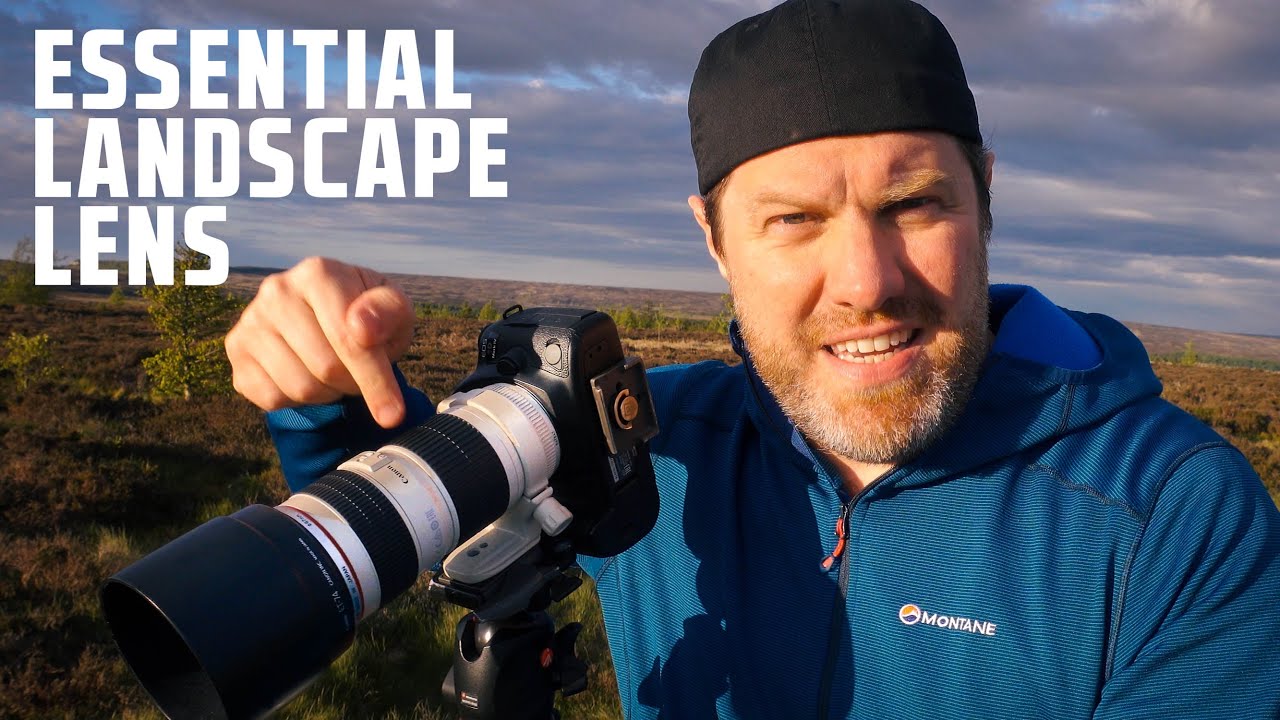
Every landscape photographer I know owns a wide-angle lens. Most of them own two. I get it — wide-angle feels like the obvious call when you’re standing in front of a mountain range or a sweeping coastline. For a long time I defaulted to the same instinct. The problem is that “sweeping and epic” starts to look the same after a while, both in your own portfolio and across every Instagram feed you’ve ever scrolled.
What actually changed my thinking was a Watch the full tutorial on YouTube from Adam at First Man Photography, where he takes a 70-200mm lens into the field and builds a compelling case that the telephoto range might be the most creatively exciting focal length for landscapes. Not the most popular. Not the most obvious. The most exciting. I’ve tested enough budget 70-200 options to know this focal range is accessible at multiple price points, so the technique itself is the real barrier for most people, not the gear.
Adam shoots the whole thing in real conditions — cold wind, moving subjects, unpredictable light — and talks through his settings as he goes. That combination of field decision-making and honest tradeoffs is exactly what makes it worth breaking down step by step.
Step 1: Shift Your Mindset From “Epic Scene” to “Hidden Detail”
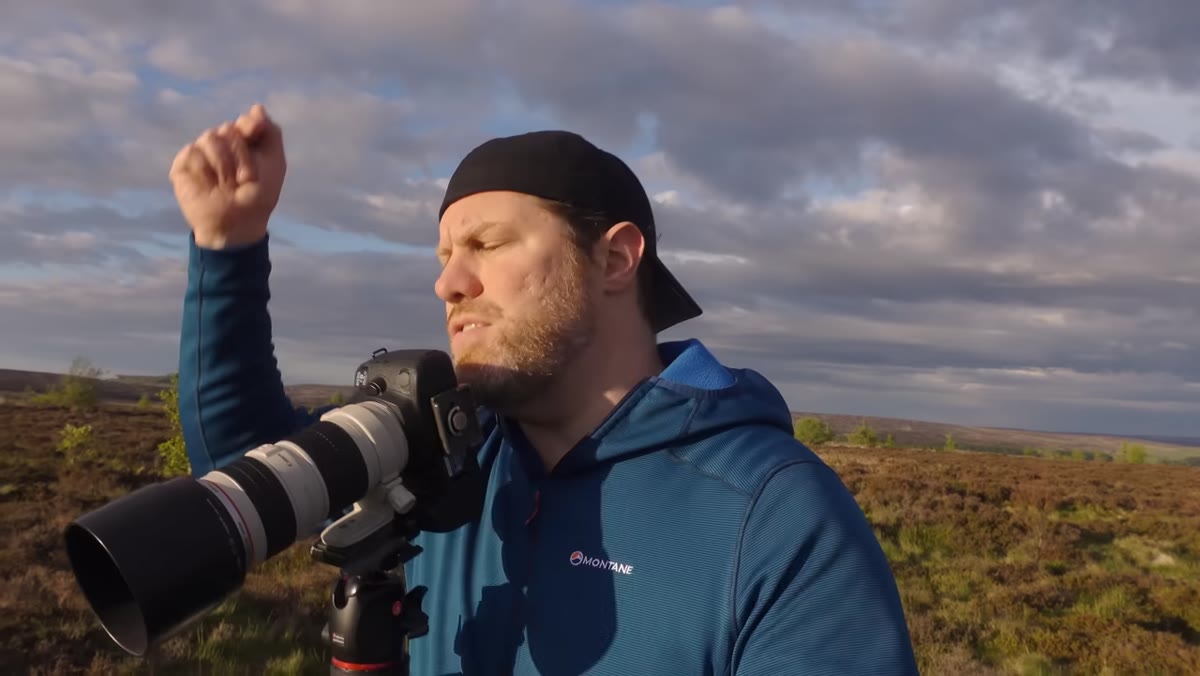
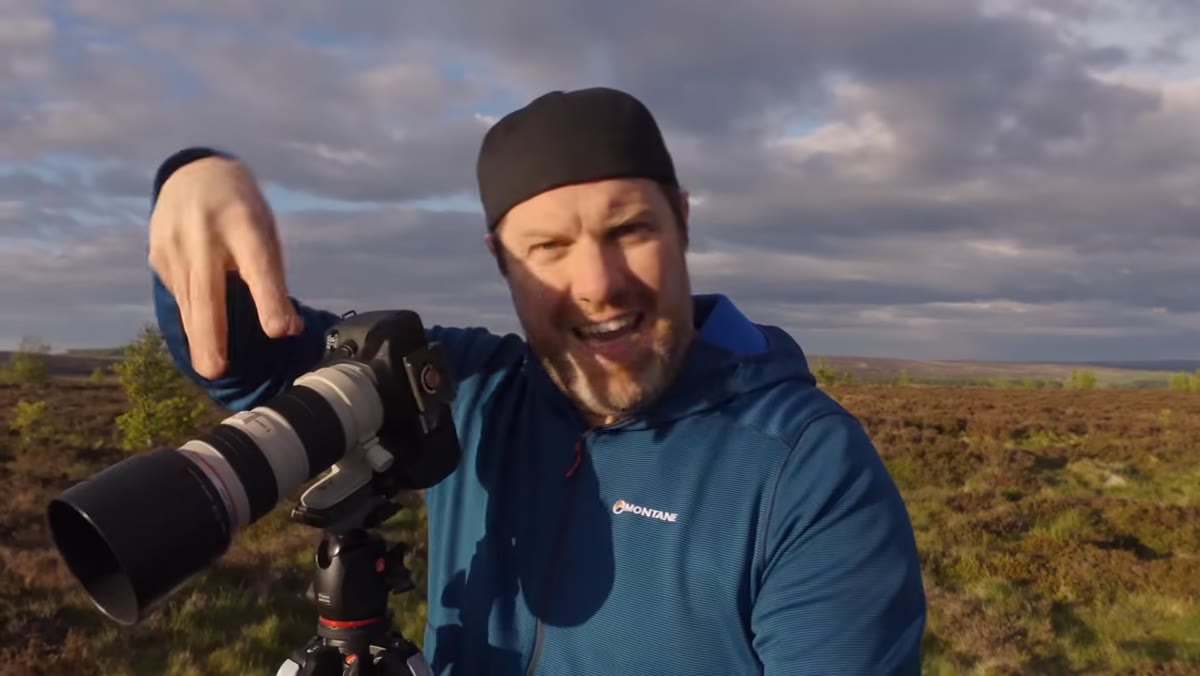
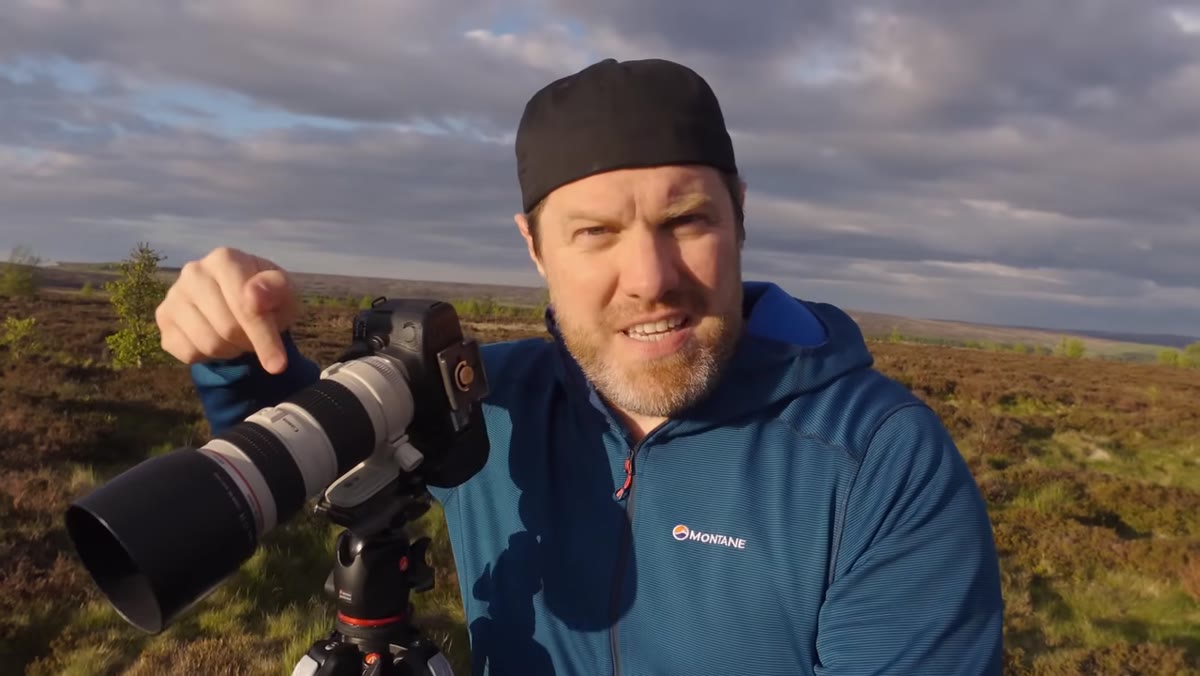 Adam walking through landscape, 70-200 lens mounted on camera
The first and most important move Adam makes isn’t with his camera, it’s with his eyes. He isn’t looking for a grand composition when he heads out. He’s scanning for small, specific things that catch his attention — a detail that would be invisible or meaningless at 24mm but becomes a complete image at 150mm or 200mm. Think isolated trees, a patch of light falling on a single rock, texture in a hillside that reads as abstract when compressed. Train yourself to ask “what does the telephoto version of this scene look like?” before you even raise the camera.
Adam walking through landscape, 70-200 lens mounted on camera
The first and most important move Adam makes isn’t with his camera, it’s with his eyes. He isn’t looking for a grand composition when he heads out. He’s scanning for small, specific things that catch his attention — a detail that would be invisible or meaningless at 24mm but becomes a complete image at 150mm or 200mm. Think isolated trees, a patch of light falling on a single rock, texture in a hillside that reads as abstract when compressed. Train yourself to ask “what does the telephoto version of this scene look like?” before you even raise the camera.
This mindset shift is genuinely half the technique. The 70-200 range rewards patience and curiosity over grand gestures. Walk slower than you normally would. Stop more often. The shots are there, they just don’t announce themselves the way a dramatic foreground does at wide angle.
Step 2: Look for Light-to-Shadow Contrast as Your Primary Subject
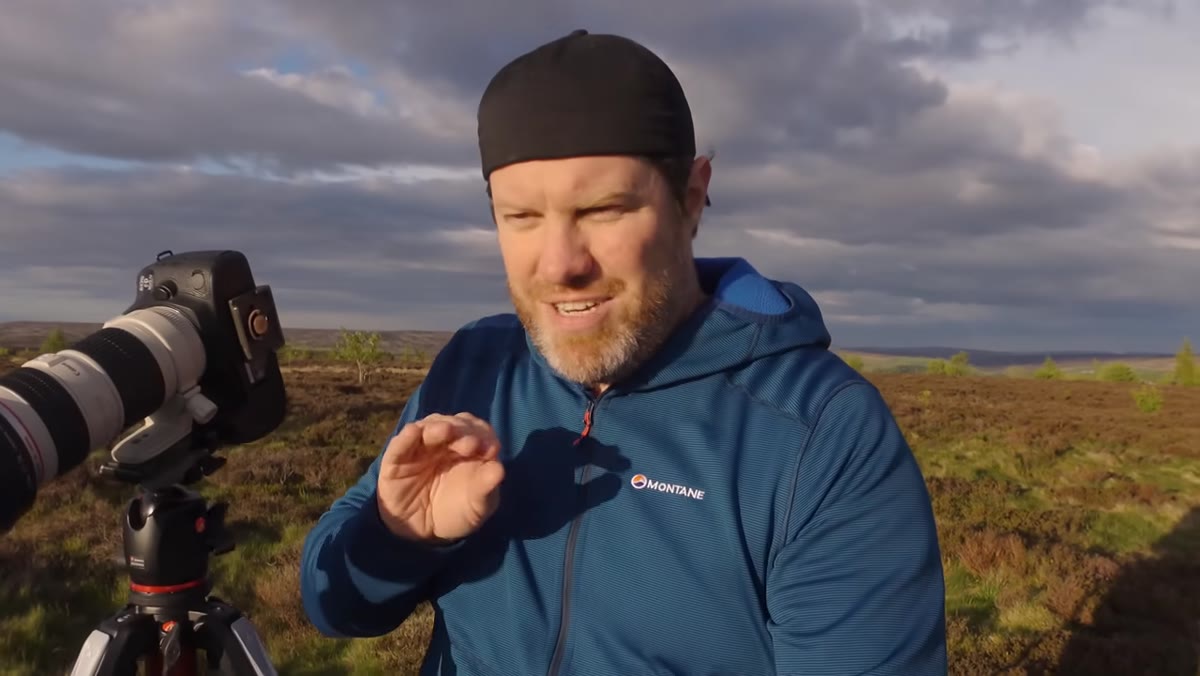 Sapling tree caught in evening sunlight against shadowed heather background
Adam spots a young sapling tree standing in a shaft of evening light, surrounded by heather that’s sitting in deep shadow. That contrast between the lit subject and the dark background is the actual subject of the photograph, not just the tree. This is a principle worth writing on a sticky note and putting on your camera bag: telephoto landscape photography is largely about contrast, specifically finding a single element that’s lit differently from everything around it.
Sapling tree caught in evening sunlight against shadowed heather background
Adam spots a young sapling tree standing in a shaft of evening light, surrounded by heather that’s sitting in deep shadow. That contrast between the lit subject and the dark background is the actual subject of the photograph, not just the tree. This is a principle worth writing on a sticky note and putting on your camera bag: telephoto landscape photography is largely about contrast, specifically finding a single element that’s lit differently from everything around it.
At longer focal lengths, background compression makes tonal separation more dramatic. A subject that looks only slightly different from its surroundings at 35mm can look completely isolated and graphic at 200mm. When you’re scouting, look specifically for moments where light is falling on one thing and not another. Late evening and early morning light are ideal because the angle creates these pools of illumination naturally.
Step 3: Dial in Settings to Freeze Movement and Protect the Exposure
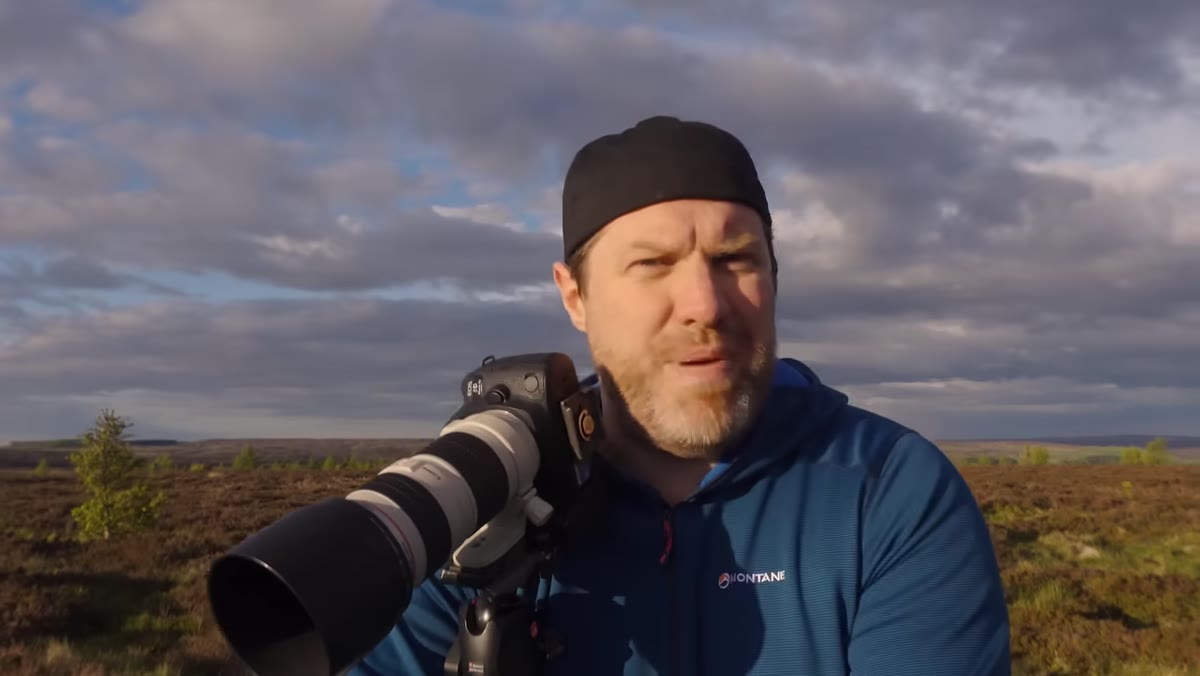 Camera settings screen showing f/4, 1/1000s, ISO 400
With a subject that’s moving in heavy wind, Adam makes three deliberate choices. He opens to f/4 (the widest available aperture on his lens), pushes the shutter to 1/1000th of a second, and sets ISO to 400. That combination freezes motion without sacrificing too much image quality. The fast shutter is the non-negotiable here. If you’re shooting plants, grasses, or anything that moves in wind, 1/500s is your floor, and 1/1000s gives you real margin.
Camera settings screen showing f/4, 1/1000s, ISO 400
With a subject that’s moving in heavy wind, Adam makes three deliberate choices. He opens to f/4 (the widest available aperture on his lens), pushes the shutter to 1/1000th of a second, and sets ISO to 400. That combination freezes motion without sacrificing too much image quality. The fast shutter is the non-negotiable here. If you’re shooting plants, grasses, or anything that moves in wind, 1/500s is your floor, and 1/1000s gives you real margin.
He also deliberately underexposes the shot to emphasize the contrast between the lit tree and the dark shadow behind it. This is worth flagging because it runs against the instinct to protect highlights. Letting the shadows go darker actually increases the visual punch of the lit subject. If you’re shooting RAW, you have latitude to push this further in post, but getting the mood right in-camera means less guessing later.
Step 4: Use Manual Focus and a Timer to Stay Sharp
 Camera set to manual focus with two-second self-timer active
Wind causes two problems: it moves your subject and it can cause camera shake even on a tripod. Adam’s solution is to switch to manual focus once he’s locked onto the tree, then use a two-second self-timer to trigger the shot. The timer means his hands are off the camera at the moment of exposure, removing any vibration he might introduce by pressing the shutter button.
Camera set to manual focus with two-second self-timer active
Wind causes two problems: it moves your subject and it can cause camera shake even on a tripod. Adam’s solution is to switch to manual focus once he’s locked onto the tree, then use a two-second self-timer to trigger the shot. The timer means his hands are off the camera at the moment of exposure, removing any vibration he might introduce by pressing the shutter button.
Manual focus is the better call here because autofocus can hunt or shift if wind moves the subject briefly out of position just as the camera acquires focus. Lock it manually on the part of the subject you want sharp, then use the timer to let the camera settle. It adds two seconds per shot, which is worth it every time.
Step 5: Use Vertical Framing to Build a Visual Path Into the Scene
 Vertical composition showing foreground light leading up to the sapling tree
Adam chooses vertical orientation specifically to include a strip of lit foreground below the tree. That lit ground acts as a visual entry point that pulls the eye upward toward the main subject. It’s a compositional move that’s easy to overlook when you’re excited about the subject itself. Horizontal framing here would cut off that leading element and make the image feel more static.
Vertical composition showing foreground light leading up to the sapling tree
Adam chooses vertical orientation specifically to include a strip of lit foreground below the tree. That lit ground acts as a visual entry point that pulls the eye upward toward the main subject. It’s a compositional move that’s easy to overlook when you’re excited about the subject itself. Horizontal framing here would cut off that leading element and make the image feel more static.
When you’re working at telephoto distances, vertical framing often gives you more room to include context above and below your subject without widening out. Try both orientations before you commit. The difference is usually obvious when you see them side by side on the back of the camera.
The Budget Angle: You Don’t Need the $2,000 Version
I’ve tested five different 70-200 equivalent lenses under $600, and the honest answer is that the compression effect, the tonal separation, and the framing logic Adam is teaching here work the same way regardless of which version you’re holding. The f/4 aperture he uses throughout this tutorial is available on options that cost a fraction of the major brand names. What matters is having the focal range and a tripod stable enough to make the technique work. I’ve run these comparisons in side-by-side tests, and the gap between a budget 70-200 and a premium one is real but smaller than the price difference suggests. If this style of shooting appeals to you, don’t wait until you can afford the flagship version. Get a capable budget option and put the savings toward more shooting days.
The single biggest thing I took from Adam’s tutorial is this: the 70-200 doesn’t just get you closer to a subject, it changes what qualifies as a subject in the first place. Details that your wide-angle lens would ignore become complete, compelling photographs. That’s not a small thing. That’s a different way of seeing.
Watch the full tutorial on YouTube to see all of Adam’s compositions come together in the field, including a second location with pine trees where the technique shifts slightly with the changing light conditions.
Comments
Leave a Comment