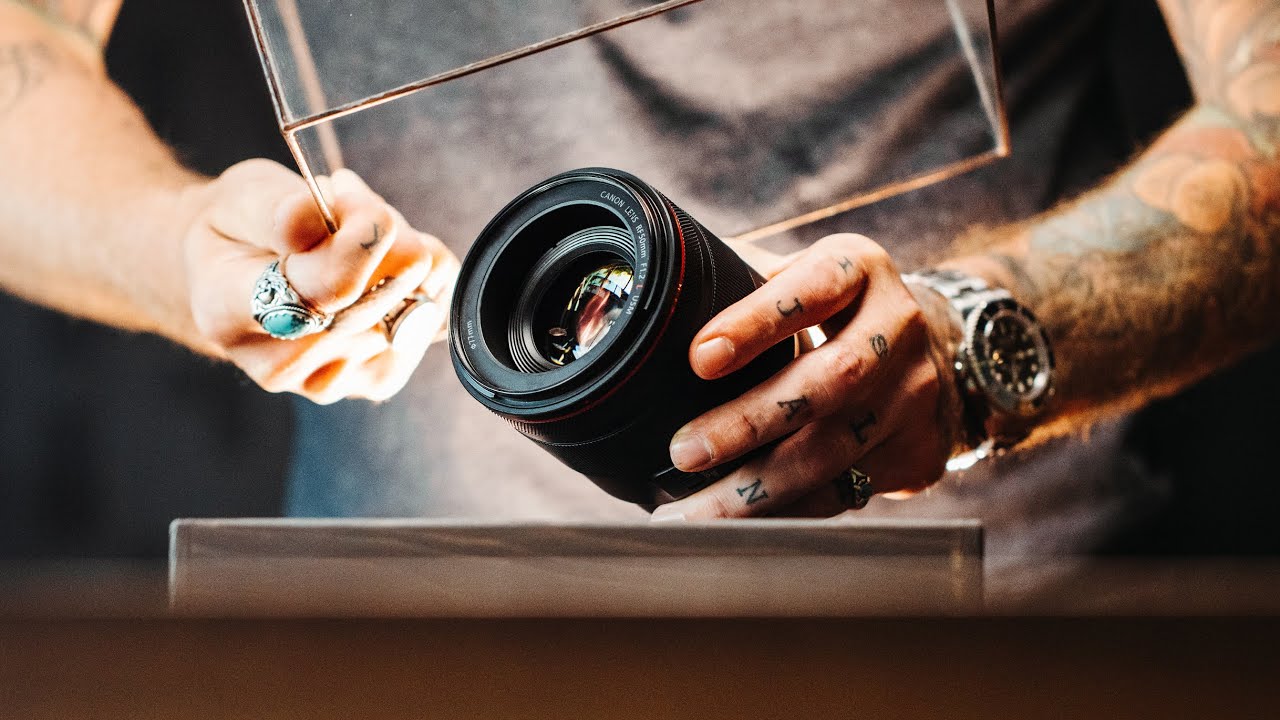
For a long time, I chased the wrong gear. I’d convince myself that the shot I missed was because I didn’t have a longer zoom, a faster aperture, or a bigger bag to carry all of it. Then I started tracking my actual keeper shots in a spreadsheet - yes, I have one of those - and noticed something uncomfortable: my best work almost always came from one focal length. Fifty millimeters. Not because it was the most exciting lens on paper, but because it got out of my way.
In this Peter McKinnon tutorial, Watch the full tutorial on YouTube, McKinnon makes an argument I’ve been making to friends for years: the 50mm prime isn’t just a good lens, it’s the lens. He shoots with the Canon RF 50mm f/1.2, which is a serious investment, but the core reasoning applies whether you’re working with a $130 nifty fifty or a $2,300 L-series glass. The focal length itself is doing most of the heavy lifting.
Here’s a breakdown of what he covers, reframed around what actually matters when you’re deciding how to build your kit.
Step 1: Understand Why 50mm Works Across So Many Situations
 Peter reviewing sharp portrait photos shot on 50mm
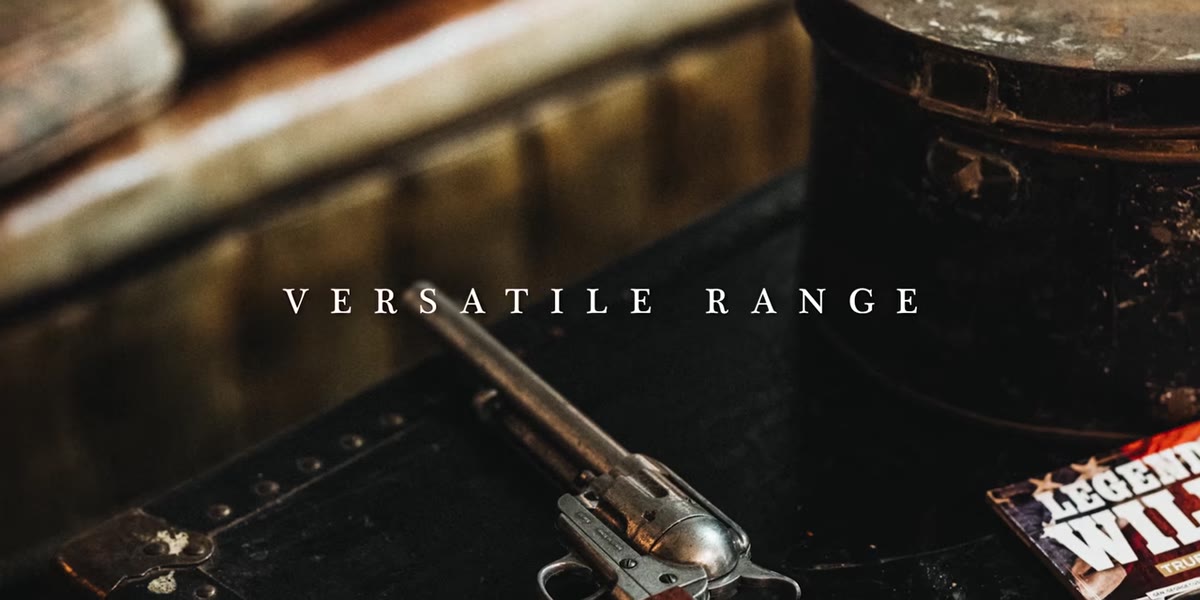
The first thing McKinnon establishes is that 50mm isn’t just a portrait lens or just a street lens. He ran it through product photography, portraits, landscapes, events, and automotive work during a single shoot. What makes this focal length so flexible is that it renders a scene close to how the human eye sees it - not compressed like a telephoto, not stretched like a wide angle. That natural perspective means your images read as honest and immediate regardless of subject matter.
Peter reviewing sharp portrait photos shot on 50mm
The first thing McKinnon establishes is that 50mm isn’t just a portrait lens or just a street lens. He ran it through product photography, portraits, landscapes, events, and automotive work during a single shoot. What makes this focal length so flexible is that it renders a scene close to how the human eye sees it - not compressed like a telephoto, not stretched like a wide angle. That natural perspective means your images read as honest and immediate regardless of subject matter.
If you’re building a one-bag travel kit or trying to simplify your workflow, this matters more than it sounds. Instead of switching lenses and second-guessing yourself, you learn to move your feet and compose with intention. That constraint builds skill faster than any zoom will.
Step 2: Evaluate Depth of Field at Wide Apertures
 Close-up shot showing creamy background bokeh from the 50mm f/1.2
McKinnon shoots this lens wide open at f/1.2, and the background separation he gets is the kind most photographers assume requires an 85mm or a 70-200mm telephoto. The 50mm at f/1.2 compresses the background enough to isolate a subject cleanly while keeping you physically closer to the scene than a longer lens would require. That closeness changes the energy of a portrait entirely.
Close-up shot showing creamy background bokeh from the 50mm f/1.2
McKinnon shoots this lens wide open at f/1.2, and the background separation he gets is the kind most photographers assume requires an 85mm or a 70-200mm telephoto. The 50mm at f/1.2 compresses the background enough to isolate a subject cleanly while keeping you physically closer to the scene than a longer lens would require. That closeness changes the energy of a portrait entirely.
If you’re working with a budget option like the Canon 50mm f/1.8 or the Nikon 50mm f/1.8, you won’t get quite the same rendering wide open, but stopping down to f/2 or f/2.2 on those lenses still produces beautiful subject separation. The principle holds. You’re not paying for the focal length when you buy an f/1.2 - you’re paying for the last stop of light and the specific character of the blur.
Step 3: Use Grain Intentionally - Don’t Mistake It for Sharpness Problems
 Zoomed-in portrait showing added grain texture in post-processing
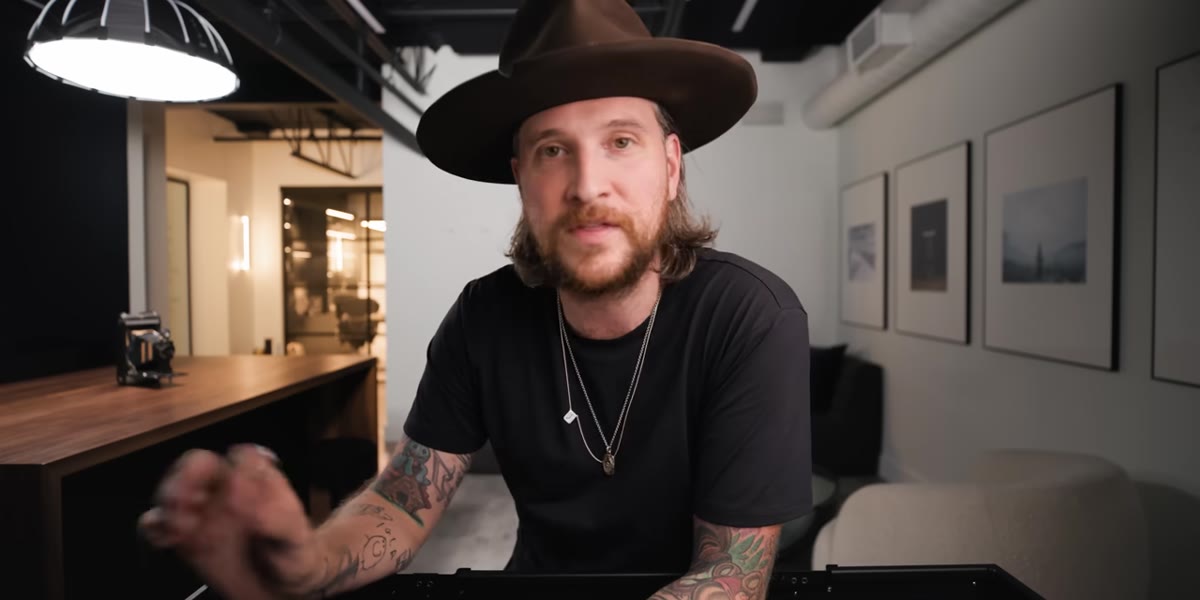
One thing McKinnon flags that I think gets overlooked: he added grain to his final images in post. When you zoom into his shots and see texture, that’s a creative choice, not a sign that the lens is soft. He’s clear about this because wide-aperture lenses get unfairly blamed for look characteristics that are actually coming from the edit.
Zoomed-in portrait showing added grain texture in post-processing
One thing McKinnon flags that I think gets overlooked: he added grain to his final images in post. When you zoom into his shots and see texture, that’s a creative choice, not a sign that the lens is soft. He’s clear about this because wide-aperture lenses get unfairly blamed for look characteristics that are actually coming from the edit.
This matters practically when you’re evaluating lens sharpness from someone else’s sample images. Before you decide a lens is soft, check whether the photographer is using a film emulation preset or added noise. At f/1.2 or f/1.8 on most modern 50mm primes, center sharpness is genuinely excellent. Edge sharpness wide open is where budget lenses differ from premium ones, but for portraits where your subject is centered, that rarely affects your results.
Step 4: Know the Autofocus Trade-Off Before You Shoot
 McKinnon describing autofocus hunting behavior on the RF 50mm f/1.2
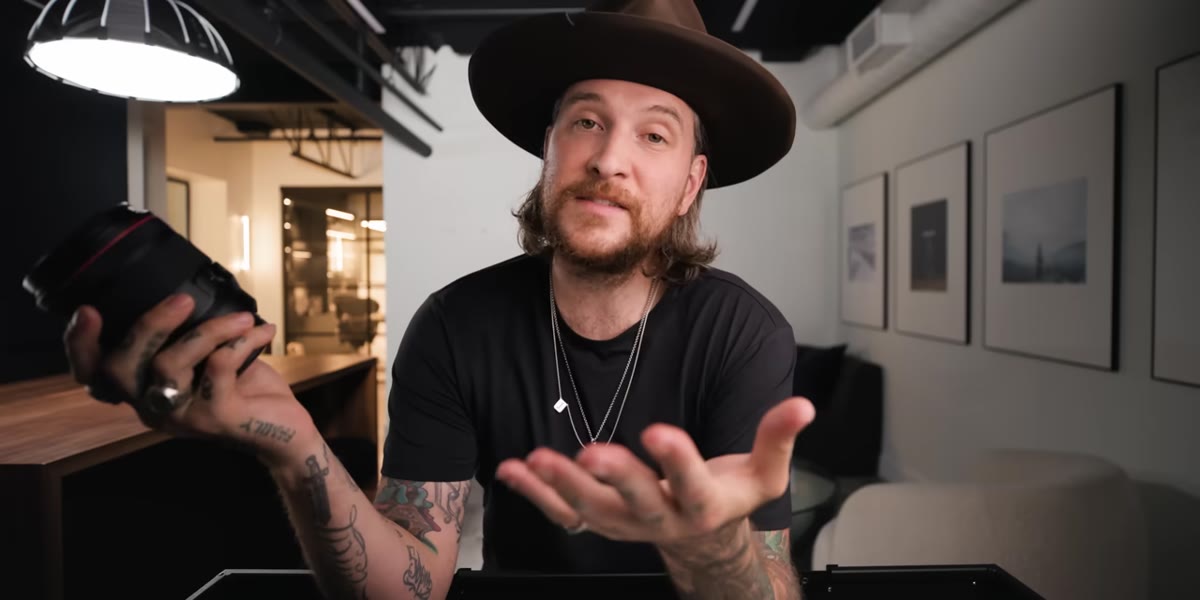
McKinnon doesn’t oversell the lens. He mentions that the RF 50mm f/1.2 can hunt for focus when shooting wide open, and that this is less of an issue for still photography than it is for video. This is honest and useful information. At f/1.2, the depth of field is thin enough that the camera’s autofocus system is working harder to land precisely where you want it. Add motion to that and you’ll see more misses.
McKinnon describing autofocus hunting behavior on the RF 50mm f/1.2
McKinnon doesn’t oversell the lens. He mentions that the RF 50mm f/1.2 can hunt for focus when shooting wide open, and that this is less of an issue for still photography than it is for video. This is honest and useful information. At f/1.2, the depth of field is thin enough that the camera’s autofocus system is working harder to land precisely where you want it. Add motion to that and you’ll see more misses.
For shooters using budget 50mm primes on older DSLR mounts, this hunting behavior can be even more pronounced. The fix is the same regardless of your price point: use single-point autofocus rather than zone or wide tracking, and lock focus before you recompose. It sounds basic, but it directly reduces the hunting problem at wide apertures.
Step 5: Weigh Size and Weight Seriously When Building Your Kit
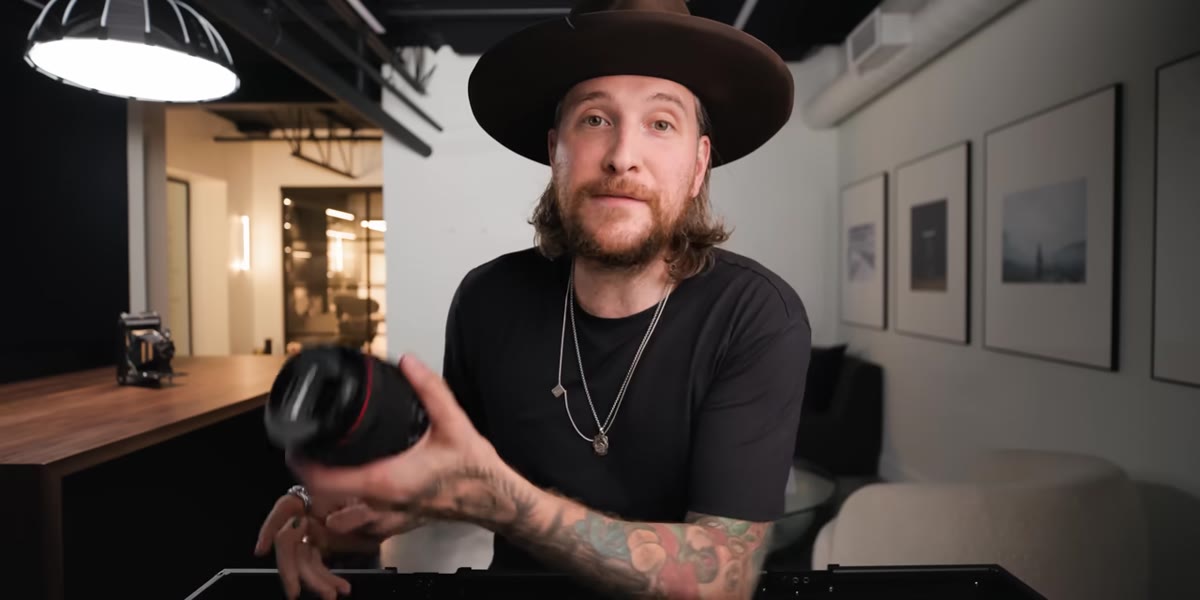 Peter comparing the 50mm size to larger lenses like the 85mm and 70-200mm
McKinnon makes a point about the physical size of the 50mm compared to an 85mm f/1.4 or a 70-200mm. The 85 is slightly larger and heavier. The 70-200 is a genuine commitment in terms of bag space and shoulder fatigue on a long shoot. The 50mm lands in a range that feels like nothing after an hour of carrying it.
Peter comparing the 50mm size to larger lenses like the 85mm and 70-200mm
McKinnon makes a point about the physical size of the 50mm compared to an 85mm f/1.4 or a 70-200mm. The 85 is slightly larger and heavier. The 70-200 is a genuine commitment in terms of bag space and shoulder fatigue on a long shoot. The 50mm lands in a range that feels like nothing after an hour of carrying it.
I’ve bought and tested enough cheap lenses to know that size matters more than most gear guides admit. A lens you leave home because it’s heavy is worse than a lens rated one stop slower that you actually bring. The 50mm prime in almost any version is compact enough to disappear on a mirrorless body. That usability is part of the value proposition.
What Budget Shooters Should Actually Take From This
McKinnon is shooting a $2,300 Canon RF 50mm f/1.2 L lens. I’m aware that for most people reading this, that’s not the point. The point is the focal length argument, and that argument works at any price. The Canon 50mm f/1.8 STM is around $125 new and sits permanently on my recommended list. The Nikon 50mm f/1.8G is in the same range. Vintage 50mm primes from Pentax, Minolta, or Olympus can be found for under $50 on eBay with an adapter, and several of them have rendering characteristics that photographers with expensive modern glass actively seek out.
The case for 50mm isn’t a case for spending more. It’s a case for choosing one focal length, learning it deeply, and producing better work because of the focus that constraint creates. I’ve seen this pay off at every level of the market.
The single most important idea McKinnon puts forward is this: versatility lives in the focal length, not in the price tag. A 50mm prime covers more types of photography than most people give it credit for, and if you’re going to master one lens, this is the one with the best return on that investment.
Watch the full tutorial on YouTube to see the sample images from his shoot and hear him walk through the reasoning in his own words.
Comments (3)
Bookmarked. Coming back to this one for sure.
Never thought of approaching it this way. Really creative.
Excellent tutorial. I'd add that from a landscape standpoint, this technique is incredibly versatile.
Leave a Comment