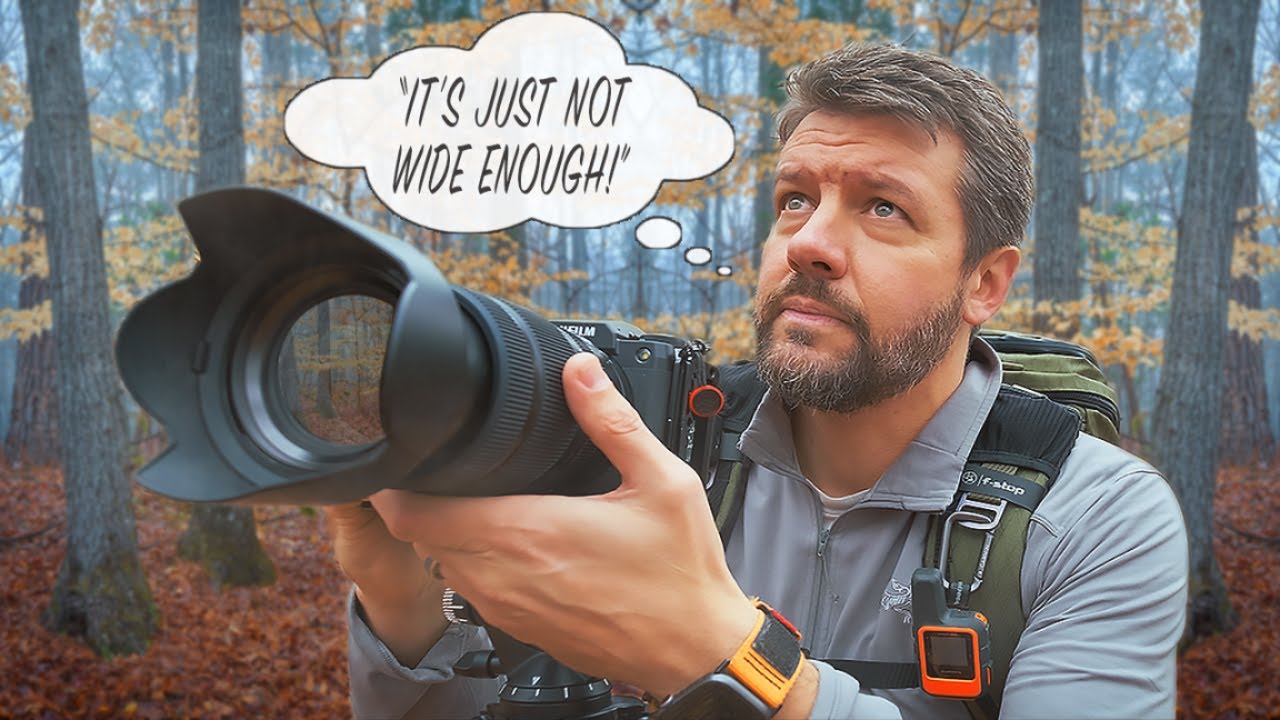
I’ve spent the better part of three years telling people on a budget to skip the nifty fifty for landscape work. My own spreadsheet of tested glass basically had a sticky note next to every 50mm entry that said “fine for portraits, wrong tool for wide scenes.” So when I saw Mark Denney, whose landscape work I genuinely respect, title a video around changing his number one lens pick and admitting he’d been wrong about a focal length for years, I paid attention. Not because he’s got a big channel, but because that kind of public course correction is rare, and usually worth unpacking.
In Watch the full tutorial on YouTube, Denney takes you into a foggy woodland shoot in real time, working through composition decisions, settings choices, and the mindset behind why he’s rethinking focal length orthodoxy for landscape work. What makes this useful isn’t just the gear talk. It’s watching someone actually apply a changed philosophy in the field while conditions are actively deteriorating. That’s the kind of pressure-tested thinking you can learn from.
The tutorial also quietly packages a smart weather-reading tip, a composition framework for chaotic environments, and a practical aperture rationale. Here’s how it breaks down, step by step.
Step 1: Read the Forecast for Fog Before You Leave the House
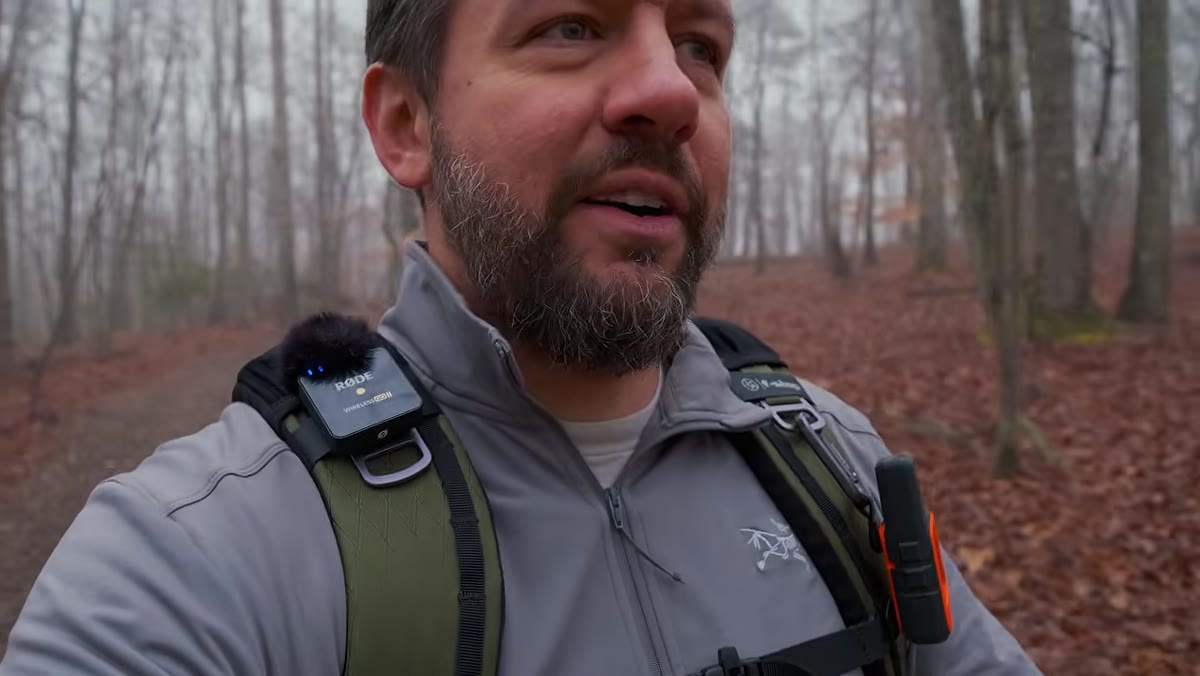 Mark checking phone forecast, dew point vs feels-like temperature
The shoot starts the night before. Denney shares a tip he got from a long-time viewer: when the predicted dew point is within about two degrees of the feels-like temperature, conditions are ripe for morning fog. He checked his forecast, saw that narrow gap, and committed to the early drive.
Mark checking phone forecast, dew point vs feels-like temperature
The shoot starts the night before. Denney shares a tip he got from a long-time viewer: when the predicted dew point is within about two degrees of the feels-like temperature, conditions are ripe for morning fog. He checked his forecast, saw that narrow gap, and committed to the early drive.
This is free information available on any weather app that shows dew point data. Weather Underground is my go-to since it surfaces dew point prominently without digging through menus. The practical habit here is simple: before any early morning outdoor shoot, cross-check the dew point and feels-like temperature the night before. If they’re close, set the alarm.
Step 2: Arrive Early and Scout Before Shooting
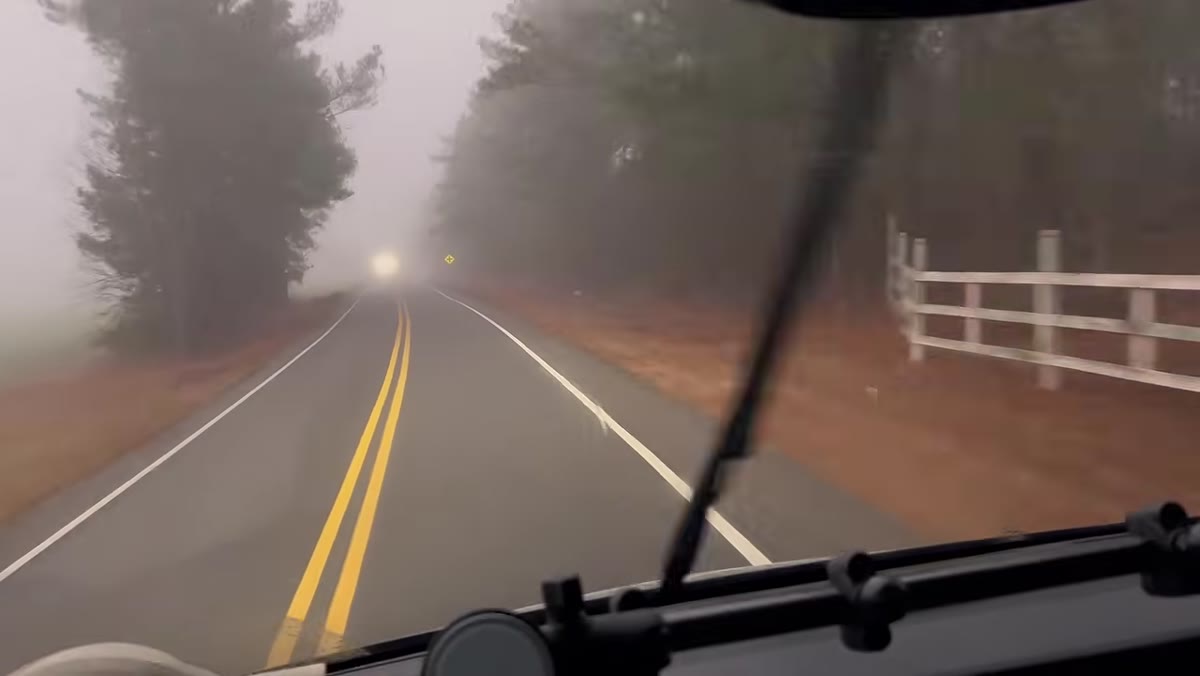 Denney walking through foggy woodland at dawn, mist visible between trees
Denney arrives knowing fog burns off fast and immediately starts moving through the location rather than planting on the first decent-looking spot. He’s scouting for separation, looking for a scene that has some visual order inside what he describes as a chaotic woodland.
Denney walking through foggy woodland at dawn, mist visible between trees
Denney arrives knowing fog burns off fast and immediately starts moving through the location rather than planting on the first decent-looking spot. He’s scouting for separation, looking for a scene that has some visual order inside what he describes as a chaotic woodland.
The lesson here is discipline under time pressure. Fog, golden hour, and mist all have short windows. The instinct is to stop and shoot the moment you see something decent. Denney pushes past that instinct and keeps moving until he finds something that actually holds up compositionally. Give yourself a five-minute scout minimum, even when conditions feel urgent.
Step 3: Look for Natural Framing Within Chaotic Environments
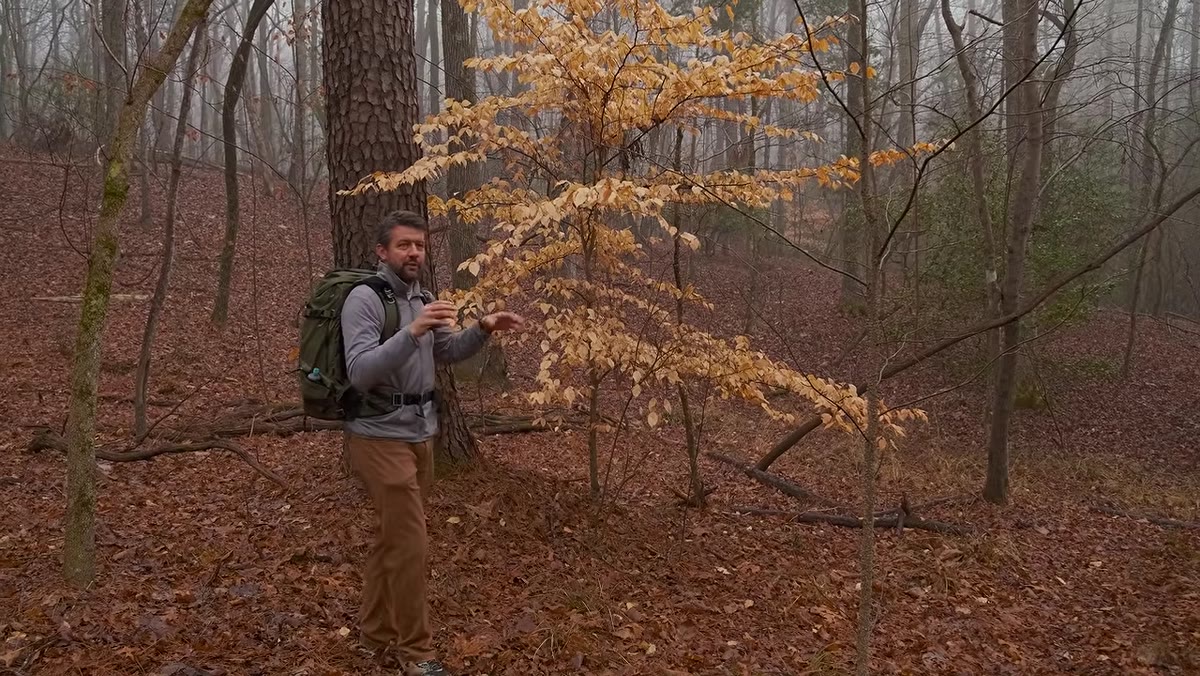 Colorful warm-toned tree flanked by pine trees on both sides
The specific composition he lands on uses a cluster of warm-toned, colorful trees flanked on either side by taller pine trees. He describes them as “guarding” the central subject, and that framing instinct is exactly what makes the image readable. Without those flanking pines, the eye has no anchor.
Colorful warm-toned tree flanked by pine trees on both sides
The specific composition he lands on uses a cluster of warm-toned, colorful trees flanked on either side by taller pine trees. He describes them as “guarding” the central subject, and that framing instinct is exactly what makes the image readable. Without those flanking pines, the eye has no anchor.
When you’re shooting in a woodland or any environment with a lot of competing elements, the goal isn’t to include everything. It’s to find the one small arrangement that makes sense on its own. Denney narrows his scene down to what he calls a simplistic composition for the area. In a complex location, simple is a competitive advantage.
Step 4: Use the Fog as a Backdrop, Not Just an Atmosphere
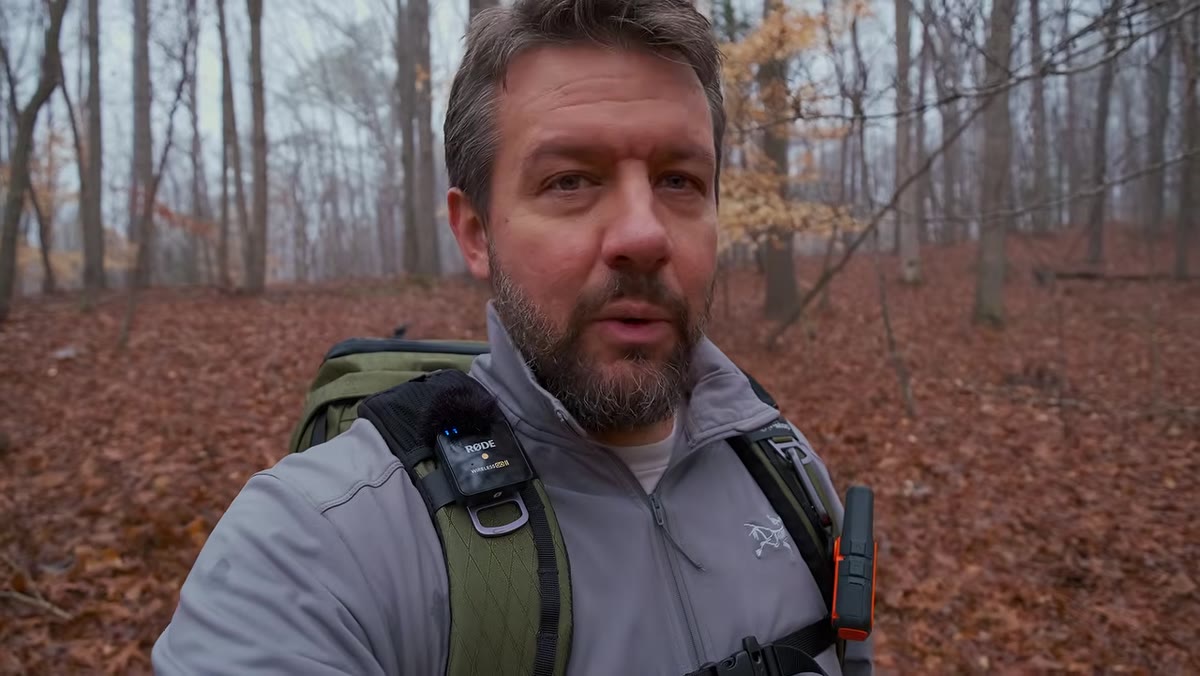 Final framed scene with fog filling background behind the trees
Here’s the compositional insight that connects directly to the focal length discussion: the fog isn’t just mood. It’s functioning as a clean, tonally cool background that separates the warm-colored subject trees from everything behind them. Without the fog, Denney says directly, the scene doesn’t work.
Final framed scene with fog filling background behind the trees
Here’s the compositional insight that connects directly to the focal length discussion: the fog isn’t just mood. It’s functioning as a clean, tonally cool background that separates the warm-colored subject trees from everything behind them. Without the fog, Denney says directly, the scene doesn’t work.
This reframes how to think about atmospheric conditions. Fog, haze, and mist aren’t bonuses. They’re background control. When you’re scouting a scene and asking whether a focal length will compress or separate elements, the background is as important as the subject. A longer focal length compresses depth, which makes a background like this fog even more dominant in the frame.
Step 5: Bracket Aperture to Control Background Separation
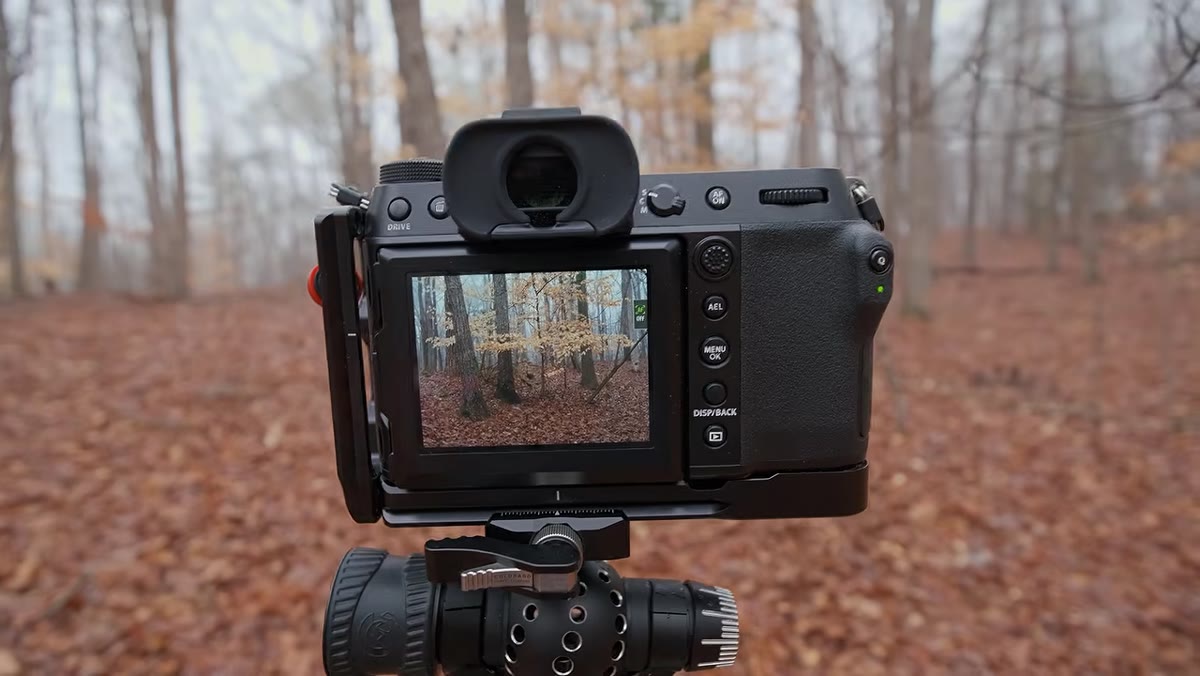 Camera settings being adjusted between f/11 and f/16
Once he’s locked the composition, Denney works between f/11 and f/16, specifically to nudge how much the background softens. At longer focal lengths, even small aperture shifts have a noticeable effect on background separation, so he’s shooting multiple versions rather than committing to one.
Camera settings being adjusted between f/11 and f/16
Once he’s locked the composition, Denney works between f/11 and f/16, specifically to nudge how much the background softens. At longer focal lengths, even small aperture shifts have a noticeable effect on background separation, so he’s shooting multiple versions rather than committing to one.
The practical approach here is to shoot at least three aperture values for any scene where background separation matters: wide open for your lens, a middle aperture, and a stopped-down version. In post, you’ll often find the winner isn’t the one you expected. For budget lenses especially, this matters because sharpness and rendering can shift significantly across the aperture range. Worth knowing before you’re stuck with one file.
Step 6: Accept What You Can’t Control and Keep Shooting
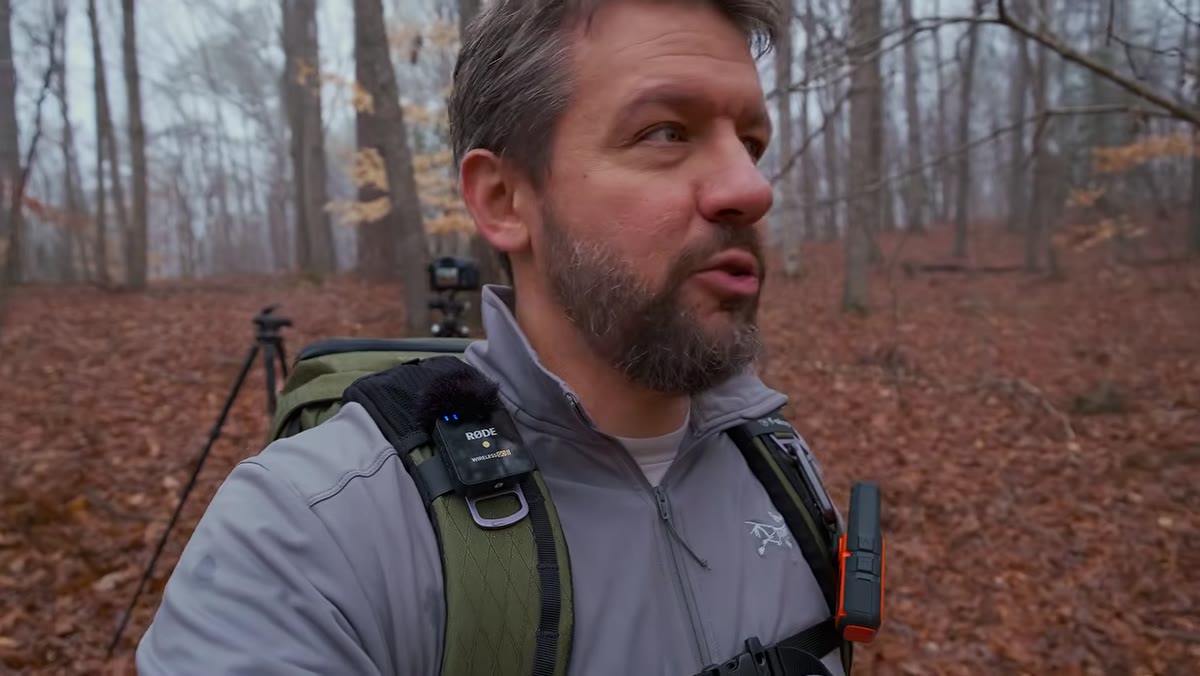 Fog visibly thinning above tree line while Denney continues shooting
The fog is already thinning by the time Denney finds his composition. Rather than packing up or getting frustrated, he notes it, adjusts his pace, and keeps working the scene while it’s still usable. His framing: whatever is meant to happen will happen.
Fog visibly thinning above tree line while Denney continues shooting
The fog is already thinning by the time Denney finds his composition. Rather than packing up or getting frustrated, he notes it, adjusts his pace, and keeps working the scene while it’s still usable. His framing: whatever is meant to happen will happen.
This sounds like a mindset note, but there’s a practical point buried in it. Don’t waste the window you have waiting for perfect conditions that may never arrive. Shoot the scene as it is, adapt if conditions change, and pull the best version from what you actually got. Some of my favorite images from budget shoots came from sessions where something went sideways and I kept going anyway.
What I’d Add: Test Your Assumptions with a Side-by-Side
I’ve fallen into the same trap Denney admits to here, writing off focal lengths based on assumptions rather than actual tests. My spreadsheet is full of lenses I dismissed early and later reconsidered. The fix that’s worked for me is forcing a side-by-side comparison on the same scene with two different focal lengths, same light, same location, before I make any calls about which one suits my shooting.
It takes maybe 20 extra minutes in the field, but it gives you real data instead of received wisdom. Budget lenses especially deserve this treatment because the performance gap at certain focal lengths is smaller than the price gap suggests. Some of the sharpest landscape frames I’ve pulled came from glass that cost less than a dinner out.
The single most important thing Denney demonstrates here isn’t a setting or a gear pick. It’s the willingness to revisit a long-held opinion when the evidence in the field points the other way. That’s good practice for gear decisions too, not just composition ones.
Watch the full tutorial on YouTube to see the complete shoot and hear Denney’s full breakdown of why this focal length changed his approach to landscape work.
Comments (1)
I keep coming back to this article. It's that useful.
Leave a Comment