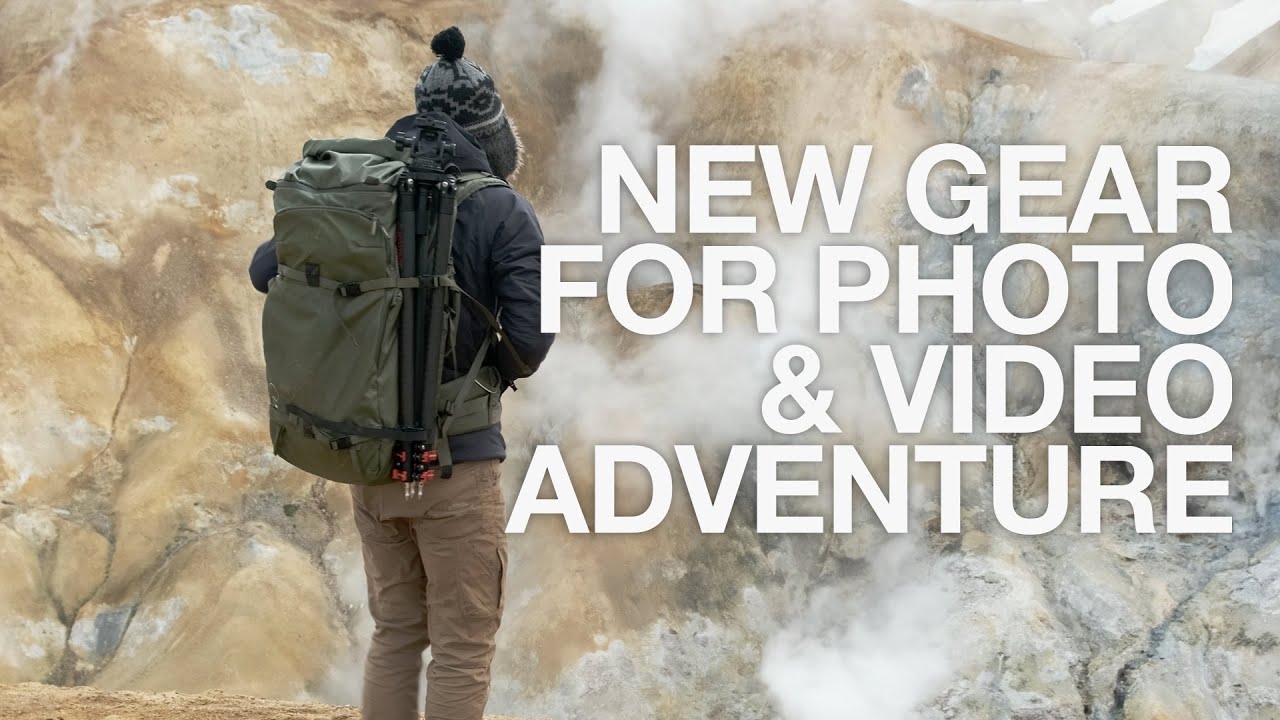
There’s a particular kind of gear video I usually roll my eyes at. You know the type: a photographer unboxes $15,000 worth of kit, drops brand names like confetti, and calls it a “review.” What I actually want to watch is a working photographer packing for a real trip, under real constraints, and explaining the reasoning behind every choice. That’s exactly what Thomas Heaton delivers in his Iceland remote camping and photography video. Watch the full tutorial on YouTube
I got into gear content because I kept spending more time researching prices than actually shooting, and I wanted to channel that obsession into something useful. So when I watch a video like this, I’m not just cataloging product names. I’m reverse-engineering the decision-making. Heaton is camping for an entire trip, flying with carry-on only, shooting both stills and video, and doing it with friends across Iceland’s backcountry. Every piece of kit he chose had to earn its spot. That discipline is worth more to most photographers than any spec sheet.
What follows is a step-by-step breakdown of how Heaton builds his remote photography kit, and where those principles apply whether you’re spending his budget or mine.
Step 1: Start With the Tripod That Actually Matches Your Shooting Style
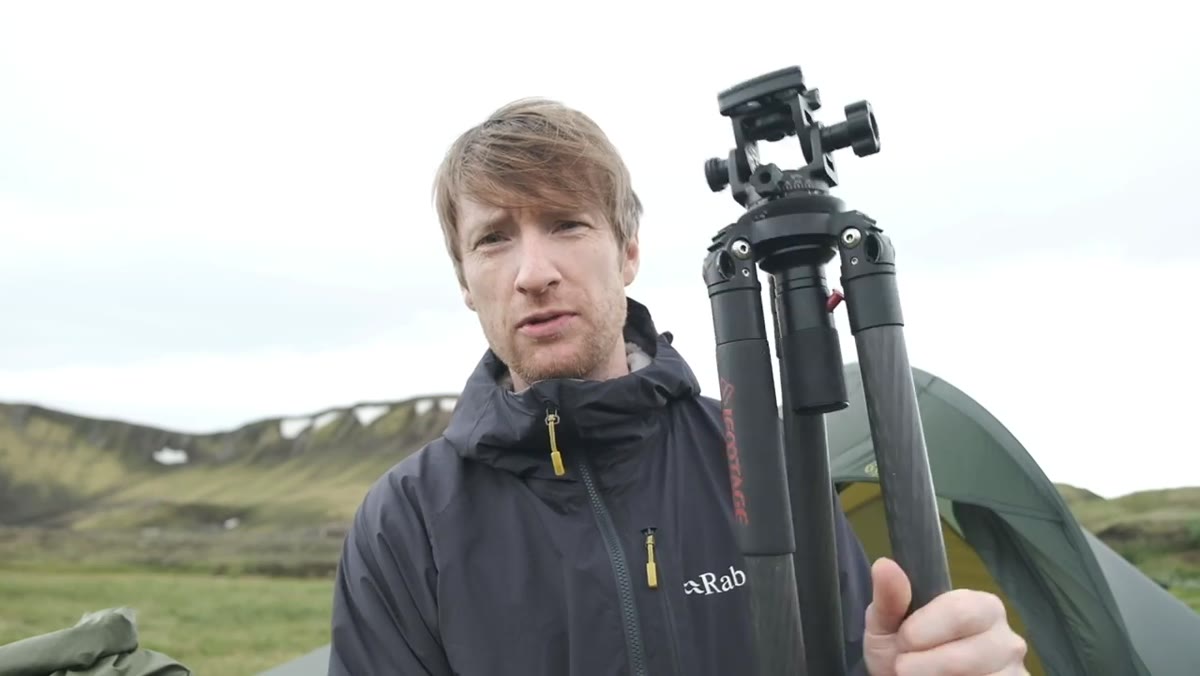 Heaton holding the iFootage tripod with leveling base
Heaton opens with his tripod setup, and the detail worth paying attention to is not the brand. It’s the combination he chose: an iFootage tripod with a leveling base plus an Acratech long lens head. The leveling base matters enormously in the field. Instead of fiddling with individual leg lengths on uneven Icelandic lava rock, he can lock a flat base in seconds. The Acratech head gives him two clean movements, pan and tilt, which keeps things fast when light is changing.
If you are buying a tripod right now and your budget is tight, prioritize a leveling base over carbon fiber. A heavy aluminum tripod with a leveling base will serve you better than a light carbon tripod without one. You can always upgrade legs later. The head and the base are where the workflow lives.
Step 2: Choose a Bag That Can Compress, Not Just Carry
 Shimoda Action X70 shown rolled down to a compact size
The bag Heaton is running is the Shimoda Action X70, a 70-liter roll-top backpack. His argument for it is smart: the roll-top design means 70 liters is the ceiling, not the constant volume. Rolled down, it compresses into something that fits airline carry-on requirements without a fight. He also notes that in a worst-case airport scenario, you can pull the camera cube insert out, check the shell as an empty bag, and carry the cube separately as a personal item.
This is the kind of real-world system thinking that never shows up in spec sheets. When you are evaluating any camera bag, ask yourself whether it can adapt to two or three different use cases. A bag that only works as a camera bag is a liability on a mixed adventure trip.
Step 3: Commit to One Primary Camera and Actually Stick to It
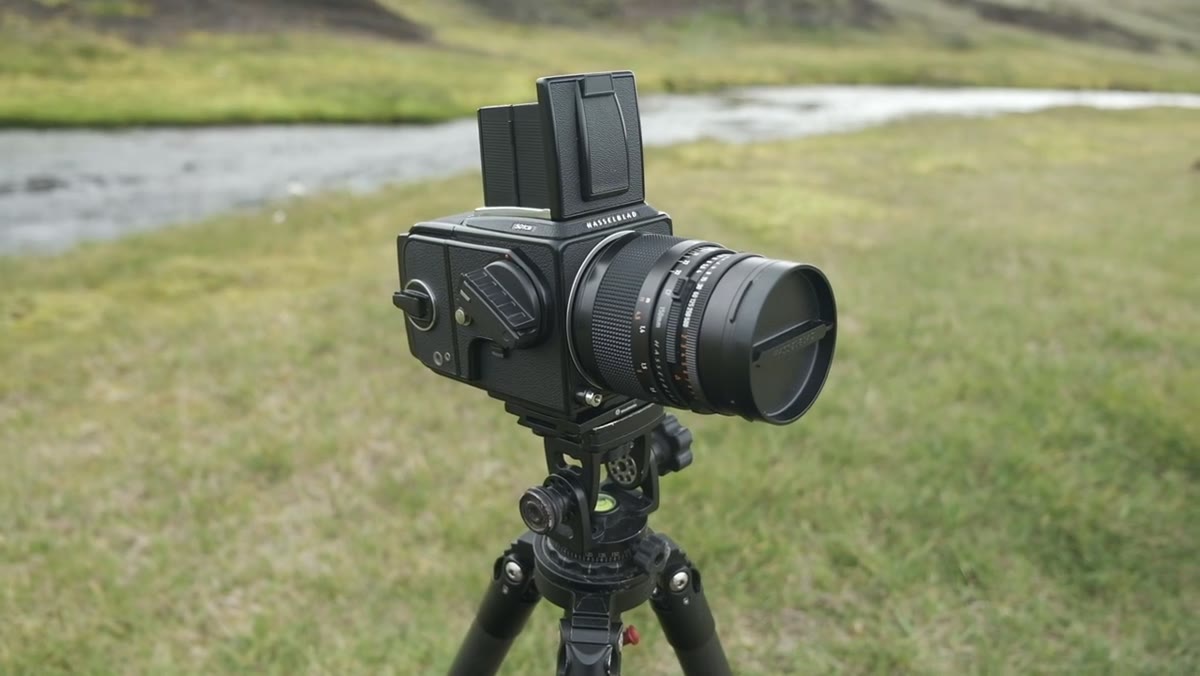 Hasselblad 501CM medium format film camera held up to camera
Heaton’s primary camera for the Iceland trip is a Hasselblad 501CM, a medium format film camera. He is explicit about his intention: shoot most of the trip on this one body. He brings only two lenses, an 85mm and a 150mm equivalent in medium format terms, and leaves it at that.
The lesson here is not “buy a Hasselblad.” The lesson is the commitment. Bringing one camera and two lenses forces you to work within a system instead of hedging constantly. I have tested this myself at local shoots, leaving all but one focal length at home. The images are more consistent and the decision fatigue drops dramatically. Constraints are a creative tool, not a compromise.
Step 4: Know the Equivalent Focal Lengths When Switching Formats
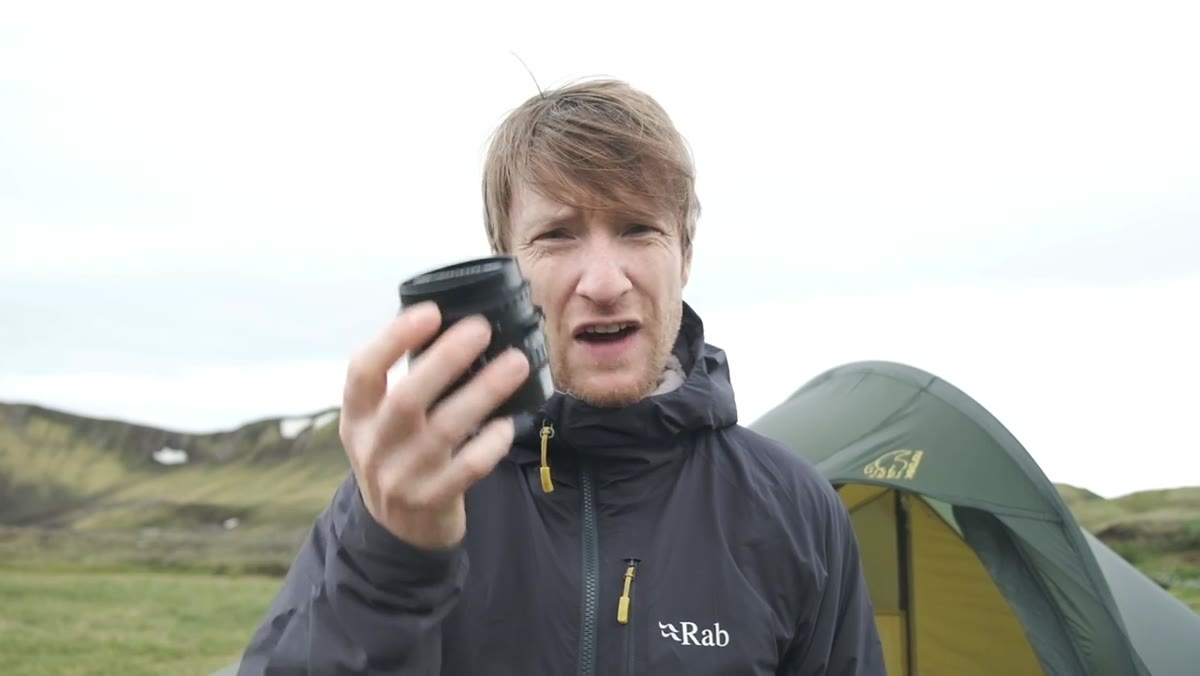 Heaton explaining the 150mm lens in medium format terms
Heaton pauses to explain that his 150mm lens on the square-format Hasselblad is roughly equivalent to an 85mm on a full-frame camera, though he acknowledges the comparison gets complicated with square sensors. His 85mm Hasselblad lens then falls into wide-to-normal territory by full-frame standards.
This matters practically. If you are renting or borrowing medium format gear, or shooting with any crop sensor, you need to internalize the multiplier before you go out, not while you are standing in fading golden hour light. For medium format 6x6, a rough rule is to multiply the lens focal length by about 0.55 to get a full-frame equivalent. Write it on a piece of tape and stick it inside your bag if you have to.
Step 5: Build Your Camping Kit Around Weight You Can Actually Carry
 Full pack and camping gear laid out before departure
Because the entire trip is camping, Heaton’s camera gear has to coexist with shelter, sleep, and food systems inside one pack. He is not treating the camping gear as an afterthought to the camera gear or the other way around. Both systems have to work together inside a single weight budget.
The practical approach is to lay everything out before you pack and assign each item a priority tier: must-have, probably-need, and nice-to-have. Camera bodies and a primary lens are tier one. Camping sleep system is tier one. Everything else gets evaluated against what it weighs and what problem it solves. A second body or a filter system might drop to tier three if the sleeping bag is already heavy.
What I’d Do Differently on a Budget
Heaton’s kit is refined over years and trips. None of it was bought in a panic. For photographers working with tighter budgets, the hierarchy of his decisions still holds even if the specific products do not.
The Shimoda Action X70 runs around $300 new, which is real money. But the roll-top principle is sound, and several budget packs from F-Stop and even Amazon house brands now use the same collapsible design. The leveling ball head is available in clone form for under $60 and performs adequately for static landscape work. The medium format film commitment is actually budget-friendly if you already own or can find a used film body, because the operational cost is film and development, not a $6,000 digital back.
The one area I would not cut corners is the tripod head. I once bought five tripods under $50 to find the best budget option, and the heads were universally where they fell apart. A cheap head on a cheap tripod is fine. A cheap head on an otherwise good tripod is a constant frustration. Buy the head once and buy it right.
The single most transferable idea from Heaton’s approach is that thoughtful constraints make better photography. A smaller lens selection, a compressible bag, one primary camera. Each choice reduces friction so you can spend more time shooting and less time managing gear.
Watch the full tutorial on YouTube to see the complete kit breakdown, including the camping gear and video equipment Heaton covers later in the video.
Comments (7)
I've watched a dozen tutorials on this and yours is the clearest by far.
I keep coming back to this article. It's that useful.
This saved me so much time on my last edit. Wish I'd found this sooner.
The before and after really sells it. Incredible difference.
This is fantastic. I've been recommending this approach to my readers too.
Bookmarked. Coming back to this one for sure.
Never thought of approaching it this way. Really creative.
Leave a Comment