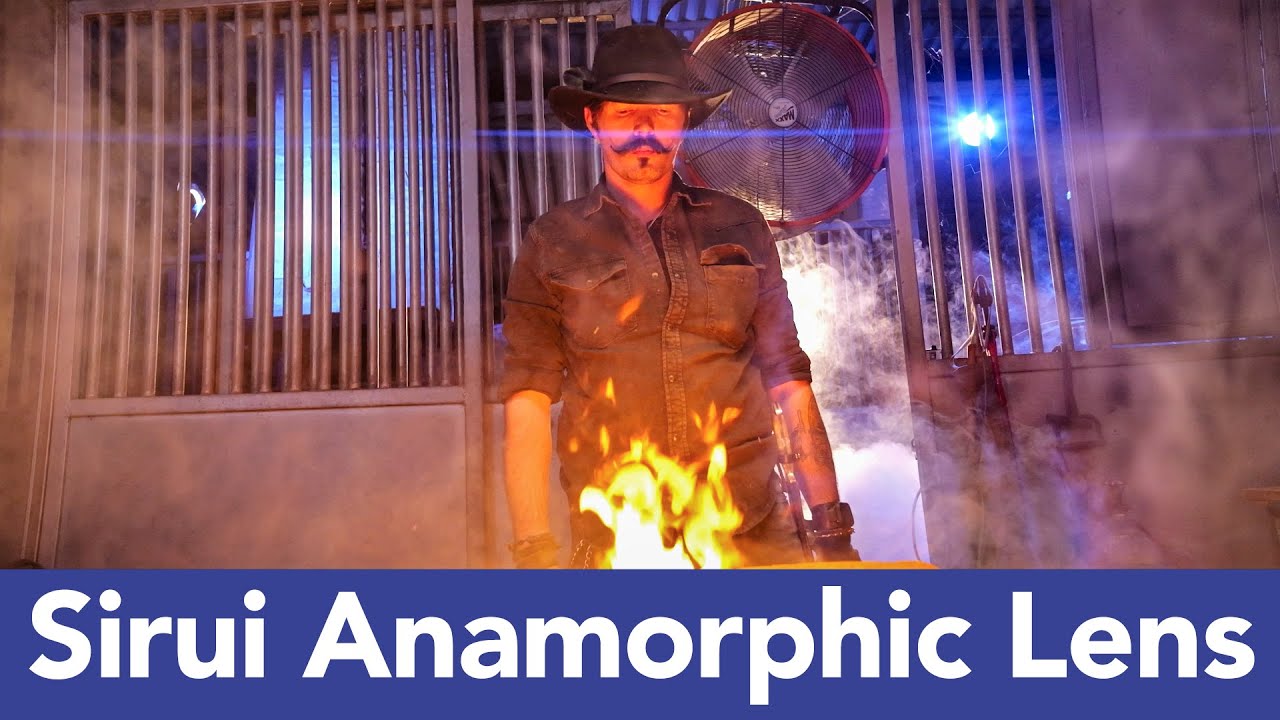
I’ve spent years arguing that the gap between cheap gear and expensive gear is smaller than most people think. But there’s one area where I kept hitting a wall when talking to videographers: anamorphic lenses. For a long time, “anamorphic” meant “renting glass that costs more than my car” or slapping a janky clip-on adapter on a kit lens and hoping for the best. That changed when full-frame anamorphic lenses from companies like Sirui started landing in the sub-$1000 range. Suddenly the look was accessible, but the question became: does accessible mean compromised?
That’s exactly what Jay P. Morgan digs into in this tutorial from The Slanted Lens. Watch the full tutorial on YouTube — it’s worth your time even if you’ve never touched an anamorphic lens. Morgan shoots a short cinematic piece about a blacksmith forging a knife, which turns out to be a genuinely smart choice for a first anamorphic project. The practical fire, the tight industrial space, the texture-heavy subject matter — all of it stress-tests what these lenses actually do. Here’s what I pulled out of it, step by step.
Step 1: Choose a Subject That Rewards the Format
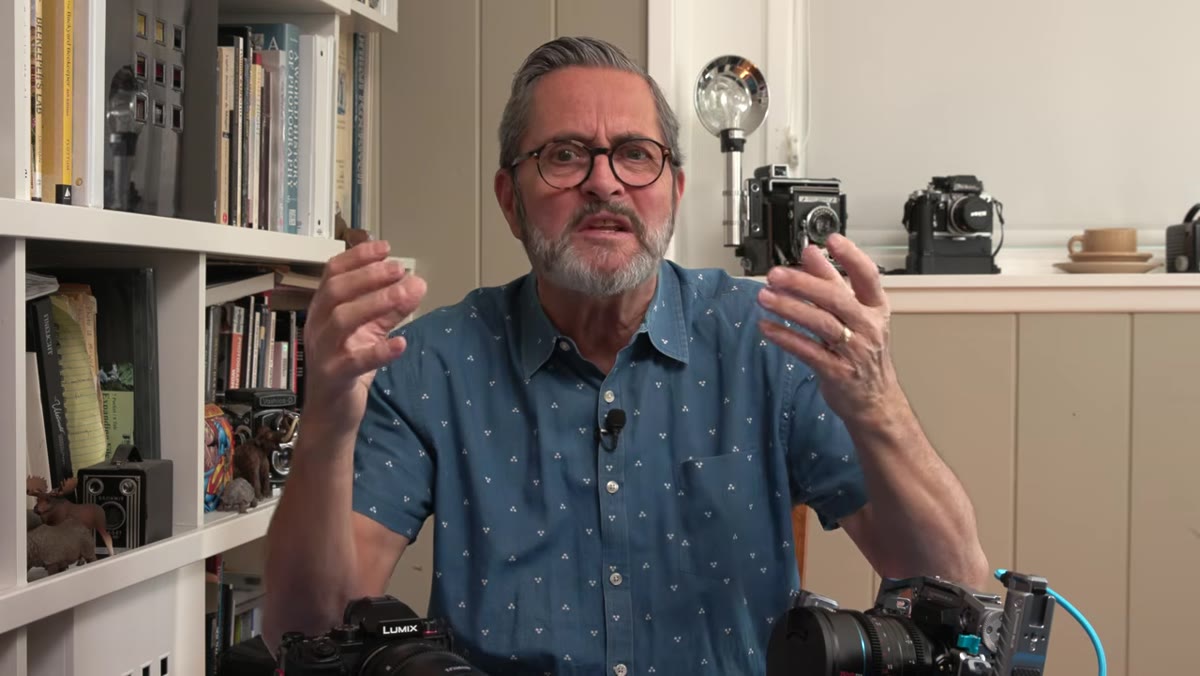 Blacksmith forging a knife in a warm workshop
Before you touch an aperture ring, the first decision is whether your subject actually benefits from anamorphic capture. The widescreen aspect ratio forces a different compositional discipline. You have horizontal real estate to fill, which means subjects that exist in a horizontal environment, workbenches, forge setups, outdoor landscapes, naturally fit the frame. Morgan’s blacksmith subject works because the process sprawls across a worksurface and involves layers of depth: fire in the foreground, tools in the midground, background lighting further back.
Blacksmith forging a knife in a warm workshop
Before you touch an aperture ring, the first decision is whether your subject actually benefits from anamorphic capture. The widescreen aspect ratio forces a different compositional discipline. You have horizontal real estate to fill, which means subjects that exist in a horizontal environment, workbenches, forge setups, outdoor landscapes, naturally fit the frame. Morgan’s blacksmith subject works because the process sprawls across a worksurface and involves layers of depth: fire in the foreground, tools in the midground, background lighting further back.
If you’re used to shooting vertical or square content, anamorphic will feel uncomfortable at first. That discomfort is the point. The format demands that you think in widescreen from the jump, not crop to it later.
Step 2: Plan Your Lighting Around the Lens’s Color Signature
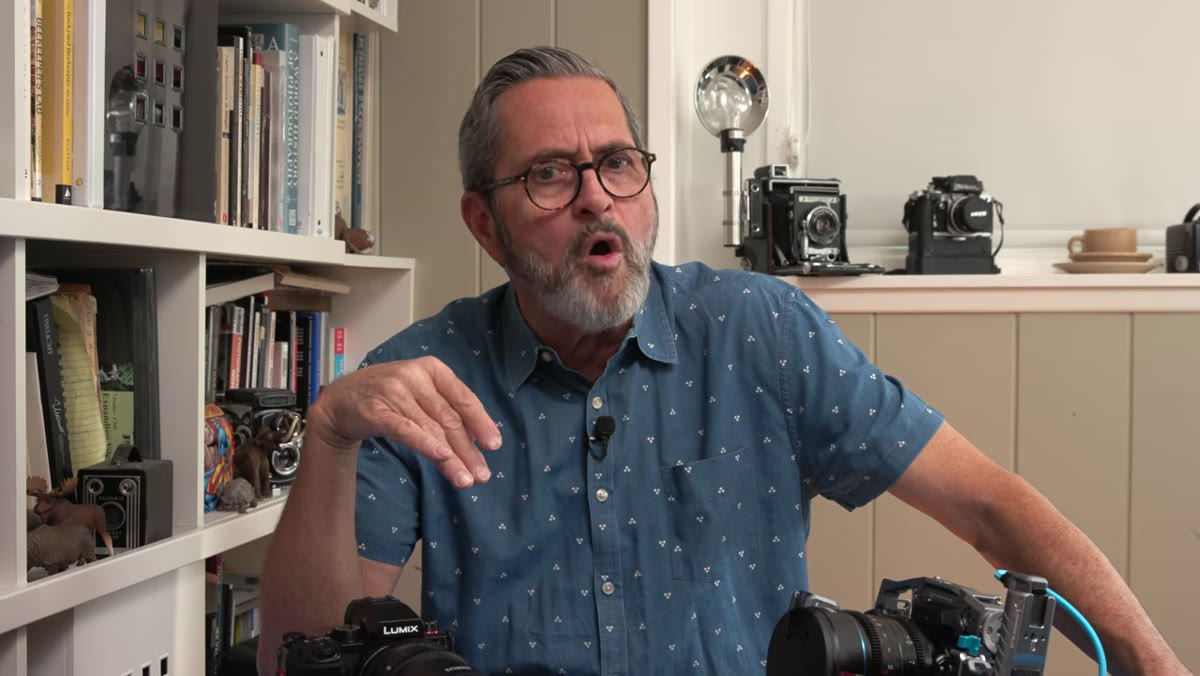 Warm forge fire with blue anamorphic lens flare visible
The Sirui anamorphic lenses have a warm color rendering overall, but they throw a blue horizontal flare when a light source hits them. That’s not a flaw to work around, it’s a tool to use intentionally. Morgan layers his lighting to exploit this: warm practical light from the forge fire up front, cool artificial light placed in the background specifically to trigger that blue flare streak.
Warm forge fire with blue anamorphic lens flare visible
The Sirui anamorphic lenses have a warm color rendering overall, but they throw a blue horizontal flare when a light source hits them. That’s not a flaw to work around, it’s a tool to use intentionally. Morgan layers his lighting to exploit this: warm practical light from the forge fire up front, cool artificial light placed in the background specifically to trigger that blue flare streak.
The result is a frame with natural tonal contrast built in, warm and organic in the foreground, cool and cinematic in the back. Before you shoot, identify where your flare sources will come from and position them deliberately. A light slightly off-axis behind your subject is usually enough. Don’t wait until you’re reviewing footage to wonder why the flares aren’t showing up the way you expected.
Step 3: Manage the Sharpness Question Before It Becomes a Problem
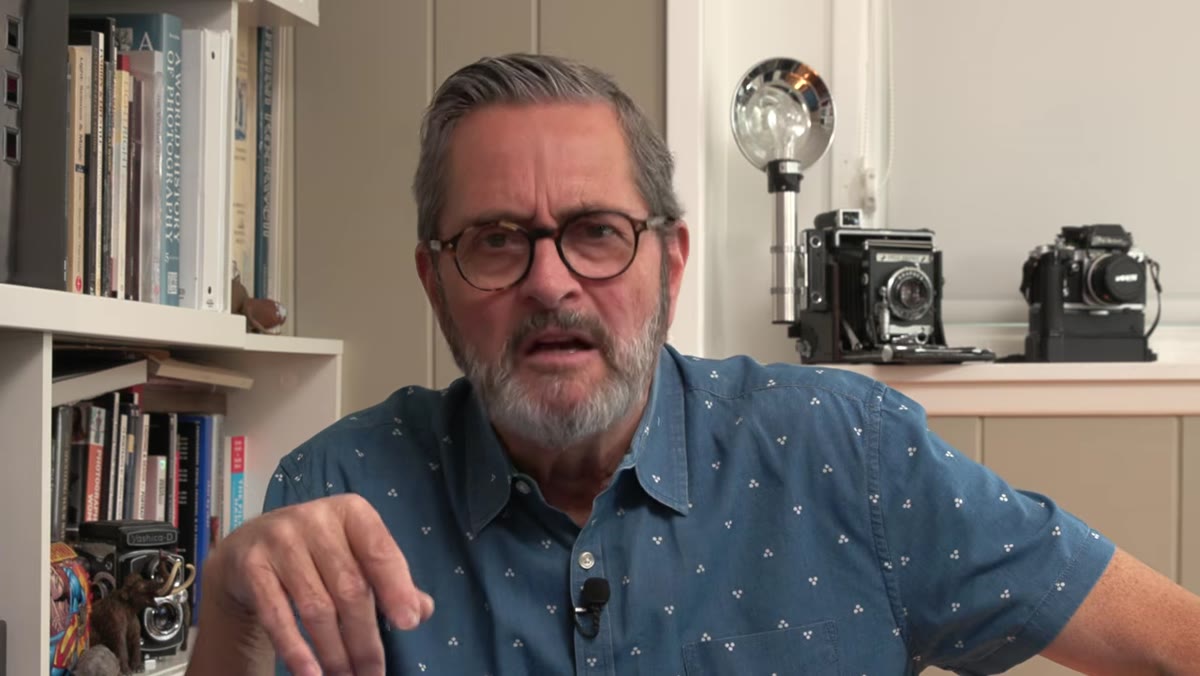 Close-up detail shot showing high lens sharpness
Here’s the part that surprised me most about Morgan’s take: he’s not frustrated that the Sirui lenses are sharp. He’s almost amused that some people treat sharpness in an anamorphic lens as a complaint. His point is practical. It’s easier to soften a sharp image than to sharpen a soft one.
Close-up detail shot showing high lens sharpness
Here’s the part that surprised me most about Morgan’s take: he’s not frustrated that the Sirui lenses are sharp. He’s almost amused that some people treat sharpness in an anamorphic lens as a complaint. His point is practical. It’s easier to soften a sharp image than to sharpen a soft one.
If you want the classic anamorphic softness, the fix is simple. A Black Mist filter or similar diffusion filter drops over the front element and takes the clinical edge off without killing the lens character. Alternatively, you can handle it in post with a subtle glow or diffusion effect. Starting with a sharp, well-corrected image gives you options. Starting with a soft, character-heavy image locks you into one aesthetic. For my money, the sharp baseline is the right place to start, especially if you’re delivering to clients who might have mixed opinions on the “vintage film” look.
Step 4: Set Up Your Two-Lens Kit for Fast Switching
 Two Sirui lenses side by side showing matching gear positions
Morgan runs two focal lengths on this shoot: a 35mm and a 75mm. What makes swapping between them practical on a rig is a design detail that’s easy to overlook in spec sheets. On both lenses, the focus gear and the zoom/aperture controls sit at the same distance from the camera mount. That means when you slide one lens off and mount the other, your follow focus motor or manual focus puller doesn’t need to be repositioned.
Two Sirui lenses side by side showing matching gear positions
Morgan runs two focal lengths on this shoot: a 35mm and a 75mm. What makes swapping between them practical on a rig is a design detail that’s easy to overlook in spec sheets. On both lenses, the focus gear and the zoom/aperture controls sit at the same distance from the camera mount. That means when you slide one lens off and mount the other, your follow focus motor or manual focus puller doesn’t need to be repositioned.
This is a bigger deal than it sounds if you’ve ever lost 10 minutes on a shoot repositioning a follow focus because you switched primes. Morgan’s able to move between the 35 and 75 quickly, which keeps the editorial rhythm of the shoot intact. If you’re building a Sirui anamorphic kit, buying two lenses with this matched-gear design from the start is the move. Don’t mix lens brands or generations if you want this kind of workflow.
Step 5: Use the Aperture-Back, Focus-Front Ring Layout Deliberately
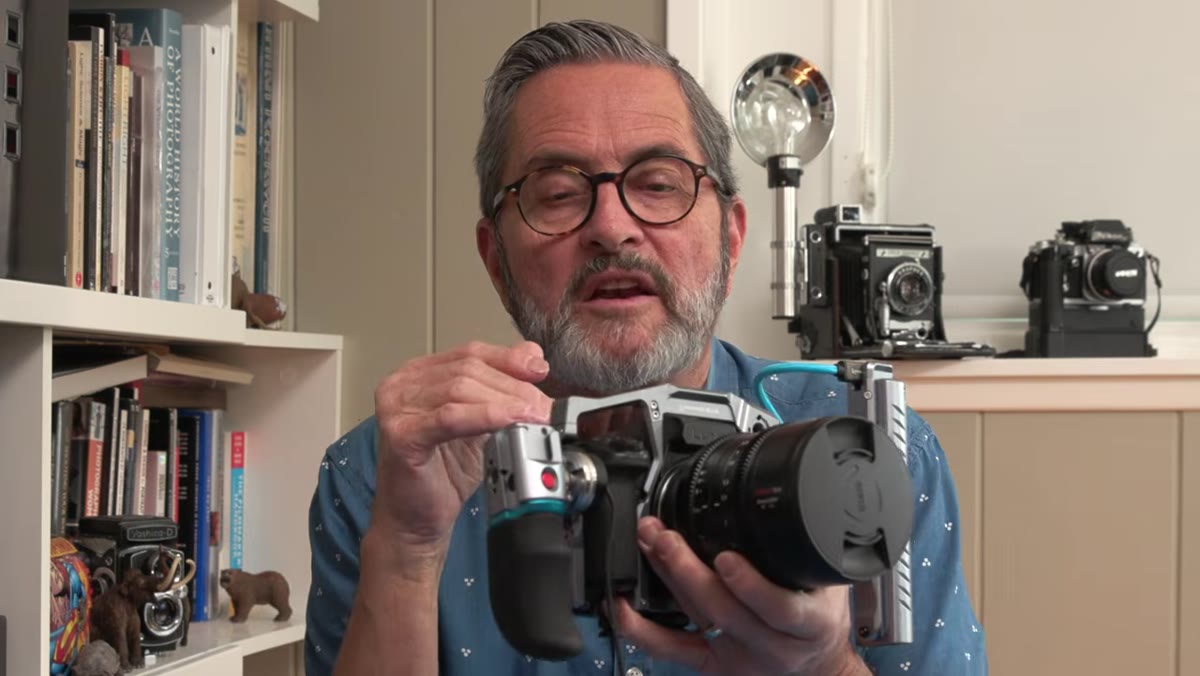 Hands operating aperture ring at rear and focus ring at front
The physical layout of these lenses puts the aperture ring at the rear and the focus ring at the front. On a handheld or shoulder rig setup, this means your camera operator can reach the aperture without interfering with a focus puller working the front. It’s a cinema-style convention that Sirui has baked into the consumer version of these lenses.
Hands operating aperture ring at rear and focus ring at front
The physical layout of these lenses puts the aperture ring at the rear and the focus ring at the front. On a handheld or shoulder rig setup, this means your camera operator can reach the aperture without interfering with a focus puller working the front. It’s a cinema-style convention that Sirui has baked into the consumer version of these lenses.
In practice, this means you should mount these lenses with a rig in mind even if you’re solo shooting. The layout rewards you for thinking about the shot as a two-person operation, even if it’s just you. Set your aperture before rolling, then use the front ring to pull focus as the action moves. Trying to adjust aperture mid-shot while also pulling focus is a recipe for fumbled footage.
What I’d Add From My Own Testing
I haven’t shot with the Sirui anamorphics specifically yet, but I’ve run similar experiments with budget cinema glass and I can tell you the sharpness debate Morgan references is real and it runs deeper than filters. The shooters who complain about sharp anamorphic lenses are usually chasing a specific era of film look that came from optical limitations, not intentional design. If that’s your goal, a diffusion filter is around $40 to $80 depending on size, and it gets you most of the way there without permanently altering the lens or your footage. Keep one in your bag specifically for anamorphic work. Think of it as a toggle between “modern cinematic” and “classic film” rather than a permanent commitment to either.
The bigger takeaway from this whole tutorial isn’t about filters or flares. It’s that anamorphic shooting is a compositional discipline as much as a gear choice. The format forces intentionality. You can’t just point a wide lens at something interesting and call it cinematic. The horizontal frame demands that you fill it with purpose, and that constraint makes you a better visual storyteller in any format.
Watch the full tutorial on YouTube to see the finished blacksmith film and Morgan’s full breakdown of the Sirui lens kit in action.
Comments (2)
Finally someone explains this in a way that actually makes sense.
I tried this on a client project yesterday and the results were way better than expected.
Leave a Comment