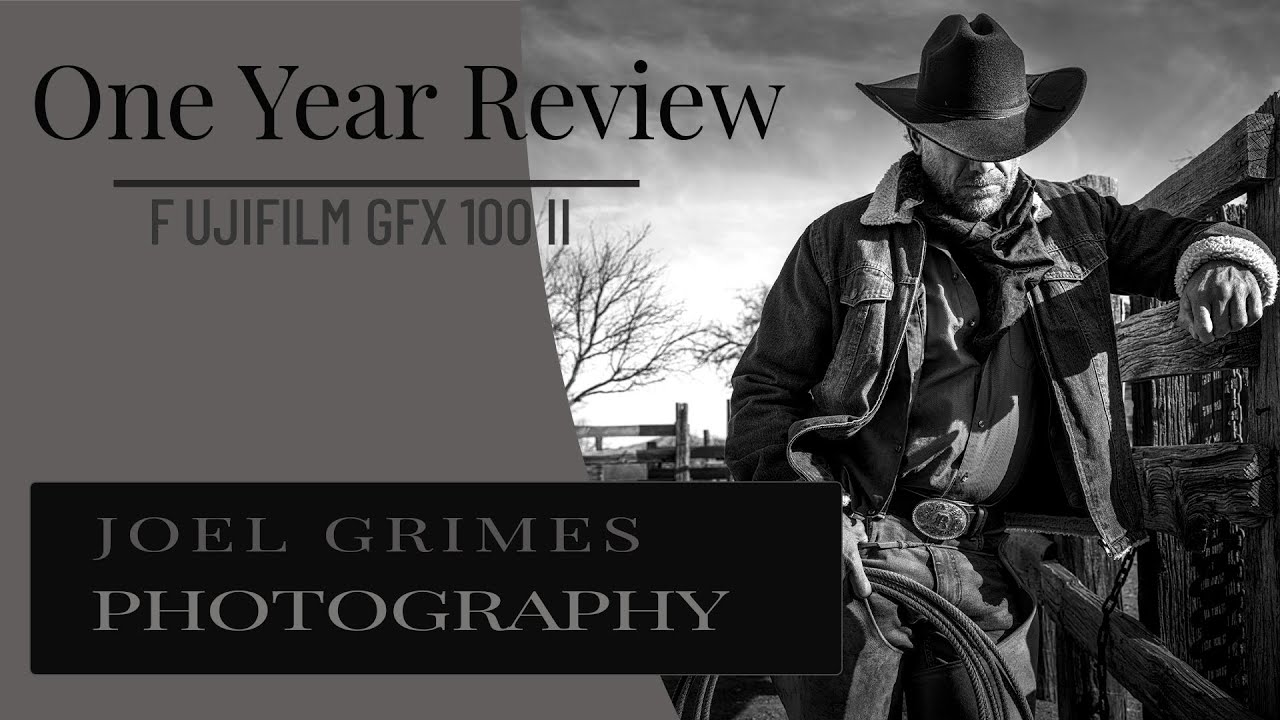
I’ll be straight with you: a $7,000+ medium format camera is not something I’m buying anytime soon. My whole thing is proving that great images don’t require a second mortgage. But I watch a lot of content from photographers who work at the top end of the market, because understanding what the ceiling looks like helps me explain what you’re actually giving up when you buy a $600 body instead. That context matters when I’m testing gear.
In this Joel Grimes Photography tutorial, Watch the full tutorial on YouTube, Joel walks through nearly a year of real-world use with the Fujifilm GFX 100 II. Not a lab test. Not a spec sheet reading. An honest field report from someone who spent decades on film medium format, shot Canon full-frame for 20-plus years, and made the switch because he was tired of workarounds. His perspective cuts through the usual review noise, and there’s a lot here worth unpacking even if you’re shooting something a fraction of the price.
What makes this review useful isn’t the camera itself. It’s how Joel frames the tradeoffs. He’s not chasing megapixels as a status symbol. He got tired of stitching panoramas and blending HDR brackets just to approximate the quality that medium format delivers in a single frame. That’s a workflow problem, not a vanity problem. And thinking about your gear in terms of the workflow it enables or eliminates is something every shooter at every budget should be doing.
Step 1: Understand What Problem Medium Format Actually Solves
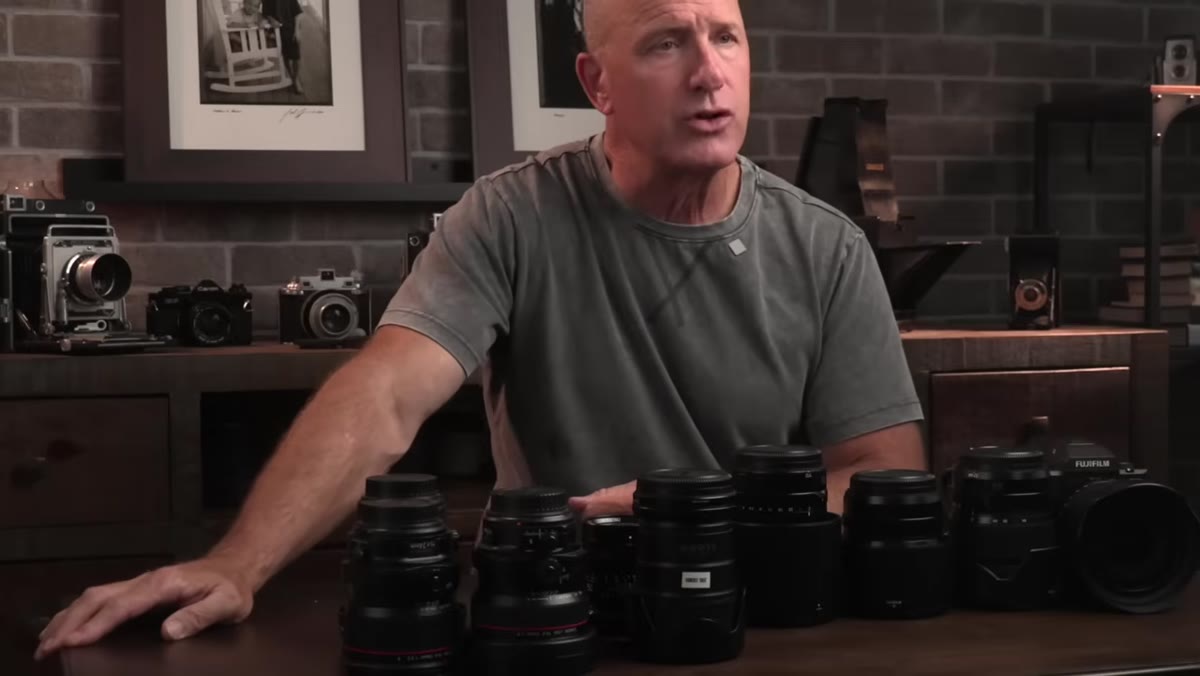 Joel explaining stitching and HDR workarounds on full frame
Before Joel even talks about the GFX 100 II specifically, he lays out the honest reason he bought it. For two decades he was using full-frame Canon bodies as medium format substitutes, stitching multiple images together and processing HDR brackets to get the dynamic range and resolution he needed. It worked, but it was slow and added post-processing time to every shoot.
Joel explaining stitching and HDR workarounds on full frame
Before Joel even talks about the GFX 100 II specifically, he lays out the honest reason he bought it. For two decades he was using full-frame Canon bodies as medium format substitutes, stitching multiple images together and processing HDR brackets to get the dynamic range and resolution he needed. It worked, but it was slow and added post-processing time to every shoot.
The GFX 100 II gave him 100 megapixels and 16-bit color capture in a single shutter press. If you’re wondering whether medium format is worth it for your work, start here: make a list of the workarounds you’re currently doing. If stitching, HDR blending, or heavy noise reduction in shadows are eating your time, that’s the real cost you should be calculating against the camera’s price tag.
Step 2: Choose a Lens Kit That Covers Your Actual Shooting Range
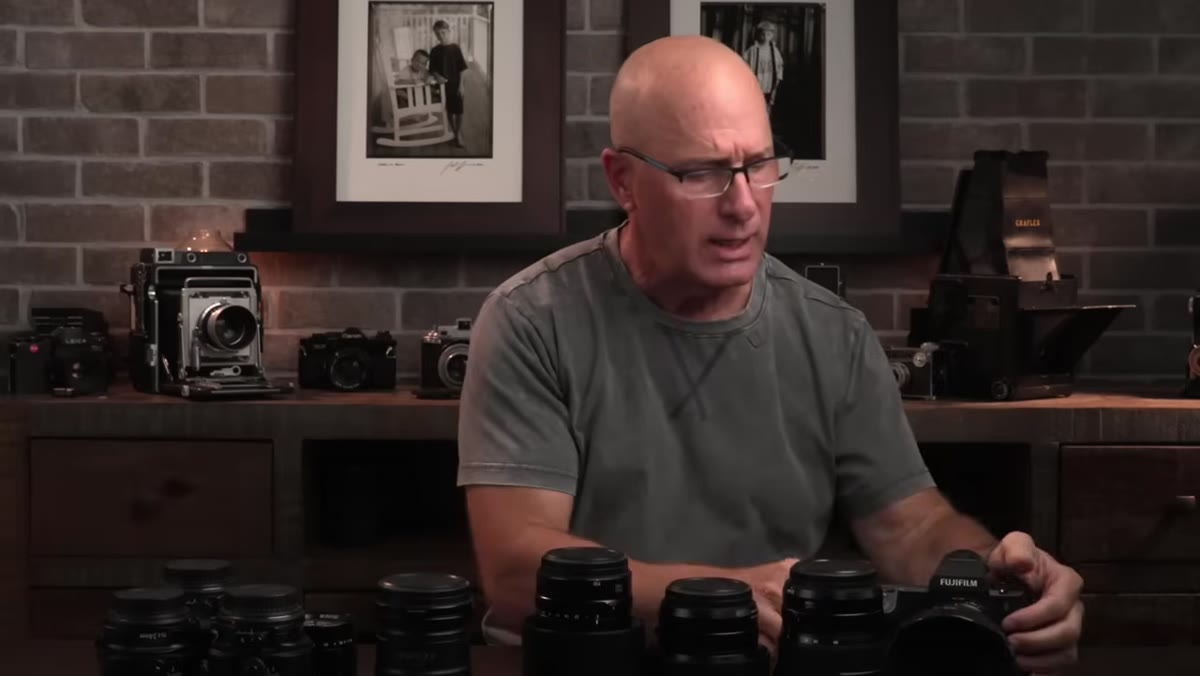 Joel displaying the four GFX lenses he purchased
Joel bought four lenses when he made the switch: the 20-35mm wide zoom, the 32-64mm mid-range zoom, the 80mm f/1.7, and the 110mm f/2. He points out that on the larger GFX sensor, the 20mm end of that wide zoom gives a field of view roughly equivalent to a 16-17mm lens on a full-frame body. That’s an important number to internalize, because GFX focal lengths don’t translate the same way APS-C crop factors do.
Joel displaying the four GFX lenses he purchased
Joel bought four lenses when he made the switch: the 20-35mm wide zoom, the 32-64mm mid-range zoom, the 80mm f/1.7, and the 110mm f/2. He points out that on the larger GFX sensor, the 20mm end of that wide zoom gives a field of view roughly equivalent to a 16-17mm lens on a full-frame body. That’s an important number to internalize, because GFX focal lengths don’t translate the same way APS-C crop factors do.
The practical takeaway here is to map your current focal length preferences to their GFX equivalents before you even look at lens prices. If you live at 24mm on full frame, you need to know what that looks like on a 44x33mm sensor. Joel’s four-lens selection covers wide environmental work through short portrait telephoto, which is a complete kit for his commercial and travel photography without redundancy.
Step 3: Let Field Use Reveal Which Lenses Actually Get Grabbed
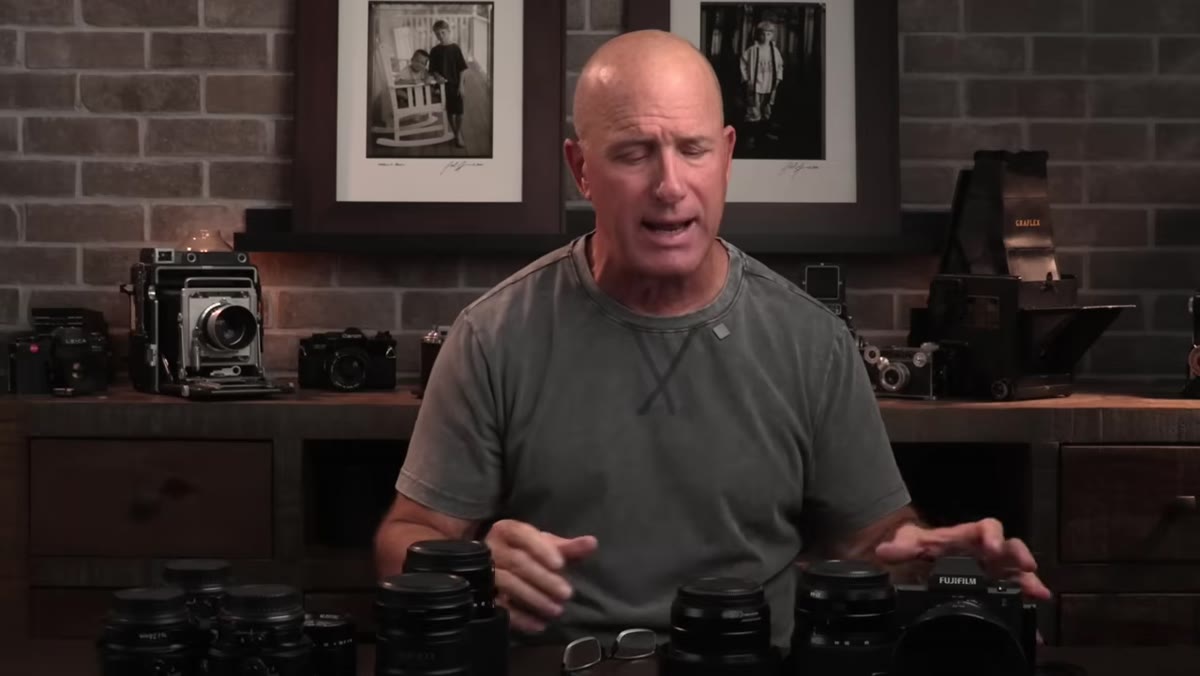 Joel holding the 80mm f/1.7 and explaining its field use
Joel took three of the four lenses on an 11-day trip to Nigeria and left the 110mm f/2 at home. His reason is worth paying attention to: despite the 110’s reputation for beautiful bokeh, he found himself consistently reaching for the 80mm f/1.7 instead. The 80 let him get physically closer to his subjects while still producing soft, creamy backgrounds, and it gave him more environmental context in the frame.
Joel holding the 80mm f/1.7 and explaining its field use
Joel took three of the four lenses on an 11-day trip to Nigeria and left the 110mm f/2 at home. His reason is worth paying attention to: despite the 110’s reputation for beautiful bokeh, he found himself consistently reaching for the 80mm f/1.7 instead. The 80 let him get physically closer to his subjects while still producing soft, creamy backgrounds, and it gave him more environmental context in the frame.
This is the kind of preference you can only discover by actually shooting, not by reading MTF charts. If you’re building a new kit for any system, budget or otherwise, pick two or three lenses and shoot them exclusively for 90 days before buying anything else. You’ll learn what focal lengths you actually think in versus the ones you think you should want.
Step 4: Factor Autofocus Behavior Into Your Lens Decisions
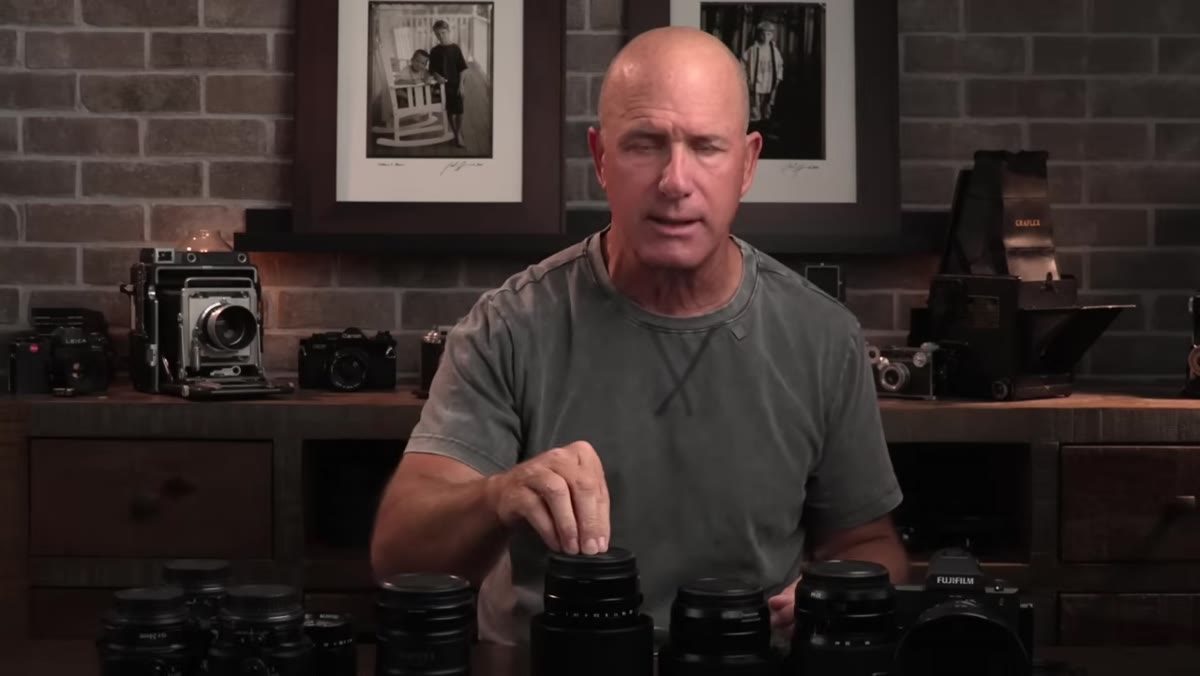 Joel comparing autofocus performance between lenses
Joel flags that the autofocus on the 80mm f/1.7 behaves differently from some of the other GFX lenses. It’s slightly slower to acquire than he’d like in certain situations. At this level of image quality, that’s a real consideration. When you’re shooting wide open at f/1.7 on a 100-megapixel sensor, a missed focus point is not something you can recover in post. The margin for error is tighter than it is on a 24-megapixel body.
Joel comparing autofocus performance between lenses
Joel flags that the autofocus on the 80mm f/1.7 behaves differently from some of the other GFX lenses. It’s slightly slower to acquire than he’d like in certain situations. At this level of image quality, that’s a real consideration. When you’re shooting wide open at f/1.7 on a 100-megapixel sensor, a missed focus point is not something you can recover in post. The margin for error is tighter than it is on a 24-megapixel body.
Whatever system you shoot, understand the autofocus characteristics of each lens individually, not just the camera body. A body with excellent AF can still produce soft images if the lens motor can’t keep up, especially at wide apertures. This is something I test specifically whenever I review lenses, because body-level AF ratings don’t tell the whole story.
Step 5: Evaluate the System Against the Full Cost of Your Previous Workflow
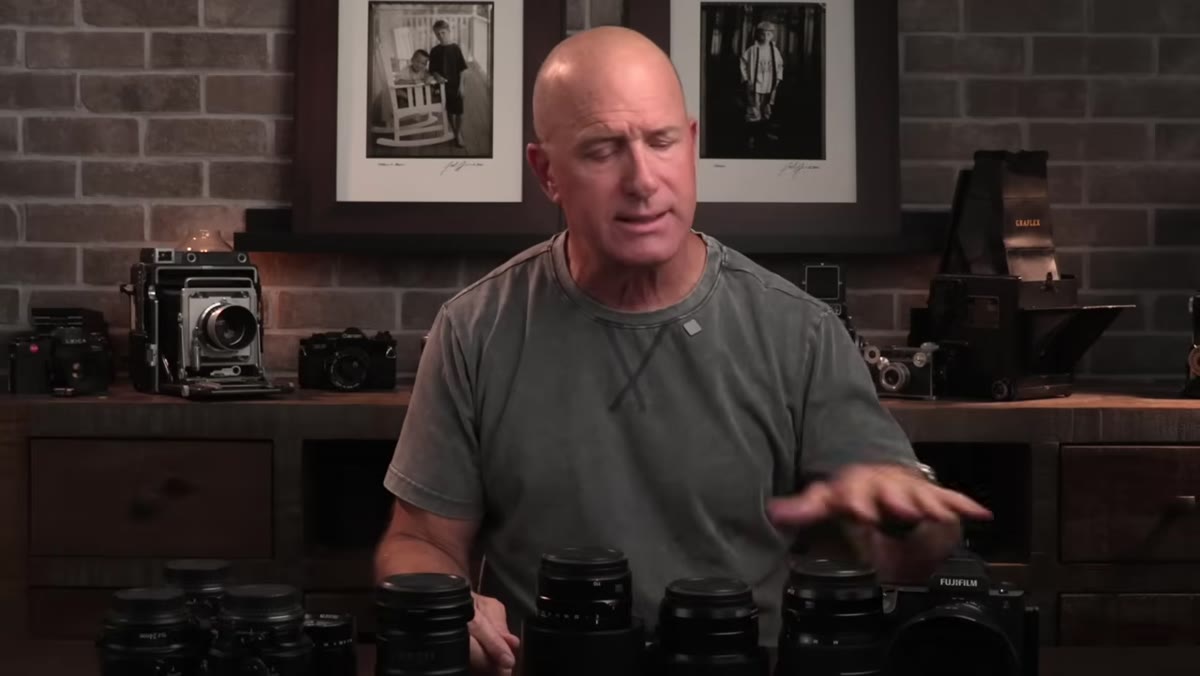 Joel describing the shift away from HDR and stitching workflows
Joel frames his investment in the GFX system not just as a camera purchase but as a replacement for years of extra labor. Every hour spent stitching panoramas or blending brackets is time not spent on other paid work or personal projects. When he puts the cost in those terms, the premium over a full-frame body looks different.
Joel describing the shift away from HDR and stitching workflows
Joel frames his investment in the GFX system not just as a camera purchase but as a replacement for years of extra labor. Every hour spent stitching panoramas or blending brackets is time not spent on other paid work or personal projects. When he puts the cost in those terms, the premium over a full-frame body looks different.
Run this calculation for yourself with whatever upgrade you’re considering. How many hours per month do you spend on workarounds that better gear would eliminate? Multiply that by what your time is worth. The answer might justify spending more than you planned, or it might confirm that your current kit is fine and your bottleneck is something else entirely.
My Take: The Budget Angle Nobody Talks About
I’m never going to be the guy recommending a GFX system to someone who’s starting out or working on a tight margin. But here’s what Joel’s year-long review actually confirmed for me. The principles behind his decision-making are completely portable. He bought the GFX 100 II to solve a specific, measurable workflow problem. He tested lenses in real field conditions before deciding what to keep. He prioritized how a lens made him shoot differently over its spec sheet reputation.
Those are the same questions I ask when I’m comparing a $80 third-party prime to its $400 brand-name equivalent. What problem does it solve? What does it change about how I work? The dollar amounts are different. The logic is identical. Joel’s review is worth watching precisely because it models that kind of honest, use-case-driven thinking rather than just telling you a camera is impressive.
If you shoot in a genre where resolution and dynamic range are limiting your output quality, not your skill or your light, then medium format deserves a serious look, even if only to rent one for a weekend and see what you’ve been compensating for. That test alone might reshape how you think about every camera decision after it.
Watch the full tutorial on YouTube and pay particular attention to how Joel discusses the lens selection process. That section alone is worth 20 minutes of your time regardless of what system you shoot.
Comments (8)
This should be required reading for anyone starting out.
Couldn't agree more. I've seen this make a huge difference in photoshop work specifically.
Wow, I had no idea you could do this. Mind blown.
Simple but effective. Sometimes that's all you need.
This saved me so much time on my last edit. Wish I'd found this sooner.
The tip about what a year with the fujifilm was the missing piece for me. Thank you.
Great breakdown. The step-by-step approach really helps.
Shared this with my photography group. Everyone loved it.
Leave a Comment