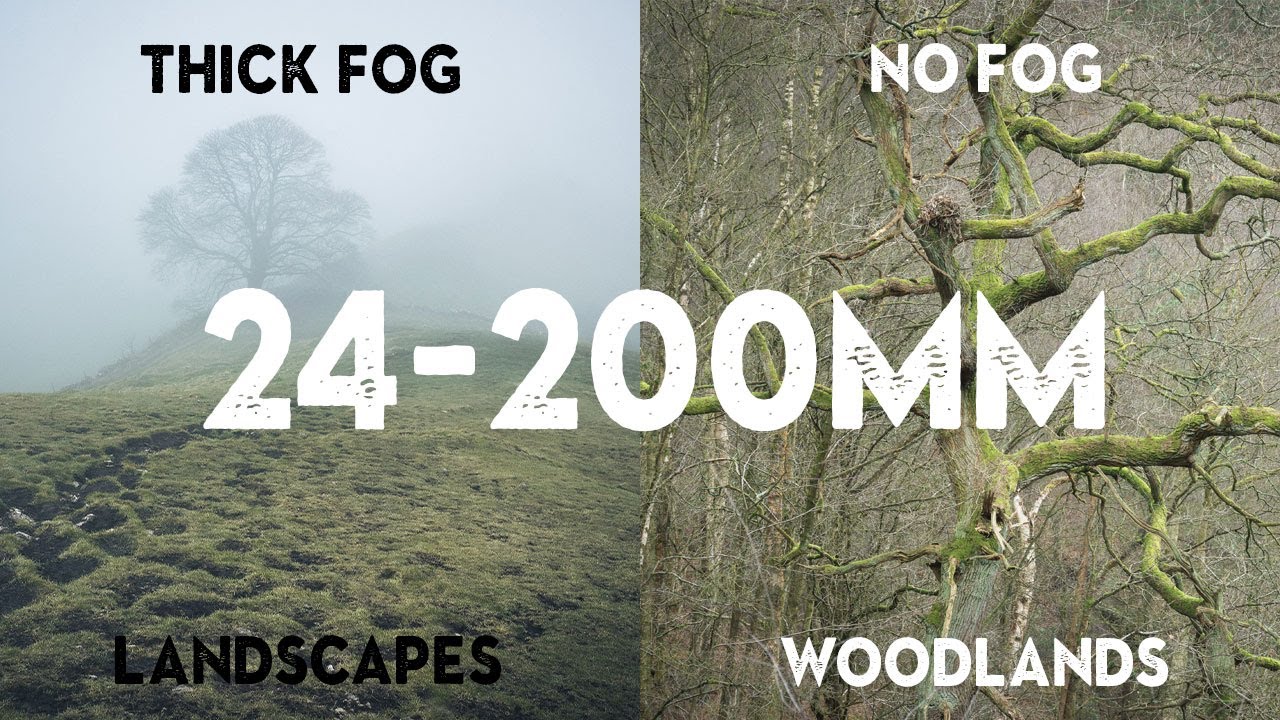
There’s a version of me from two years ago who would have hauled a full backpack up a hill at dawn. Wide prime, mid-range zoom, telephoto, backup body, filters for every occasion. By the time I got to the location I was so tired and over-geared that I spent more time swapping glass than actually looking at the scene in front of me. Sound familiar? That’s the trap most of us fall into, and it’s the exact problem that Watch the full tutorial on YouTube this Nigel Danson tutorial addresses head-on. He takes a single camera, a single 24-200mm lens, and walks into thick fog on a Peak District hillside called Chrome Hill to see what he can find. No safety net.
What struck me watching this wasn’t the gear itself. It was the deliberate philosophy behind stripping down the kit. Danson is an experienced landscape photographer who owns plenty of lenses, and he’s choosing to leave them at home. That’s a different kind of confidence than “I can’t afford more.” It’s worth unpacking what he actually does out there, step by step, because the decisions he makes in the field are ones any shooter can copy.
Step 1: Choose a Single Versatile Lens and Commit to It
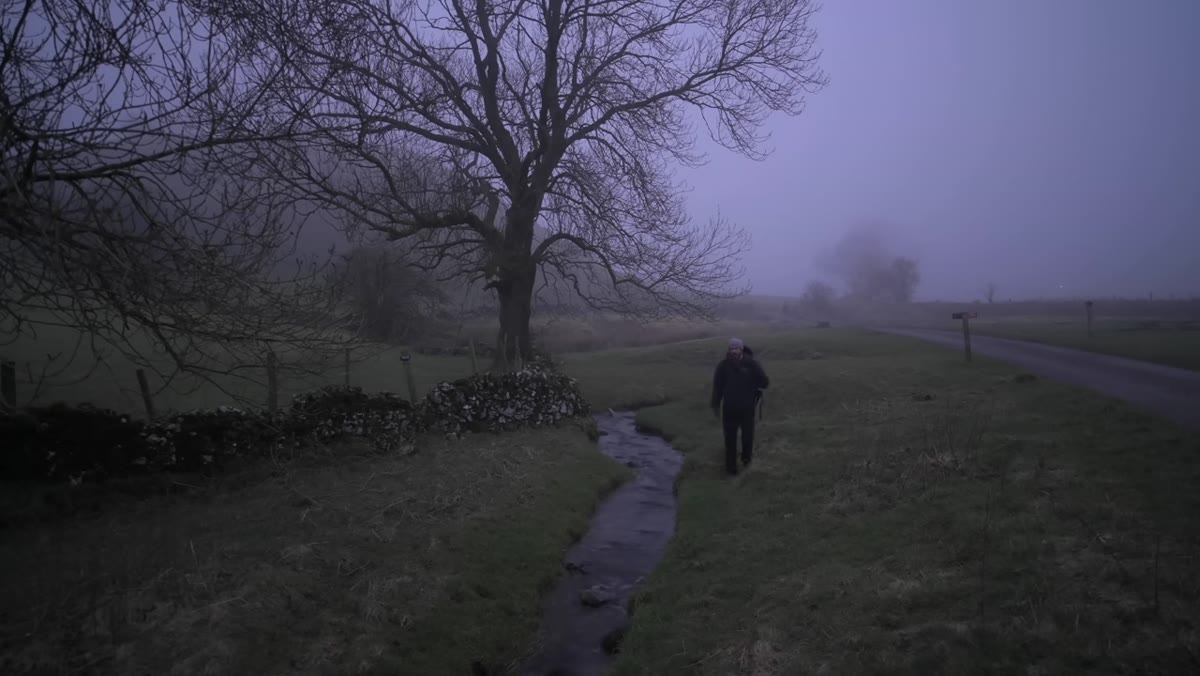 Danson mentions one camera one lens setup on hillside
Before he even reaches the location, Danson has made the foundational call: one camera body, one lens, and the 24-200mm range handles everything from environmental wide shots to compressed telephoto detail. The point is not that a 24-200mm is magic. The point is that committing to a single piece of glass removes the constant mental negotiation of “should I switch lenses right now.” That negotiation costs you presence. Pick your zoom range, or even a prime, and stick with it for an entire session. You’ll spend less time fiddling with your bag and more time actually reading the light.
Danson mentions one camera one lens setup on hillside
Before he even reaches the location, Danson has made the foundational call: one camera body, one lens, and the 24-200mm range handles everything from environmental wide shots to compressed telephoto detail. The point is not that a 24-200mm is magic. The point is that committing to a single piece of glass removes the constant mental negotiation of “should I switch lenses right now.” That negotiation costs you presence. Pick your zoom range, or even a prime, and stick with it for an entire session. You’ll spend less time fiddling with your bag and more time actually reading the light.
Step 2: Arrive Before the Light Resolves and Let the Scene Tell You What It Is
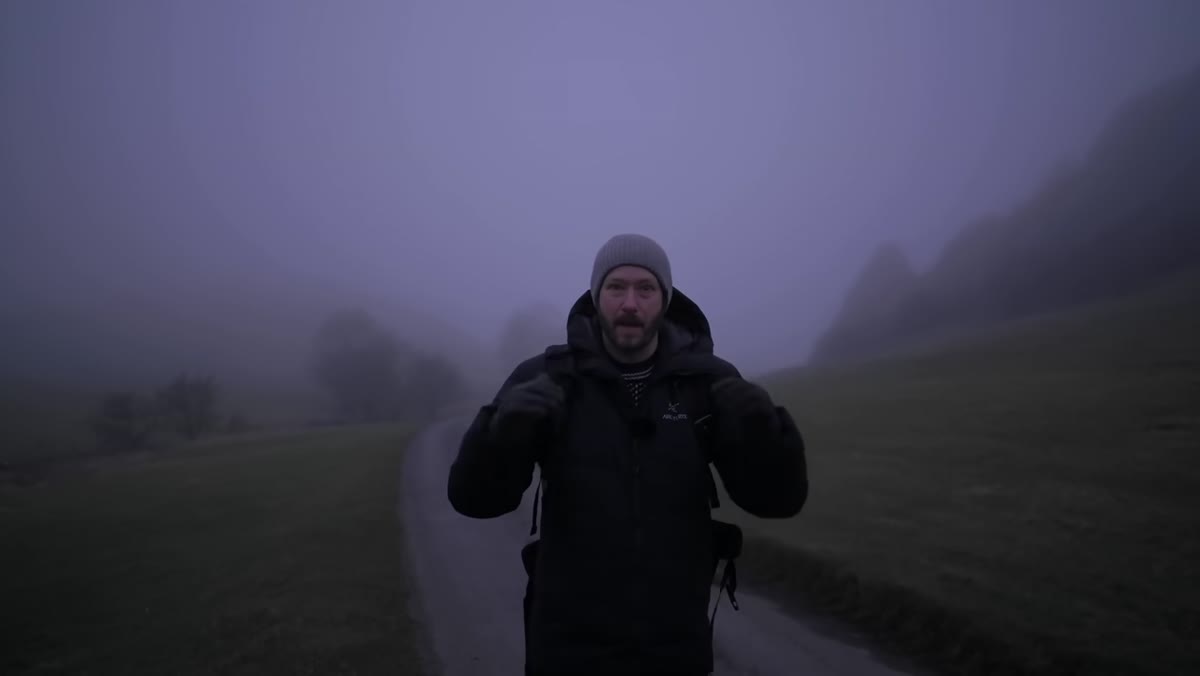 Mist covering hillside before sunrise with low visibility
Danson arrives at Chrome Hill while the fog is still dense and sunrise hasn’t happened yet. Rather than waiting for “perfect” conditions at home, he’s on the hill while the outcome is still uncertain. This is a mindset shift that costs nothing but willpower. Fog can clear in minutes or it can sit all morning. The photographers who get the dramatic shots of mist burning off a ridgeline are the ones who showed up early enough to watch it happen. Danson is explicit about this: the two hours on the mountain always beat the two hours of extra sleep. Set your alarm, drive to the location, and let the conditions develop around you instead of hoping for a highlight reel to appear on Instagram before you bother going out.
Mist covering hillside before sunrise with low visibility
Danson arrives at Chrome Hill while the fog is still dense and sunrise hasn’t happened yet. Rather than waiting for “perfect” conditions at home, he’s on the hill while the outcome is still uncertain. This is a mindset shift that costs nothing but willpower. Fog can clear in minutes or it can sit all morning. The photographers who get the dramatic shots of mist burning off a ridgeline are the ones who showed up early enough to watch it happen. Danson is explicit about this: the two hours on the mountain always beat the two hours of extra sleep. Set your alarm, drive to the location, and let the conditions develop around you instead of hoping for a highlight reel to appear on Instagram before you bother going out.
Step 3: In Low Light, Shift Your Eye to Form Instead of Color
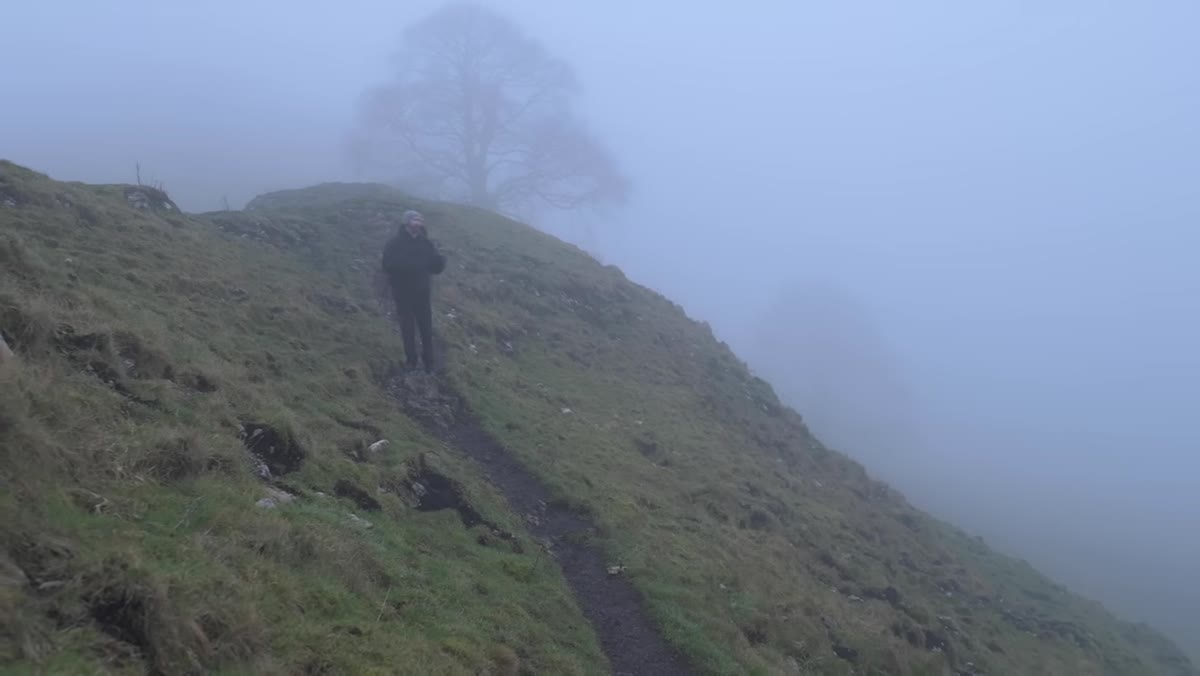 Fog-covered hillside with silhouetted tree shapes visible
When Danson reaches a section of the hillside with a striking tree, he notes that there isn’t much light yet. His instinct is to stop chasing color and tone and start reading form. Fog is a natural background separator. It pushes distance into a soft neutral gray and lets foreground subjects read as clean silhouettes or near-silhouettes. If you’re shooting in flat or low light, train yourself to look for strong shapes first. A gnarled tree, a dry stone wall, a ridge line. These elements hold an image together when the sky isn’t doing anything spectacular.
Fog-covered hillside with silhouetted tree shapes visible
When Danson reaches a section of the hillside with a striking tree, he notes that there isn’t much light yet. His instinct is to stop chasing color and tone and start reading form. Fog is a natural background separator. It pushes distance into a soft neutral gray and lets foreground subjects read as clean silhouettes or near-silhouettes. If you’re shooting in flat or low light, train yourself to look for strong shapes first. A gnarled tree, a dry stone wall, a ridge line. These elements hold an image together when the sky isn’t doing anything spectacular.
Step 4: Use Leading Lines to Create Depth, Then Watch the Edges Carefully
 Stone wall leading toward tree in foggy landscape frame
At a wall-and-tree composition, Danson identifies a dry stone wall entering the frame from the lower left and a ridge receding into the background. He sets up so the wall creates a natural lead-in toward the tree. Classic foreground-to-background depth. What he’s also doing, though, is actively managing the frame edges. He’s watching where the wall enters the corner of the frame and making micro-adjustments to avoid it cutting in at an awkward angle. This is the detail that separates a snapshot from a considered composition. Before you press the shutter, scan the borders of your frame. Every element that enters from an edge is either helping or hurting. Adjust your position until the entries feel intentional.
Stone wall leading toward tree in foggy landscape frame
At a wall-and-tree composition, Danson identifies a dry stone wall entering the frame from the lower left and a ridge receding into the background. He sets up so the wall creates a natural lead-in toward the tree. Classic foreground-to-background depth. What he’s also doing, though, is actively managing the frame edges. He’s watching where the wall enters the corner of the frame and making micro-adjustments to avoid it cutting in at an awkward angle. This is the detail that separates a snapshot from a considered composition. Before you press the shutter, scan the borders of your frame. Every element that enters from an edge is either helping or hurting. Adjust your position until the entries feel intentional.
Step 5: Work a Single Subject From Multiple Focal Lengths Before Moving On
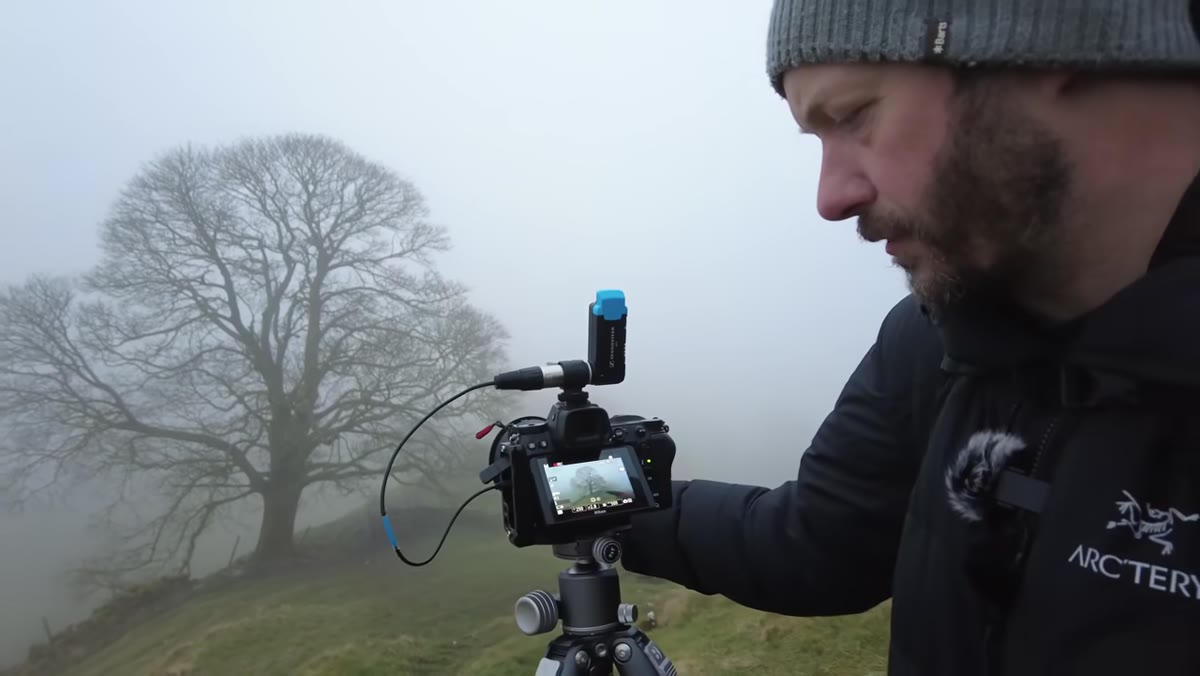
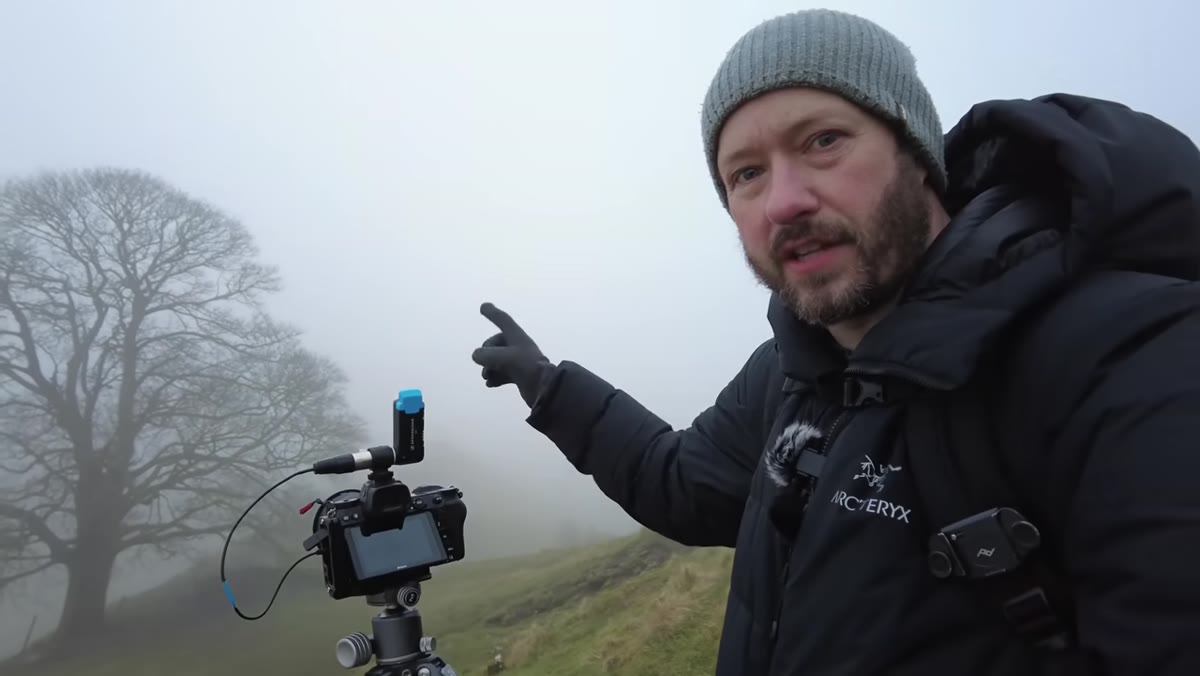 Danson at tree composition adjusting position and framing
With the 24-200mm in hand, Danson doesn’t just shoot once and walk on. He stays at the same scene and uses the zoom range to explore different relationships between the tree, the wall, and the background ridge. Wide end shows context. Telephoto compresses the layers of fog and pulls the background closer. This is one of the biggest advantages of a superzoom over a prime in variable conditions: you can reframe radically without moving your feet, which sometimes matters when you’re on a narrow path or a sloped hillside. Treat each composition stop as a series of experiments rather than a single image, and you’ll come home with real options.
Danson at tree composition adjusting position and framing
With the 24-200mm in hand, Danson doesn’t just shoot once and walk on. He stays at the same scene and uses the zoom range to explore different relationships between the tree, the wall, and the background ridge. Wide end shows context. Telephoto compresses the layers of fog and pulls the background closer. This is one of the biggest advantages of a superzoom over a prime in variable conditions: you can reframe radically without moving your feet, which sometimes matters when you’re on a narrow path or a sloped hillside. Treat each composition stop as a series of experiments rather than a single image, and you’ll come home with real options.
What I’d Add From My Own Testing
I’ve put a handful of budget superzooms through their paces over the past couple of years, and the 24-200mm range specifically keeps coming up as a practical sweet spot for travel and landscape work. The trade-off is usually maximum aperture: you’re looking at f/6.3 at the long end on most affordable options, which means you’re leaning on good light or bumping ISO in dawn and dusk conditions. What Danson demonstrates here actually plays to that limitation perfectly. Heavy fog is a naturally low-contrast scene. You don’t need razor-thin depth of field to separate your subject when mist is doing the separating work for you. So if you’re eyeing a budget 24-200mm but worried about the aperture ceiling, plan your outings around soft, diffused conditions and that weakness becomes almost irrelevant.
The single biggest takeaway from this tutorial has nothing to do with focal lengths or fog. It’s the decision to reduce gear so you can increase attention. Every lens you leave at home is one fewer decision cluttering your head when the light is changing fast and the window is closing. Danson is shooting a scene most photographers would call “bad conditions” and finding genuine images in it, because he showed up and paid attention instead of optimizing his loadout.
Watch the full tutorial on YouTube to follow Danson across Chrome Hill and see how the fog evolves through the session.
Comments (2)
Been doing this wrong for years apparently. Thanks for the wake-up call.
Excellent tutorial. I'd add that from a landscape standpoint, this technique is incredibly versatile.
Leave a Comment