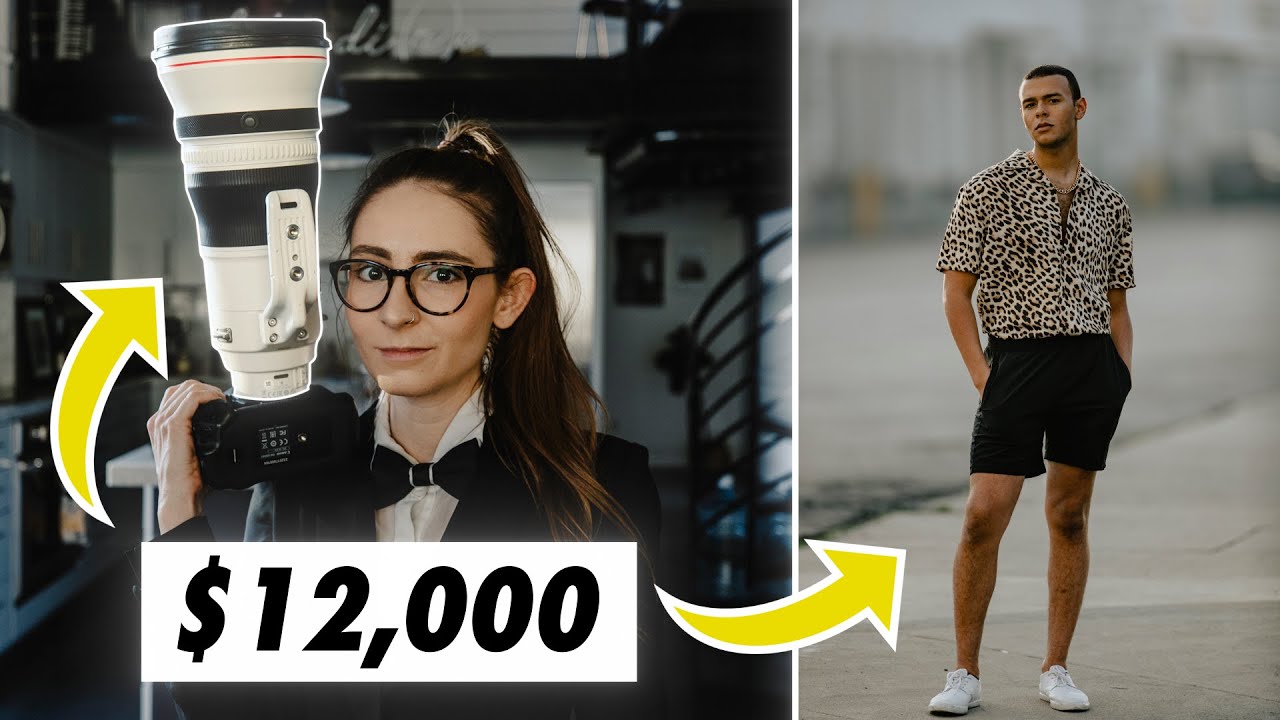
Most portrait photographers top out at 85mm or maybe 135mm and call it a day. I’ve been in that camp for years, and honestly, it makes sense for run-and-gun work. But there’s a whole different look sitting at the long end of the focal length spectrum, and unless you’ve shot with a serious telephoto, it’s hard to picture what you’re actually giving up. That question is exactly what Mango Street set out to answer in Watch the full tutorial on YouTube, when they rented Canon’s 400mm f/2.8 L IS III, took it into the streets with a male model, and documented what happened.
I’ve tested a lot of budget glass over the years. My spreadsheet has north of 40 lenses on it, sorted by sharpness-per-dollar. But this video reframed something I’d been undervaluing: focal length doesn’t just change your framing, it changes the entire relationship between your subject and the world behind them. That’s the core lesson here, and you don’t need a $12,000 lens to internalize it and use it.
Here’s a step-by-step breakdown of what Mango Street actually did, and what you should take away from each stage.
Step 1: Rent Before You Commit (Or Ever)
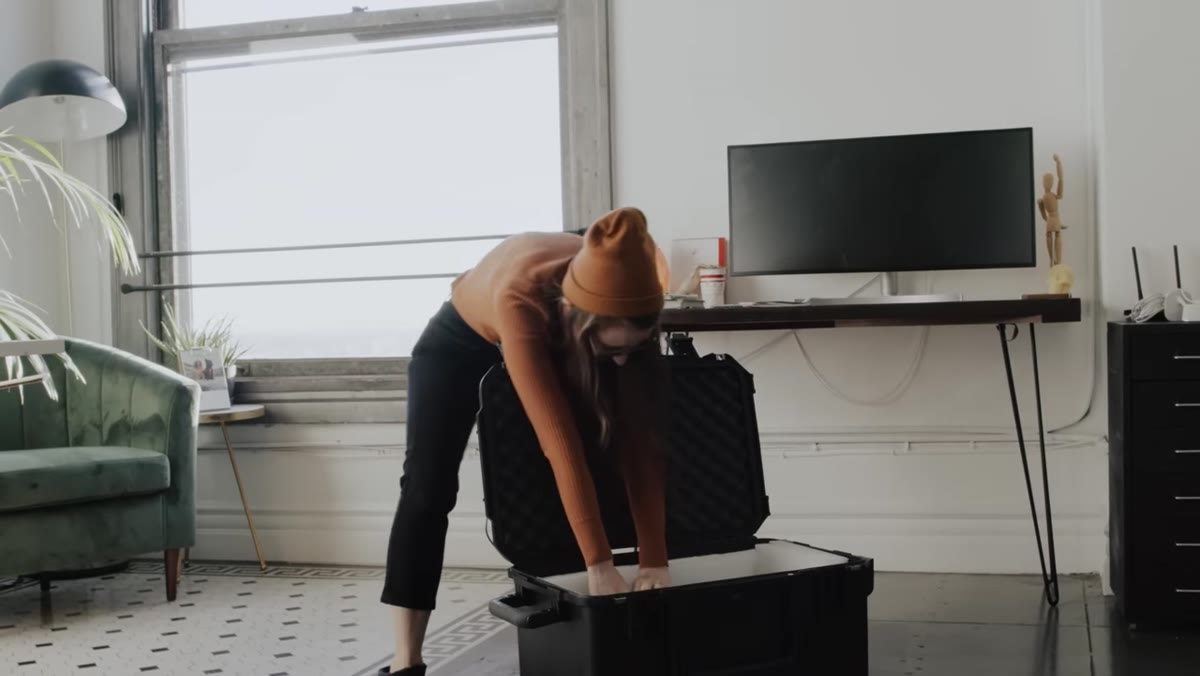
 Canon 400mm f/2.8 lens shown up close on camera
Mango Street was upfront that they rented this lens specifically because it retails around $12,000 and nobody with a functional budget should impulse-buy it. This is the first real technique in the video, and it’s not about glass at all. It’s about giving yourself permission to experiment with focal lengths you’d never purchase just to understand what they do to your images. Services like LensRentals or BorrowLenses let you spend $75-150 to shoot with something you’d otherwise never touch. I’ve done this with tilt-shift lenses and some of the longer L-series zooms. Every time, I’ve walked away with a more accurate mental model of when a given focal length earns its place in a kit. Renting is research, not extravagance.
Canon 400mm f/2.8 lens shown up close on camera
Mango Street was upfront that they rented this lens specifically because it retails around $12,000 and nobody with a functional budget should impulse-buy it. This is the first real technique in the video, and it’s not about glass at all. It’s about giving yourself permission to experiment with focal lengths you’d never purchase just to understand what they do to your images. Services like LensRentals or BorrowLenses let you spend $75-150 to shoot with something you’d otherwise never touch. I’ve done this with tilt-shift lenses and some of the longer L-series zooms. Every time, I’ve walked away with a more accurate mental model of when a given focal length earns its place in a kit. Renting is research, not extravagance.
Step 2: Use a Monopod for Anything Over 200mm
 Photographer steadying large telephoto lens on a monopod outdoors
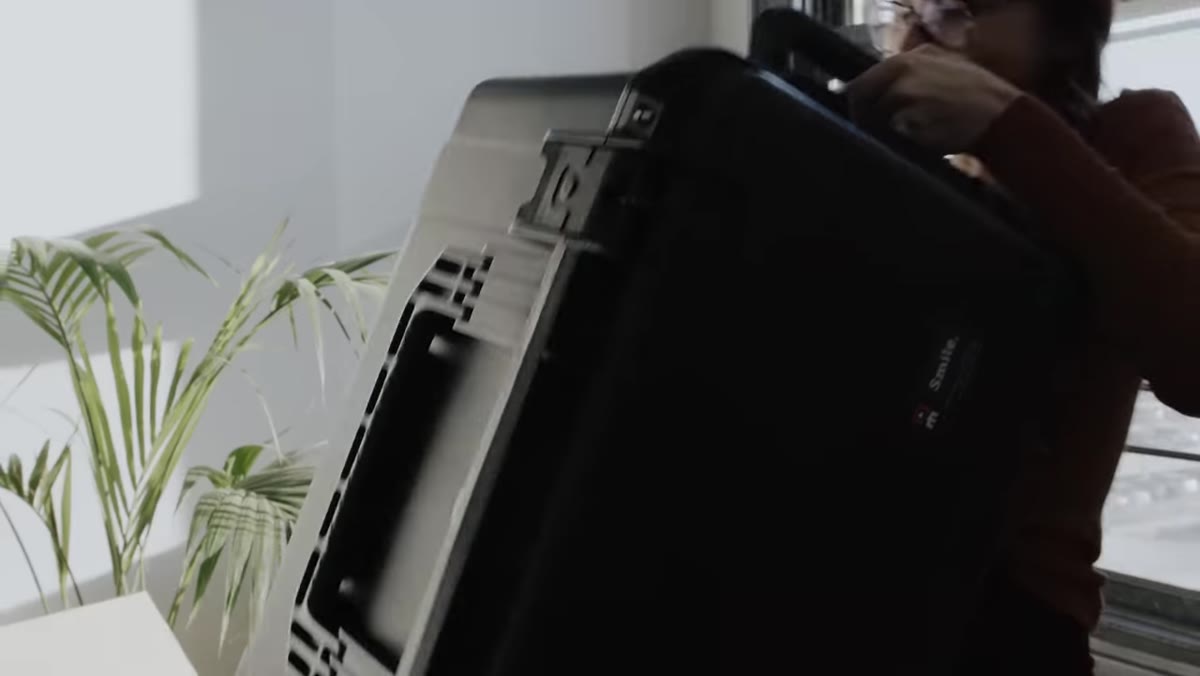
The Canon 400mm f/2.8 weighs just under six and a half pounds. That’s not a lens you handhold for an hour-long portrait session. Mango Street paired it with a solid monopod, and that combination is worth internalizing even at more modest focal lengths. Once you’re past 200mm, a monopod isn’t optional comfort equipment, it’s a sharpness tool. It kills the micro-shake that ruins eyes and fine detail at longer focal lengths. A decent carbon fiber monopod runs $60-120, and it’s one of the more defensible purchases in budget kit building. I’d put it ahead of a second lens in most cases.
Photographer steadying large telephoto lens on a monopod outdoors
The Canon 400mm f/2.8 weighs just under six and a half pounds. That’s not a lens you handhold for an hour-long portrait session. Mango Street paired it with a solid monopod, and that combination is worth internalizing even at more modest focal lengths. Once you’re past 200mm, a monopod isn’t optional comfort equipment, it’s a sharpness tool. It kills the micro-shake that ruins eyes and fine detail at longer focal lengths. A decent carbon fiber monopod runs $60-120, and it’s one of the more defensible purchases in budget kit building. I’d put it ahead of a second lens in most cases.
Step 3: Pull Up a Depth of Field Calculator Before You Shoot
 Depth of field calculator on screen showing 35mm vs 400mm comparison
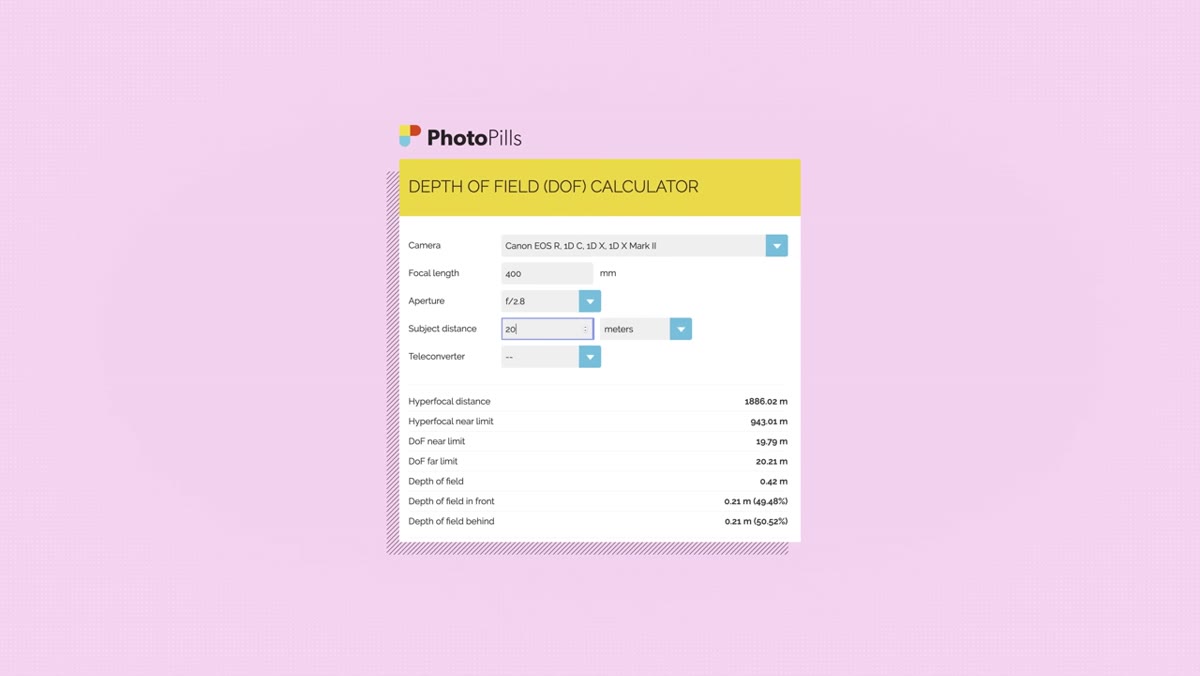
This is the most instructional segment of the video. Mango Street walked through a direct comparison using an actual depth of field calculator, and the numbers make the concept click faster than any description. At 35mm with a subject roughly six feet away at f/2.8, your depth of field is about 42 centimeters, which is already shallow. Now move to 400mm with your subject 20 meters away, and the depth of field is still 42 centimeters, but now anything significantly behind your subject, buildings, trees, crowds, turns into smooth, unrecognizable blur. Same depth of field number, completely different environmental compression. Before any shoot where background control matters, run your focal length and distance through a free tool like PhotoPills or the Cambridge in Colour DoF calculator. It takes 90 seconds and saves you from making guesses on set.
Depth of field calculator on screen showing 35mm vs 400mm comparison
This is the most instructional segment of the video. Mango Street walked through a direct comparison using an actual depth of field calculator, and the numbers make the concept click faster than any description. At 35mm with a subject roughly six feet away at f/2.8, your depth of field is about 42 centimeters, which is already shallow. Now move to 400mm with your subject 20 meters away, and the depth of field is still 42 centimeters, but now anything significantly behind your subject, buildings, trees, crowds, turns into smooth, unrecognizable blur. Same depth of field number, completely different environmental compression. Before any shoot where background control matters, run your focal length and distance through a free tool like PhotoPills or the Cambridge in Colour DoF calculator. It takes 90 seconds and saves you from making guesses on set.
Step 4: Back Way Up and Let Distance Do the Work
 Photographer positioned far from subject in an urban street environment
With a 400mm lens, Mango Street was shooting from roughly 20 meters away, which is about 65 feet. That physical distance is what produces the background compression, not some optical magic exclusive to expensive glass. This principle works at 200mm or even 135mm if you’re willing to create the distance. The practical takeaway for any portrait shoot: don’t default to standing 6 feet from your subject just because that’s comfortable. Walk back. Zoom in. The background transforms. I’ve gotten noticeably better environmental compression on urban shoots just by moving from 10 feet to 25 feet with an 85mm lens, no extra gear required.
Photographer positioned far from subject in an urban street environment
With a 400mm lens, Mango Street was shooting from roughly 20 meters away, which is about 65 feet. That physical distance is what produces the background compression, not some optical magic exclusive to expensive glass. This principle works at 200mm or even 135mm if you’re willing to create the distance. The practical takeaway for any portrait shoot: don’t default to standing 6 feet from your subject just because that’s comfortable. Walk back. Zoom in. The background transforms. I’ve gotten noticeably better environmental compression on urban shoots just by moving from 10 feet to 25 feet with an 85mm lens, no extra gear required.
Step 5: Direct Your Subject Specifically, Not Generally
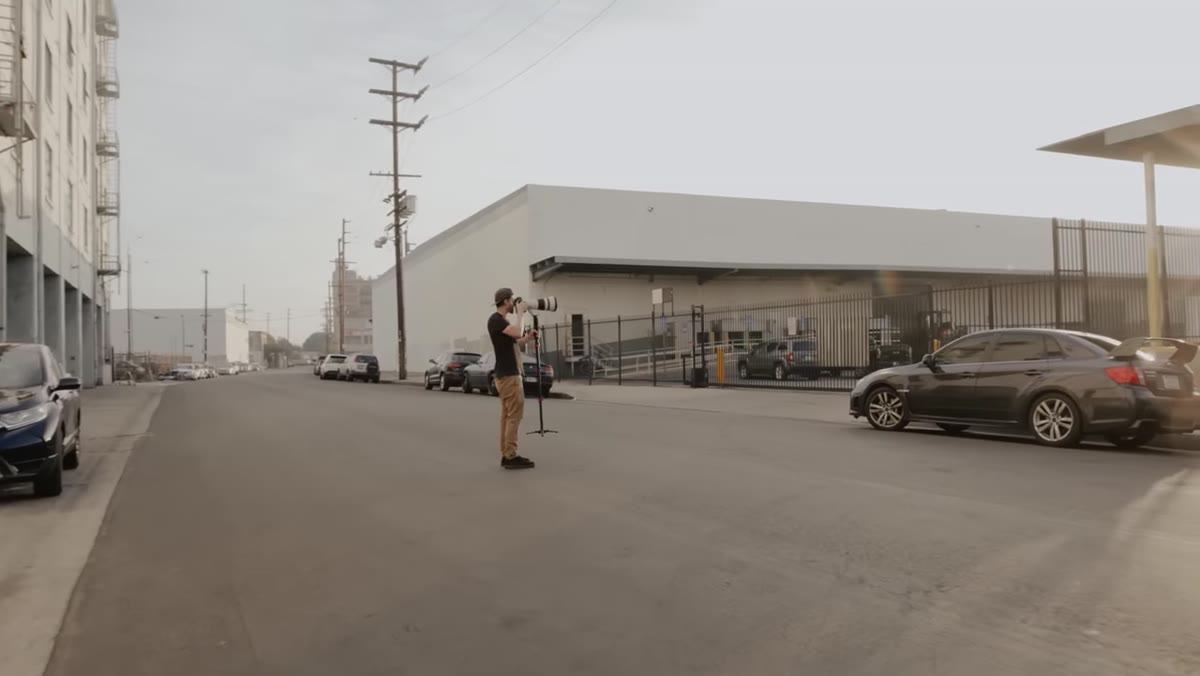 Photographer calling out specific position adjustments to standing male model
A detail that got a little buried in the video: shooting at these distances makes communication harder. Mango Street was calling out specific adjustments, move right, crouch a little, shift away from the pole behind you. When you’re 60 feet from someone, “look natural” does nothing. You have to direct with precision because you can see things in your frame that your subject has no awareness of. Background elements that look fine at 6 feet away become dominant at 400mm when you’re far back. Build the habit of scanning your background actively through the viewfinder, not just glancing at it.
Photographer calling out specific position adjustments to standing male model
A detail that got a little buried in the video: shooting at these distances makes communication harder. Mango Street was calling out specific adjustments, move right, crouch a little, shift away from the pole behind you. When you’re 60 feet from someone, “look natural” does nothing. You have to direct with precision because you can see things in your frame that your subject has no awareness of. Background elements that look fine at 6 feet away become dominant at 400mm when you’re far back. Build the habit of scanning your background actively through the viewfinder, not just glancing at it.
Step 6: Test the Stabilization with Video Clips
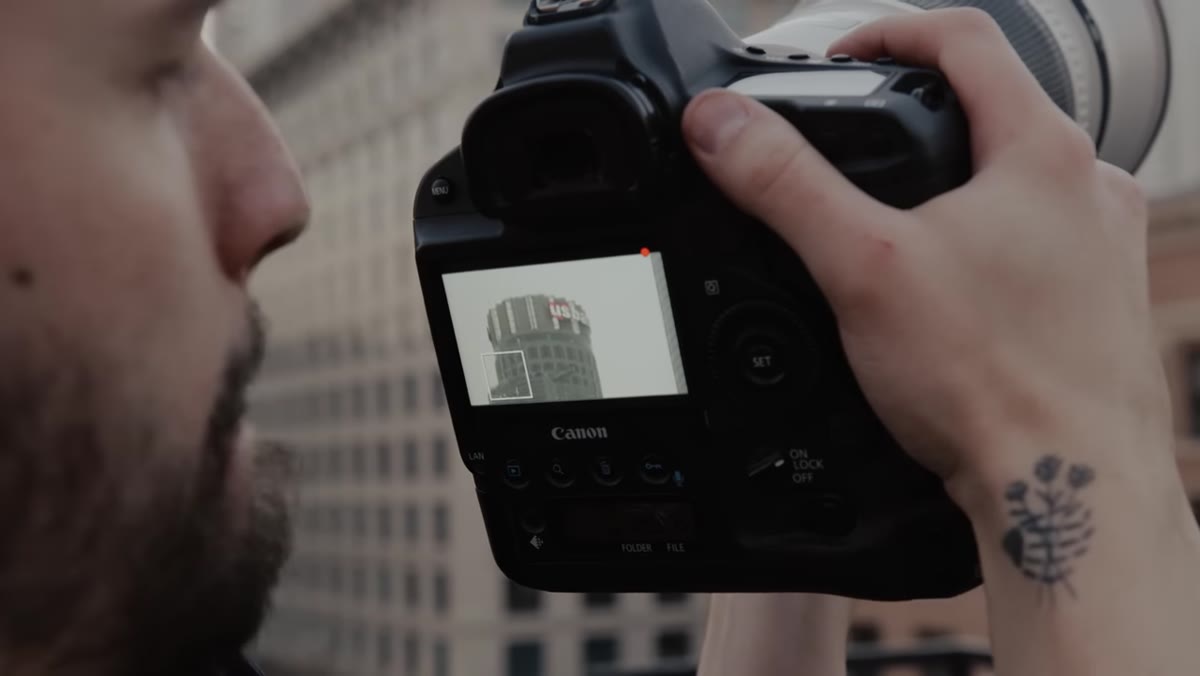 Handheld video clip showing stabilized 400mm footage on city street
Mango Street also noted that the lens’s built-in image stabilization handled handheld video at 400mm impressively well. This matters less for the specific lens and more as a workflow habit: use video clips as a stabilization test during a shoot. It reveals shake you might miss reviewing stills on the back of the camera. Even if you’re a photo-only shooter, 10 seconds of handheld video at your working focal length tells you immediately whether your technique or your stabilization is doing enough work.
Handheld video clip showing stabilized 400mm footage on city street
Mango Street also noted that the lens’s built-in image stabilization handled handheld video at 400mm impressively well. This matters less for the specific lens and more as a workflow habit: use video clips as a stabilization test during a shoot. It reveals shake you might miss reviewing stills on the back of the camera. Even if you’re a photo-only shooter, 10 seconds of handheld video at your working focal length tells you immediately whether your technique or your stabilization is doing enough work.
What I’d Do Differently at a Budget Level
The entire look Mango Street achieved in this video, that subject-pops-from-blurred-environment quality, is reproducible at a fraction of the cost. A used Canon 70-200mm f/2.8 or the Tamron equivalent runs $600-900 used and gets you most of the background compression benefit with a lens you can actually afford to own. Pair it with the monopod you should already own and back up further than feels natural. You won’t get the exact same degree of blur, but the principle is identical, and the principle is what your clients are paying for, not the serial number on your glass.
The single biggest thing this tutorial clarified for me: background compression is a function of distance and focal length working together, not price. Understand that relationship, use a depth of field calculator to plan it, and you can manufacture this look deliberately instead of stumbling into it.
Watch the full tutorial on YouTube to see the final images and follow the shoot in real time. The before-and-after of what 400mm does to an urban background is worth seeing even if you never rent the lens yourself.
Comments (1)
Would love to see a follow-up going deeper into this topic.
Leave a Comment