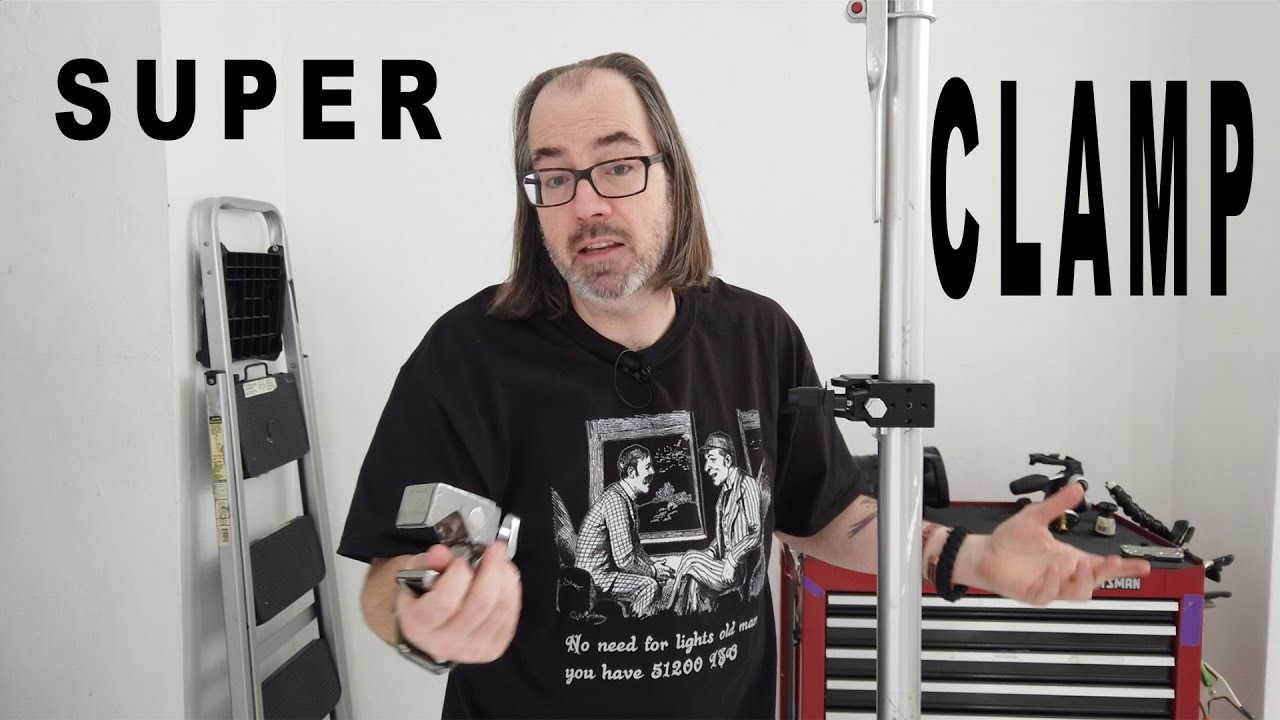
I’ve said it before and I’ll keep saying it: the gear that gets ignored in the glamour conversations is usually the gear that actually makes your shoots work. Nobody’s posting unboxing videos of clamps. Nobody’s doing a dramatic slow-motion reveal of a chunk of metal that costs thirty bucks. But ask any working photographer what piece of gear they grab constantly, and some version of a super clamp is going to come up. In this Daniel Norton Photographer tutorial, Watch the full tutorial on YouTube, Daniel breaks down exactly how super clamps work, what the parts actually do, and how to use them to hang lights without turning your set into an obstacle course of stand legs.
I got into this kind of grip research after realizing I was spending more time rigging workarounds than actually shooting. Small spaces are punishing if you rely entirely on traditional light stands. The super clamp is one of those solutions that feels obvious in hindsight but takes someone actually showing you the details before it clicks. Daniel’s walkthrough is the clearest demonstration of this tool I’ve seen, so here’s the full breakdown.
Step 1: Understand What a Super Clamp Actually Is
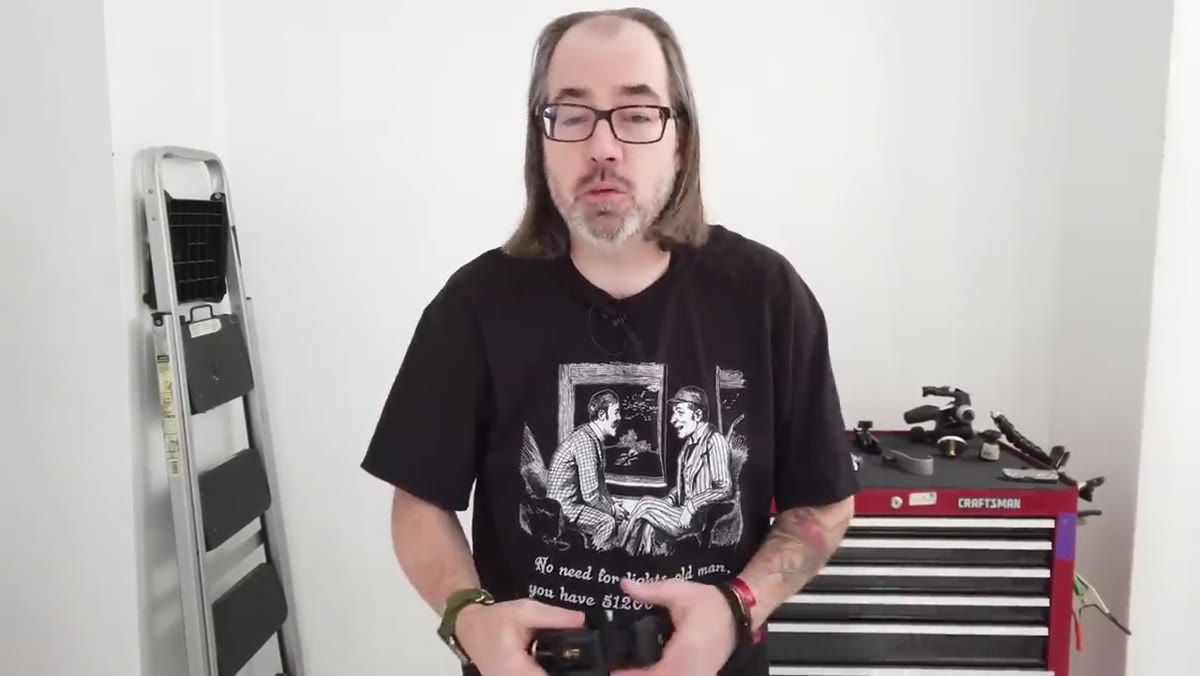 Super clamp held up showing its full body and jaws
A super clamp is a heavy-duty clamp, roughly two to two-and-a-half inches wide, designed to grip pipes, poles, and other structural elements on your set. Think of it as the connector between your environment and your lighting or grip gear. It ships with a small removable wedge insert, which lets the clamp grip flat surfaces like shelves or ledges instead of round pipes. One tool, two gripping configurations. That alone makes it more versatile than most of the gear sitting in the average photographer’s bag.
Super clamp held up showing its full body and jaws
A super clamp is a heavy-duty clamp, roughly two to two-and-a-half inches wide, designed to grip pipes, poles, and other structural elements on your set. Think of it as the connector between your environment and your lighting or grip gear. It ships with a small removable wedge insert, which lets the clamp grip flat surfaces like shelves or ledges instead of round pipes. One tool, two gripping configurations. That alone makes it more versatile than most of the gear sitting in the average photographer’s bag.
Step 2: Learn the Hex Socket Before You Mount Anything
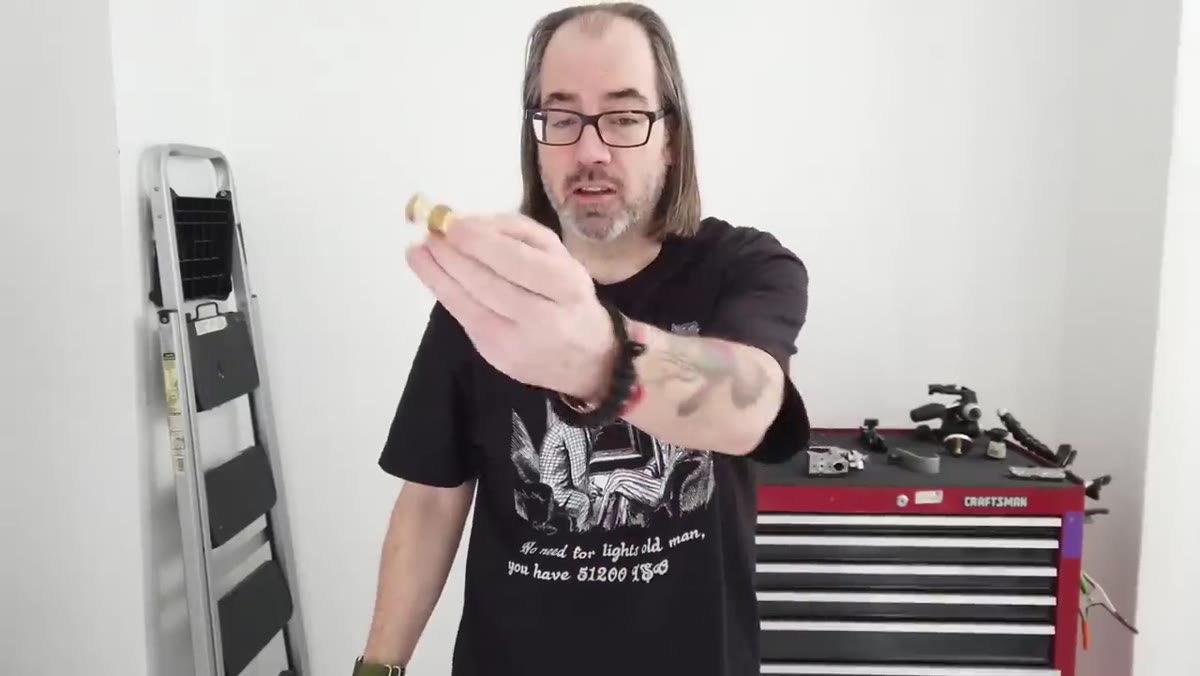 Close-up of the hex-shaped socket at the bottom of the super clamp
Flip the clamp over and look at the mounting socket on the bottom. It’s not a standard round hole. It’s a hex shape, and that design choice matters more than it looks like it should. When you drop a standard 5/8-inch pin into a round socket and tighten it with just a set screw, any rotational force on your light or arm will eventually cause it to shift. The hex socket locks the pin in place geometrically, not just by friction. That means a light swinging slightly, or someone bumping the pole, isn’t going to slowly twist your setup out of position mid-shoot.
Close-up of the hex-shaped socket at the bottom of the super clamp
Flip the clamp over and look at the mounting socket on the bottom. It’s not a standard round hole. It’s a hex shape, and that design choice matters more than it looks like it should. When you drop a standard 5/8-inch pin into a round socket and tighten it with just a set screw, any rotational force on your light or arm will eventually cause it to shift. The hex socket locks the pin in place geometrically, not just by friction. That means a light swinging slightly, or someone bumping the pole, isn’t going to slowly twist your setup out of position mid-shoot.
Step 3: Use the Release Button to Seat the Pin Correctly
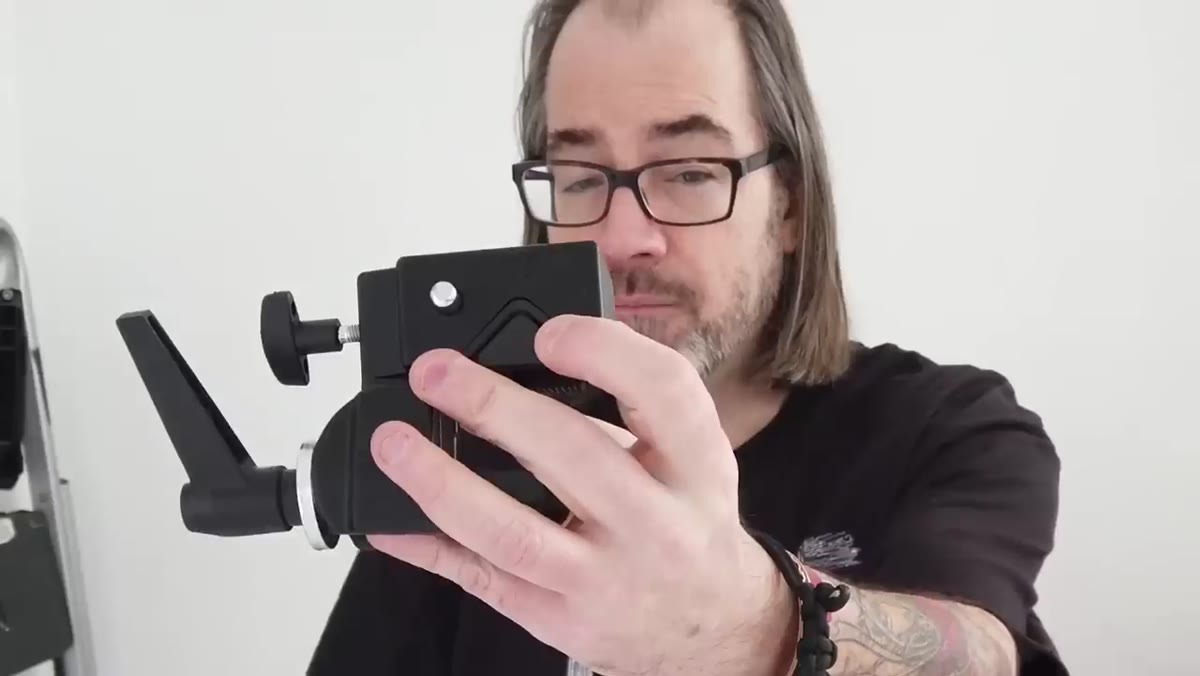 Finger pressing small button on clamp while pin is being inserted
There’s a small spring-loaded button on the side of the clamp body. If you try to push a super clamp pin straight in without pressing this button first, it won’t seat fully. Press the button, insert the pin all the way, release, and it locks. You’ll still want to tighten the locking screw as a backup, but the pin is already mechanically captured. Daniel makes a point here worth repeating: you can technically use a regular round pin in a super clamp if that’s all you have, but you lose the anti-rotation benefit. Fine for a quick temporary setup, not fine for anything overhead or long-term.
Finger pressing small button on clamp while pin is being inserted
There’s a small spring-loaded button on the side of the clamp body. If you try to push a super clamp pin straight in without pressing this button first, it won’t seat fully. Press the button, insert the pin all the way, release, and it locks. You’ll still want to tighten the locking screw as a backup, but the pin is already mechanically captured. Daniel makes a point here worth repeating: you can technically use a regular round pin in a super clamp if that’s all you have, but you lose the anti-rotation benefit. Fine for a quick temporary setup, not fine for anything overhead or long-term.
Step 4: Choose the Right Handle for Your Space
 Two super clamps side by side showing different handle sizes
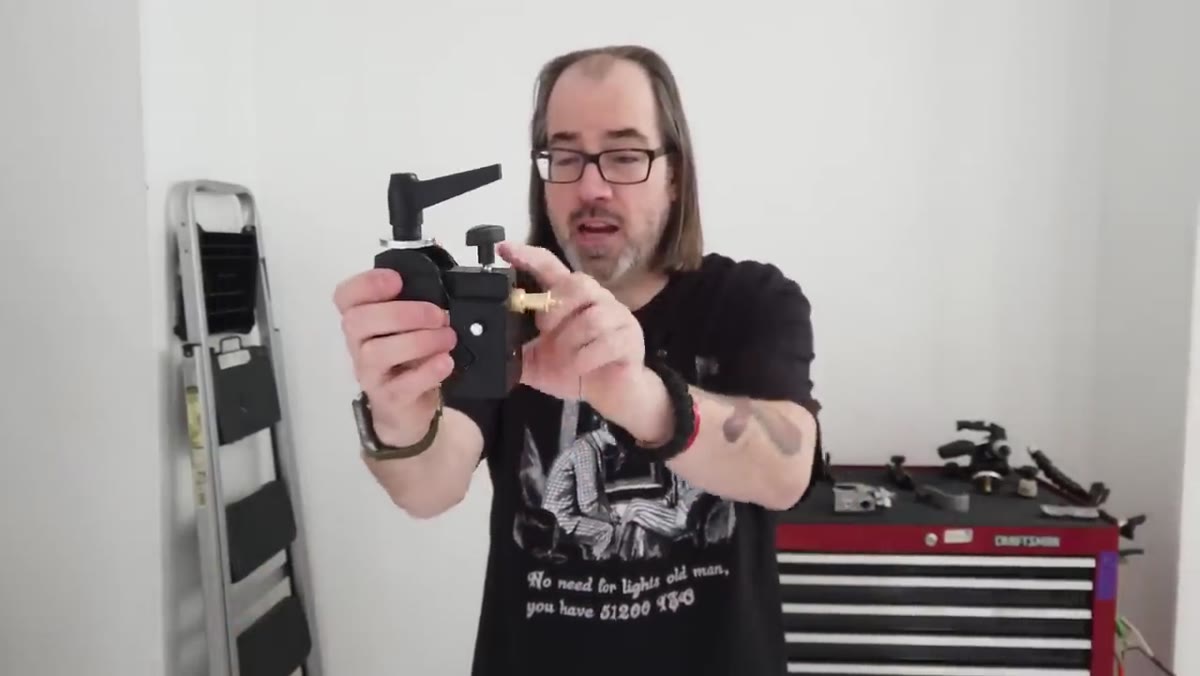
Super clamps come with different handle sizes, and it’s not just aesthetics. The larger, standard handle gives you more mechanical advantage when tightening down on a thick pipe or pole. The smaller handle, like the one on the Matthews version Daniel references, is designed for tight spaces where a big handle would prevent you from getting the clamp flush against a wall or into a confined spot. Both versions use the same hex socket and take the same pins and accessories. If you’re shooting in a dedicated studio, the bigger handle is probably fine. If you’re working in tight editorial spaces or small home setups, the compact handle version earns its price difference.
Two super clamps side by side showing different handle sizes
Super clamps come with different handle sizes, and it’s not just aesthetics. The larger, standard handle gives you more mechanical advantage when tightening down on a thick pipe or pole. The smaller handle, like the one on the Matthews version Daniel references, is designed for tight spaces where a big handle would prevent you from getting the clamp flush against a wall or into a confined spot. Both versions use the same hex socket and take the same pins and accessories. If you’re shooting in a dedicated studio, the bigger handle is probably fine. If you’re working in tight editorial spaces or small home setups, the compact handle version earns its price difference.
Step 5: Mount a Light Directly to an Autopole
 Light mounted on super clamp clamped to a vertical autopole
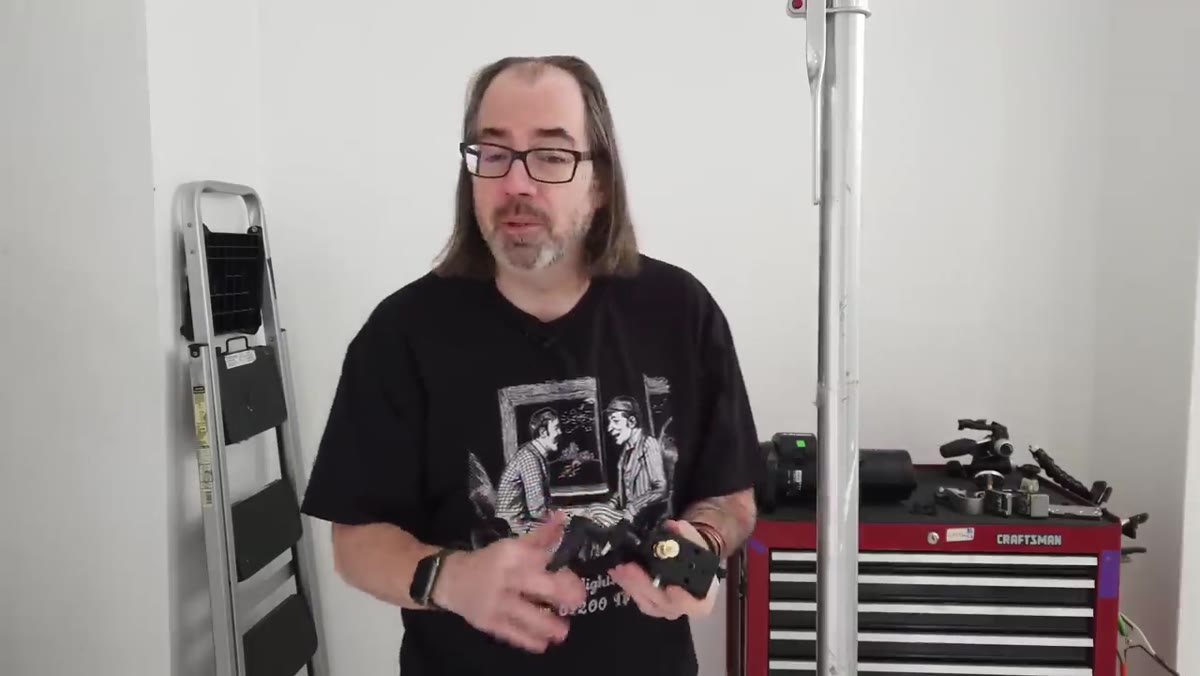
This is the core use case Daniel demonstrates. Autopoles are spring-loaded vertical poles that tension between floor and ceiling, no drilling required. Clamp a super clamp anywhere along the pole, drop in a 5/8-inch receiver or spigot, and you can hang a light at any height without a stand footprint eating up your floor space. Daniel’s example uses a Profoto B1X, which runs around seven pounds. A quality super clamp can hold up to thirty pounds, so most monolights and small strobes are well within range. For background lights in a narrow studio, this setup is genuinely game-changing. The lights float, the floor stays clear, and you stop tripping over spread-out stand legs during a shoot.
Light mounted on super clamp clamped to a vertical autopole
This is the core use case Daniel demonstrates. Autopoles are spring-loaded vertical poles that tension between floor and ceiling, no drilling required. Clamp a super clamp anywhere along the pole, drop in a 5/8-inch receiver or spigot, and you can hang a light at any height without a stand footprint eating up your floor space. Daniel’s example uses a Profoto B1X, which runs around seven pounds. A quality super clamp can hold up to thirty pounds, so most monolights and small strobes are well within range. For background lights in a narrow studio, this setup is genuinely game-changing. The lights float, the floor stays clear, and you stop tripping over spread-out stand legs during a shoot.
Step 6: Dial In the Angle, Then Lock It
 Photographer adjusting and rotating light position on the mounted clamp
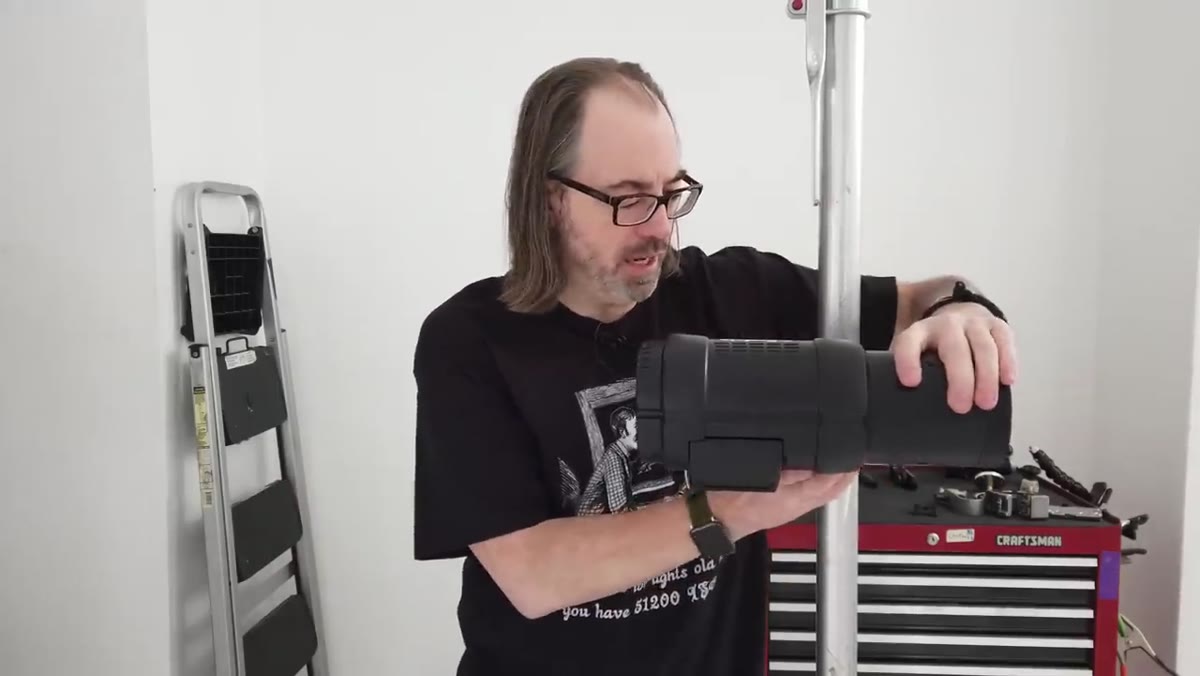
Once your light is mounted, you have some adjustment range before you fully tighten everything down. You can tilt the head by loosening the pin receiver and repositioning, and you can also rotate the entire clamp on the pole by loosening the jaw. It’s not a fully articulating ball head situation, but there’s enough movement to aim a light without detaching anything. Daniel’s honest about the limitation here: for a permanent or long-term light position, you’re going to want to add an extension arm to get proper directional control.
Photographer adjusting and rotating light position on the mounted clamp
Once your light is mounted, you have some adjustment range before you fully tighten everything down. You can tilt the head by loosening the pin receiver and repositioning, and you can also rotate the entire clamp on the pole by loosening the jaw. It’s not a fully articulating ball head situation, but there’s enough movement to aim a light without detaching anything. Daniel’s honest about the limitation here: for a permanent or long-term light position, you’re going to want to add an extension arm to get proper directional control.
Step 7: Add an Extension Arm for Real Positioning Control
 Extension arm attached to super clamp showing right-angle positioning
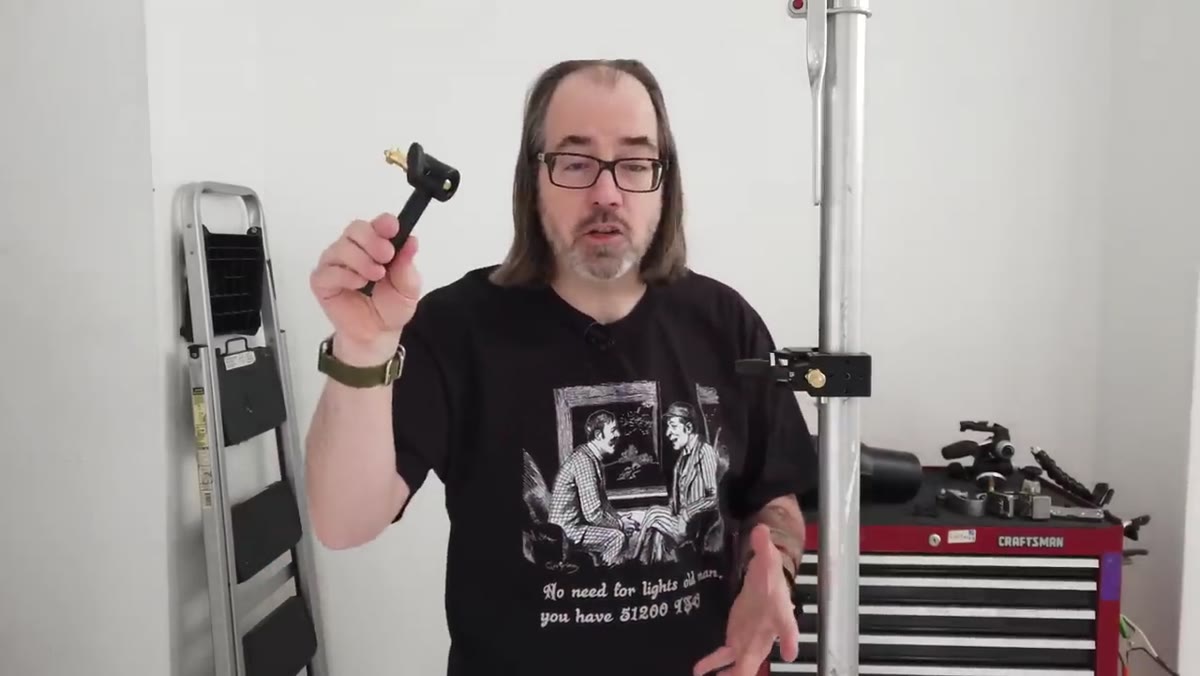
The extension arm is a short articulating or fixed arm that attaches via the same 5/8-inch pin system. It creates a right-angle offset between the clamp and the light, giving you the ability to position the fixture away from the pole rather than directly inline with it. These arms come in a few different lengths depending on how much reach you need. For background lights parked tight to a wall, even a short arm gives you enough separation to aim properly. Stack a super clamp plus an extension arm plus an autopole and you have a complete, stand-free light position that takes up almost no floor space.
Extension arm attached to super clamp showing right-angle positioning
The extension arm is a short articulating or fixed arm that attaches via the same 5/8-inch pin system. It creates a right-angle offset between the clamp and the light, giving you the ability to position the fixture away from the pole rather than directly inline with it. These arms come in a few different lengths depending on how much reach you need. For background lights parked tight to a wall, even a short arm gives you enough separation to aim properly. Stack a super clamp plus an extension arm plus an autopole and you have a complete, stand-free light position that takes up almost no floor space.
What I’d Add From My Own Experience
The thing Daniel doesn’t belabor but is worth stating clearly: super clamps aren’t just for autopoles. I’ve used mine clamped to door frames, C-stand risers, the crossbar of a folding table, and once to the lip of a concrete stairwell railing on a location shoot where there was nowhere to set a stand. The versatility goes up dramatically once you stop thinking of it as a studio-only tool. If you’re building out a starter grip kit on a budget, one or two super clamps plus an autopole or two will solve more problems than a second or third light stand. The floor space you recover is worth more than the modest cost of the hardware.
The single biggest takeaway from Daniel’s tutorial is this: super clamps are load-bearing grip gear with real mechanical engineering behind the design, not just a heavy-duty binder clip. The hex socket, the release button, the handle geometry – these details exist for reasons, and understanding them means you’ll use the tool confidently instead of just hoping it holds. Watch Daniel demonstrate the whole thing in real time here: Watch the full tutorial on YouTube
Comments
Leave a Comment