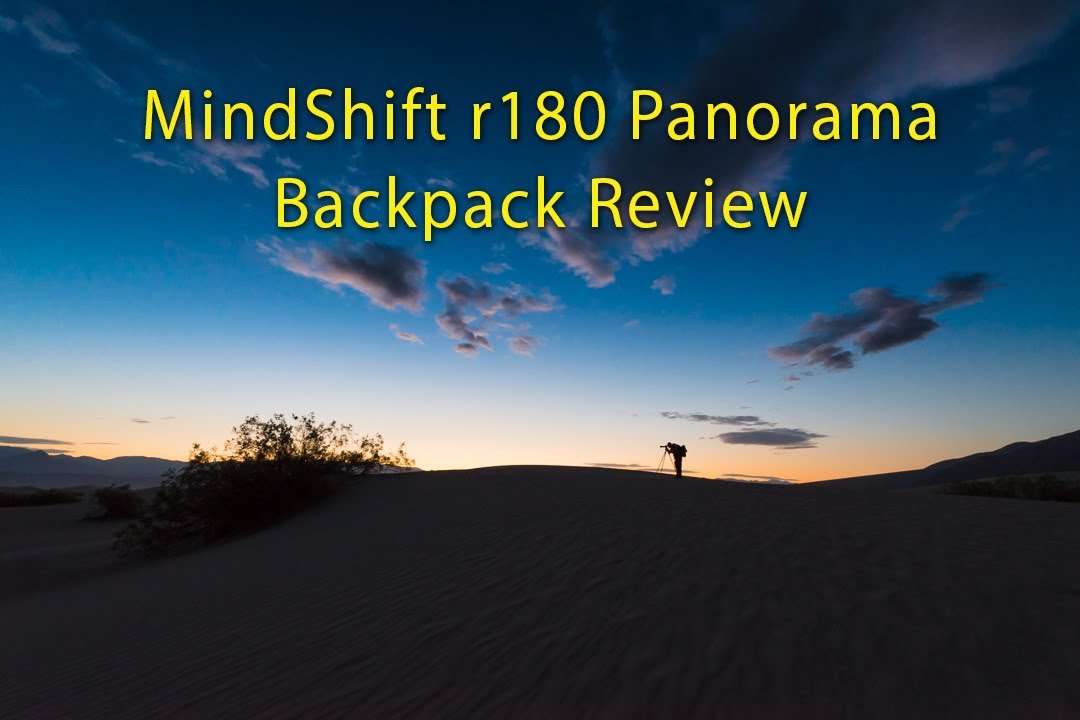
I’ve spent a lot of time watching photographers fumble with their packs at the worst possible moment. You’re at the edge of a tide pool, light is perfect, and there’s nowhere clean to set a bag down. Or you’re standing in a wildflower meadow and the only thing between you and the shot is the two minutes you’re about to spend unshouldering your pack and digging through it. I’ve been there more times than I want to count, and I’ve always just accepted it as part of the process.
Then I came across this Marc Muench tutorial on the MindShift Rotation 180° Panorama backpack, and it reframed how I think about bag design entirely. Watch the full tutorial on YouTube. David Rosen from M Workshops does the actual walkthrough here, and he’s coming at this from a landscape photographer’s perspective, which makes the review immediately practical rather than spec-sheet shallow.
The core idea is simple but kind of brilliant: the camera compartment rotates around your body on the hip belt so you can access your gear while the bag stays on your back. No setting it down in the sand. No rolling it down a hillside. No trampling the environment you came to photograph. It sounds like a minor convenience until you’re actually in the field and realize how much mental overhead goes into managing your pack during a shoot.
Step 1: Understanding the Rotating Hip Belt System
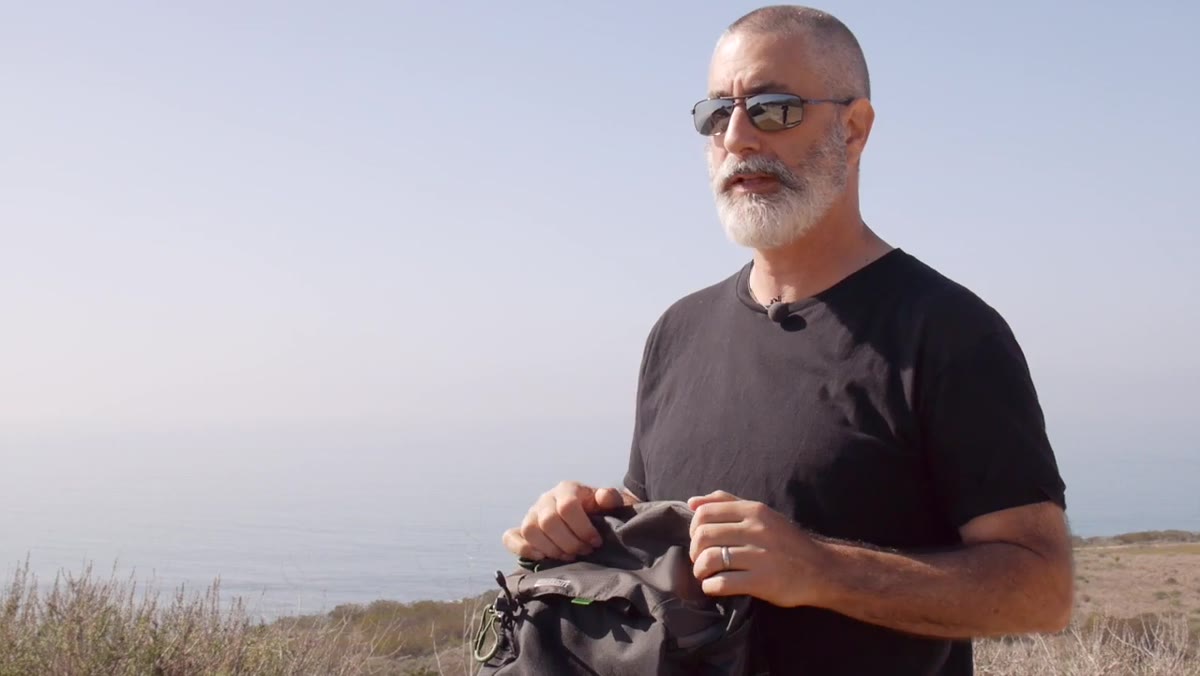 Reviewer demonstrates the fiddle lock release mechanism on hip belt
The whole system lives at the waist. When you’re wearing the pack and fully strapped in, the hip belt has cinch straps that pull forward to lock the rotation mechanism in place. The key component is what Rosen calls the “fiddle lock,” a small release on the belt. You slide it down, the door of the camera compartment pops up, and you grab the handle to swing the entire lower pack section forward and around to your front. Your hands never leave your body plane, and you never break your stance.
Reviewer demonstrates the fiddle lock release mechanism on hip belt
The whole system lives at the waist. When you’re wearing the pack and fully strapped in, the hip belt has cinch straps that pull forward to lock the rotation mechanism in place. The key component is what Rosen calls the “fiddle lock,” a small release on the belt. You slide it down, the door of the camera compartment pops up, and you grab the handle to swing the entire lower pack section forward and around to your front. Your hands never leave your body plane, and you never break your stance.
This is the feature that justifies the bag’s price point. Everything else is good-but-normal backpack design. This mechanism is the reason landscape photographers specifically reach for this bag.
Step 2: Accessing the Camera Compartment Mid-Shoot
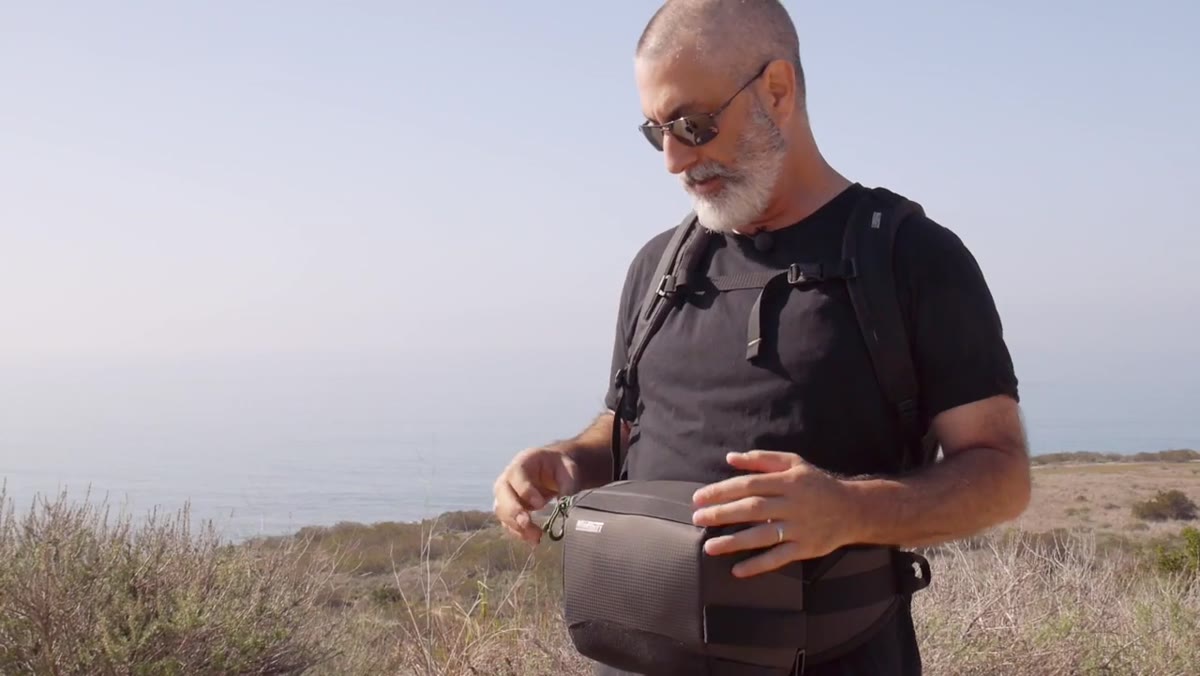 Camera compartment rotated to front, open and accessible while worn
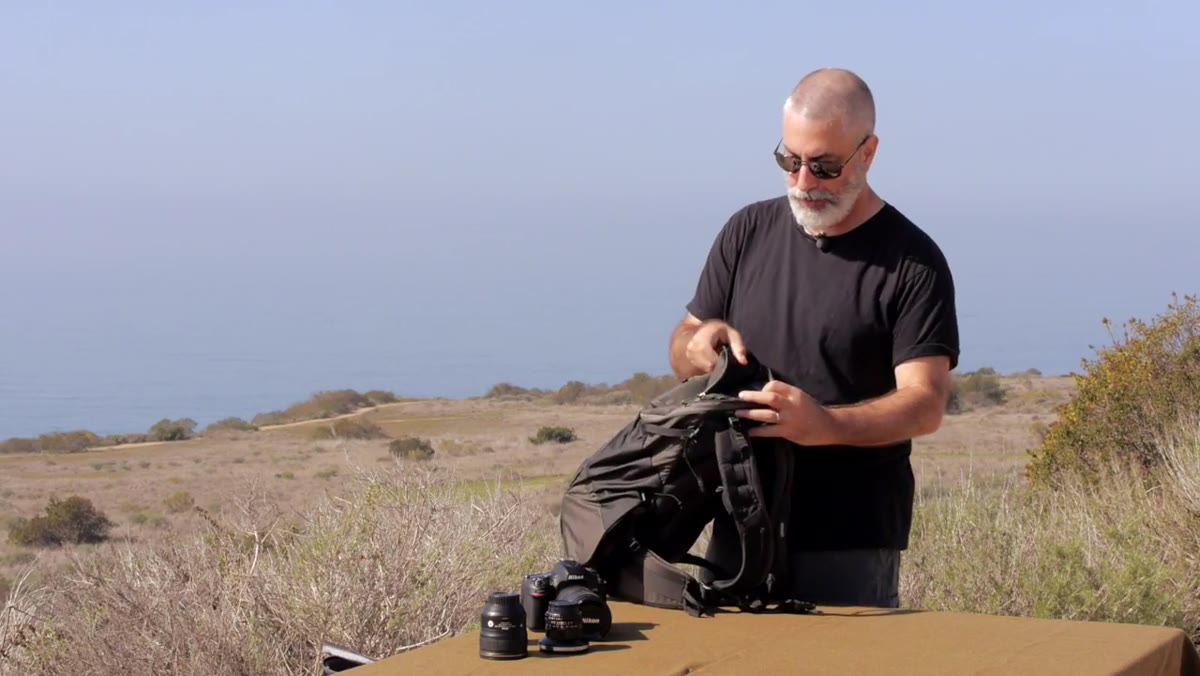
Once the compartment swings forward, it opens like a normal camera bag, with a mesh inner pocket for small accessories and the main padded section for your bodies and lenses. Rosen has a Nikon D600 with a 28-300 mounted, plus three additional lenses including a 24mm f/1.4 and a 16mm fisheye, and it all fits. He notes there’s an L-bracket on the camera and it’s snug but functional. That’s a real-world load, not a manufacturer’s best-case scenario.
Camera compartment rotated to front, open and accessible while worn
Once the compartment swings forward, it opens like a normal camera bag, with a mesh inner pocket for small accessories and the main padded section for your bodies and lenses. Rosen has a Nikon D600 with a 28-300 mounted, plus three additional lenses including a 24mm f/1.4 and a 16mm fisheye, and it all fits. He notes there’s an L-bracket on the camera and it’s snug but functional. That’s a real-world load, not a manufacturer’s best-case scenario.
When you’re done, you slide the compartment back around, re-engage the fiddle lock, and you’re moving again. The whole sequence takes maybe 15 seconds once you’ve practiced it a few times.
Step 3: Loading the Gear and Knowing the Limits
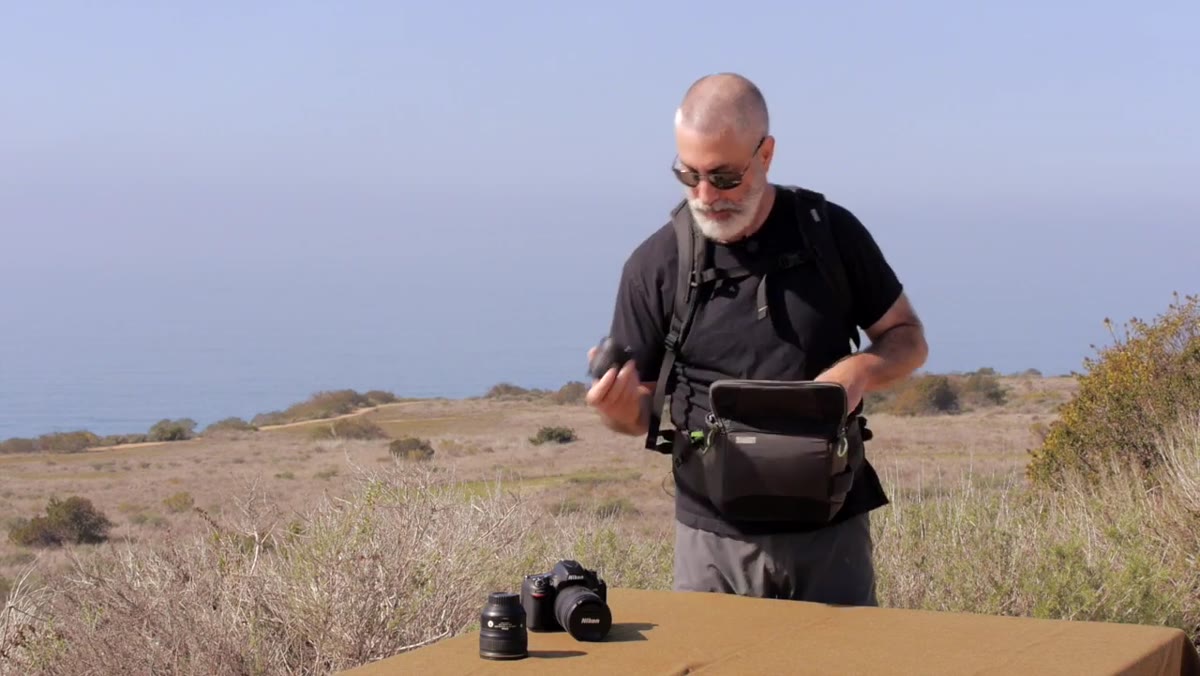 Lenses and camera body loaded into the rotating compartment
The Panorama is the smaller sibling to the Rotation 180° Pro, and that size difference matters. This bag is built around a body like a D600, 5D Mark II, or a crop-sensor camera with a modest lens kit. If you’re carrying a D5 with a 70-200 f/2.8, you’re going to want the Pro version. Rosen is honest about this, and it’s worth taking seriously before you buy. Knowing your actual field kit before purchasing a bag like this will save you a return shipping headache.
Lenses and camera body loaded into the rotating compartment
The Panorama is the smaller sibling to the Rotation 180° Pro, and that size difference matters. This bag is built around a body like a D600, 5D Mark II, or a crop-sensor camera with a modest lens kit. If you’re carrying a D5 with a 70-200 f/2.8, you’re going to want the Pro version. Rosen is honest about this, and it’s worth taking seriously before you buy. Knowing your actual field kit before purchasing a bag like this will save you a return shipping headache.
Step 4: Using the Top Compartment for Non-Camera Gear
 Top compartment open showing storage for personal items and food
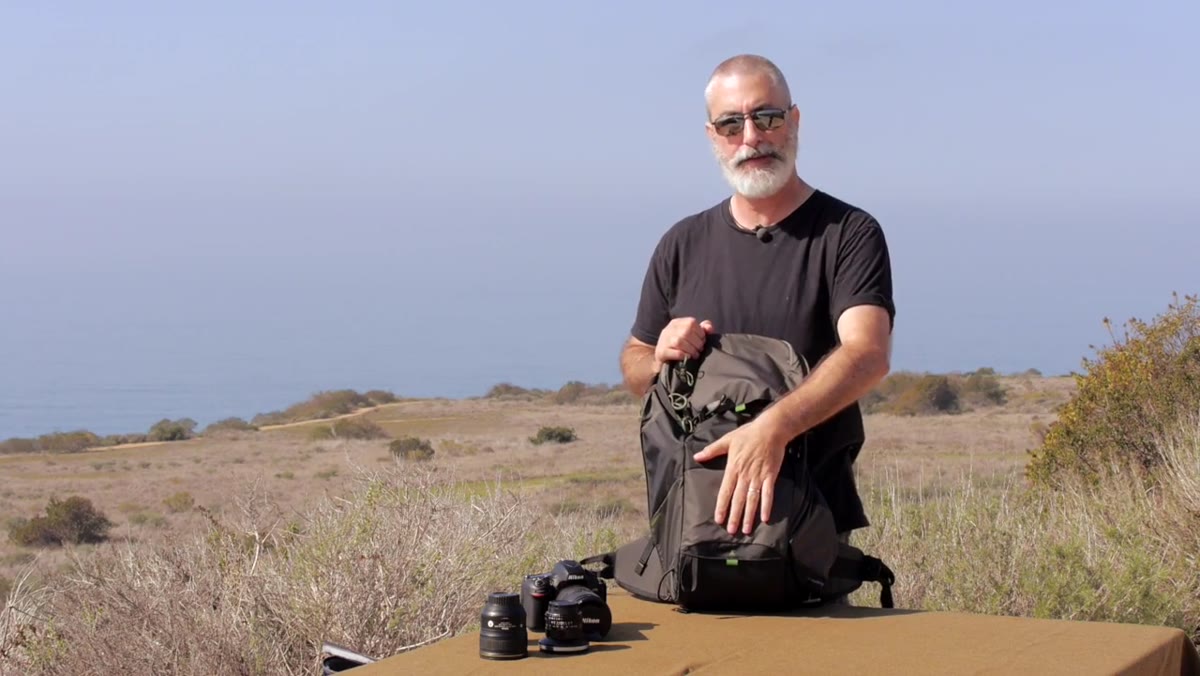
Above the rotating camera section, there’s a standard top compartment with a key fob loop and enough room for gloves, a phone, snacks, and small personal items. Rosen mentions you can also drop a photo insert in here to turn it into secondary camera storage if your lens kit is large enough to warrant it. For a day hike, this compartment handles everything that doesn’t need to be in the rotation system.
Top compartment open showing storage for personal items and food
Above the rotating camera section, there’s a standard top compartment with a key fob loop and enough room for gloves, a phone, snacks, and small personal items. Rosen mentions you can also drop a photo insert in here to turn it into secondary camera storage if your lens kit is large enough to warrant it. For a day hike, this compartment handles everything that doesn’t need to be in the rotation system.
Step 5: Hydration Compatibility and the One Real Complaint
 Water bladder sleeve shown with camelback being inserted
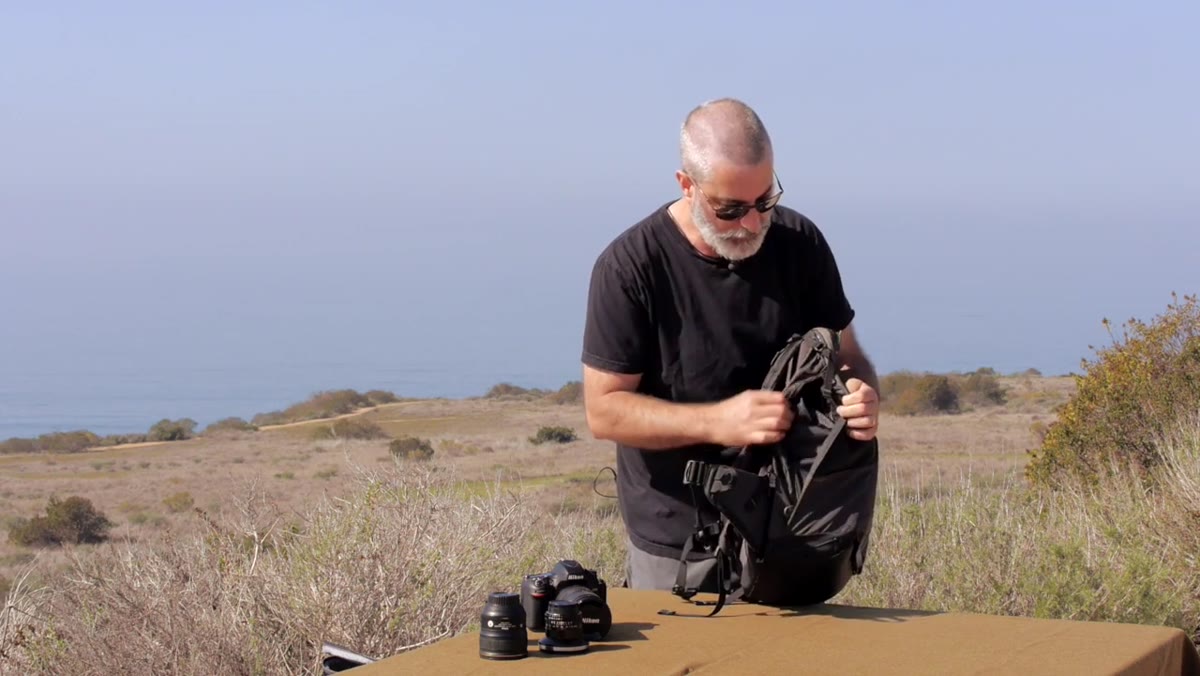
There’s a dedicated hydration sleeve on the side with a top anchor to route the drinking tube. Rosen uses a 3L CamelBak and flags that the fit is tight. It works, but it’s not a clean, effortless insertion. If you’re running a smaller 2L bladder, you probably won’t notice. If you’re going on a longer day with a full 3L, budget some patience. This is the one honest gripe in an otherwise glowing walkthrough, and it’s the kind of detail that matters when you’re loading up at the trailhead before dawn.
Water bladder sleeve shown with camelback being inserted
There’s a dedicated hydration sleeve on the side with a top anchor to route the drinking tube. Rosen uses a 3L CamelBak and flags that the fit is tight. It works, but it’s not a clean, effortless insertion. If you’re running a smaller 2L bladder, you probably won’t notice. If you’re going on a longer day with a full 3L, budget some patience. This is the one honest gripe in an otherwise glowing walkthrough, and it’s the kind of detail that matters when you’re loading up at the trailhead before dawn.
Step 6: Three Ways to Mount a Tripod
 Back panel open with tripod straps extended for rear attachment
The bag offers three distinct tripod attachment configurations. The first is a rear-face mount where straps come out from a back panel, with a tripod cup at the base and a locking top strap for security. This works well with a compact travel tripod. Rosen demos it with a Really Right Stuff TQC-14, and the setup looks clean and stable, three legs in the cup, locking strap cinched at the top.
Back panel open with tripod straps extended for rear attachment
The bag offers three distinct tripod attachment configurations. The first is a rear-face mount where straps come out from a back panel, with a tripod cup at the base and a locking top strap for security. This works well with a compact travel tripod. Rosen demos it with a Really Right Stuff TQC-14, and the setup looks clean and stable, three legs in the cup, locking strap cinched at the top.
The second option is a side mount using a strap and elastic loop. The strap doesn’t unclasp, so you thread the tripod through rather than clipping it, which adds a few seconds to the process. The trade-off is that side mounting keeps the tripod closer to your center of gravity, which matters on uneven terrain. A third attachment option is referenced for larger tripods, giving you some flexibility depending on the day’s objective.
What I’d Test Before Committing to This Bag
I haven’t personally field-tested the Rotation 180° Panorama, but my instinct based on how I shoot is to stress-test the fiddle lock mechanism in cold weather before trusting it on a serious trip. Hip belt hardware can get stiff in near-freezing temperatures, and if you’re out at blue hour in January (which in Denver is just called Tuesday), you want to know your access system still works with gloves on. I’d also measure your most-used lens against the compartment dimensions before purchasing rather than assuming the fit is generous. The Panorama is sized for a specific type of kit, and knowing that upfront saves frustration.
The broader lesson from Rosen’s walkthrough is that the best bag isn’t the one with the most features, it’s the one that removes friction from the specific problem you actually have in the field. For landscape photographers working in environments where setting gear down is impractical, inconvenient, or damaging to the location, the rotation system on this bag solves a real problem that extra pockets and padded dividers never will.
Watch the full tutorial on YouTube to see the rotation mechanism in motion, because reading about it and watching it are two different levels of understanding when it comes to gear like this.
Comments (2)
Printing this out and pinning it next to my monitor. That good.
Excellent tutorial. I'd add that from a compositing standpoint, this technique is incredibly versatile.
Leave a Comment