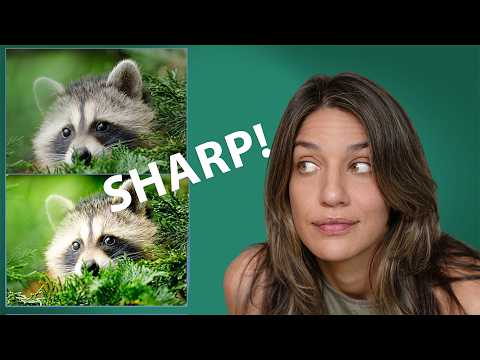
I used to think good editing meant heavy editing. Crank the clarity, push the saturation, slap on a preset, done. It took me an embarrassingly long time to figure out that the best edits are the ones that look like you didn’t edit at all. They just make the photo feel more like what you actually saw when you pressed the shutter.
That’s exactly what Chelsea Northrup demonstrates in this tutorial, and it reframed how I think about the entire post-processing step. In this Tony & Chelsea Northrup tutorial, Chelsea walks through editing a wildlife shot of a raccoon taken with a Sony A1 and the 200-600mm f/5.6-6.3 - not to transform the image, but to reveal what was already there. Watch the full tutorial on YouTube
The biggest thing I took away is her sequencing: technical corrections first, then artistic choices. That order matters more than most people realize. If you’re dodging and burning before you’ve fixed noise and exposure, you’re building on a shaky foundation. Here’s how she breaks it down.
Step 1: Start With the Technical Cleanup
 Cropping the raccoon photo slightly in DxO
Before any creative decisions, Chelsea locks in all the technical basics - crop, exposure correction, highlight recovery. The goal here isn’t to make the photo look finished. It’s to make it accurate. She keeps this phase tight: a small crop to improve framing, slight highlight reduction where the fur was blowing out, and nothing else. If your exposure is genuinely off, this is where you fix it. Don’t skip ahead because you’re excited to get to the fun stuff.
Cropping the raccoon photo slightly in DxO
Before any creative decisions, Chelsea locks in all the technical basics - crop, exposure correction, highlight recovery. The goal here isn’t to make the photo look finished. It’s to make it accurate. She keeps this phase tight: a small crop to improve framing, slight highlight reduction where the fur was blowing out, and nothing else. If your exposure is genuinely off, this is where you fix it. Don’t skip ahead because you’re excited to get to the fun stuff.
Think of this like mise en place in cooking. You’re prepping your ingredients before you start cooking, not improvising mid-recipe. Get the crop right, fix any obvious exposure problems, and then move on with a clean slate.
Step 2: Apply AI Noise Reduction and Sharpening
 DxO Deep Prime noise reduction with before/after zoom view
Chelsea uses DxO’s Deep Prime for noise reduction and sharpening, and the before/after comparison at 100% crop is genuinely impressive on fur and fine detail. She zooms in close to evaluate the results on the raccoon’s eyes and coat - the kind of fine texture that falls apart under aggressive sharpening in lesser tools.
DxO Deep Prime noise reduction with before/after zoom view
Chelsea uses DxO’s Deep Prime for noise reduction and sharpening, and the before/after comparison at 100% crop is genuinely impressive on fur and fine detail. She zooms in close to evaluate the results on the raccoon’s eyes and coat - the kind of fine texture that falls apart under aggressive sharpening in lesser tools.
You don’t have to use DxO. Lightroom’s Denoise tool, Topaz DeNoise AI, and even Capture One’s noise reduction have all gotten significantly better in the last couple of years. The specific tool matters less than the habit: zoom in, check your fine detail, and apply noise reduction before you start layering on any local adjustments. If you sharpen after you burn, you’ll see halos. Handle it here.
Step 3: Build a Natural Vignette With a Burn Brush
 Large soft brush painting dark vignette around image edges
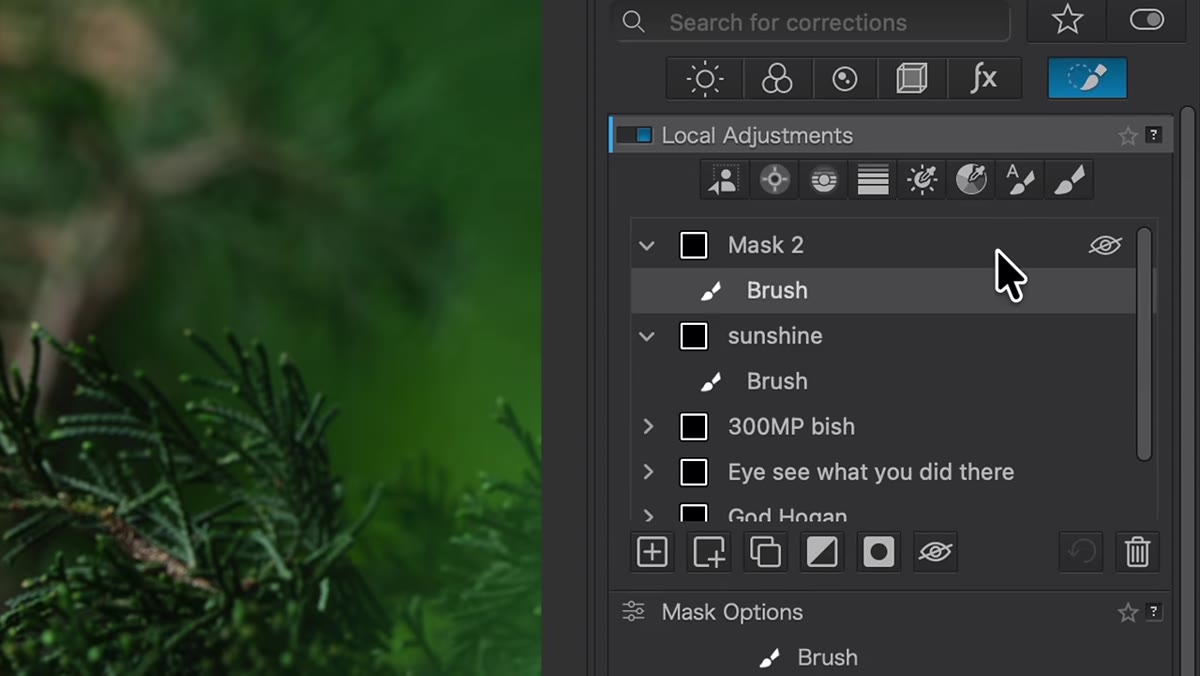
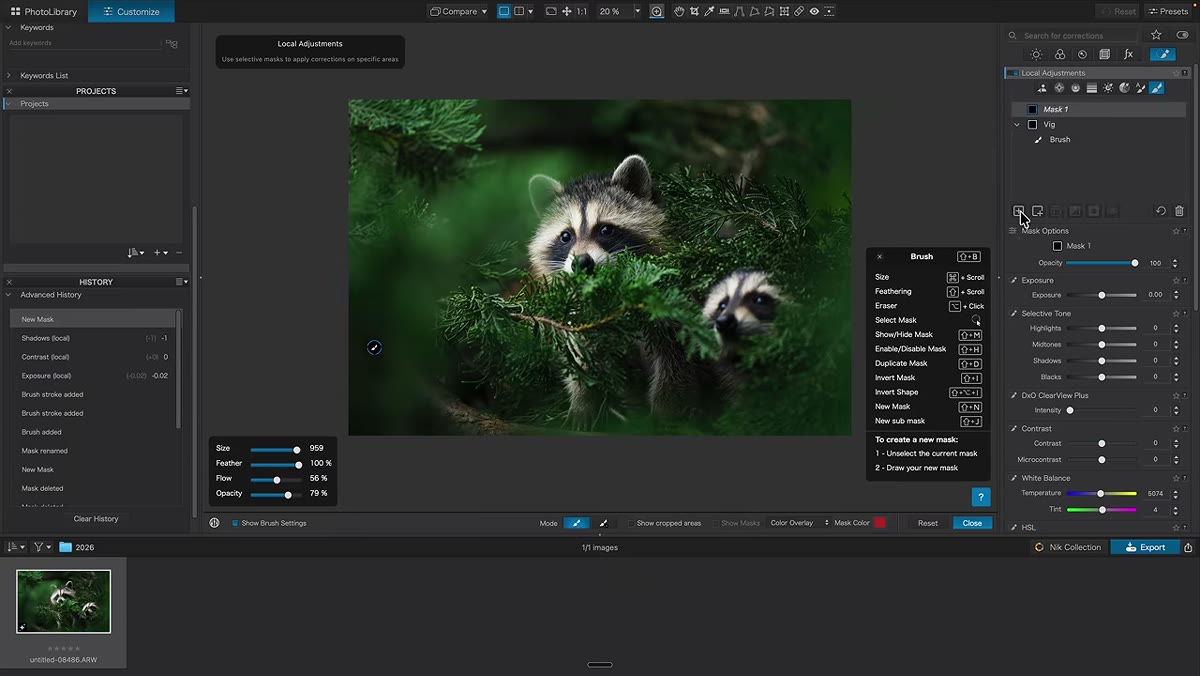
This is where the tutorial gets interesting. Instead of reaching for the vignette slider - which applies a uniform, mechanical-looking darkening - Chelsea paints her vignette manually with a large, soft brush on a named layer she calls “vig.” She deliberately leaves the top-left corner brighter because that’s where the natural light is actually coming from in the frame.
Large soft brush painting dark vignette around image edges
This is where the tutorial gets interesting. Instead of reaching for the vignette slider - which applies a uniform, mechanical-looking darkening - Chelsea paints her vignette manually with a large, soft brush on a named layer she calls “vig.” She deliberately leaves the top-left corner brighter because that’s where the natural light is actually coming from in the frame.
That detail is the whole point. A slider vignette doesn’t know where your light source is. A painted vignette can work with the physics of your shot instead of against them. She also bumps contrast slightly within the burned areas to add a little depth. The result looks like the forest is closing in around the raccoon, which is exactly what you want for a frame-within-a-frame composition. Name your layers as you go - future you will thank present you when you want to go back and tweak just one piece.
Step 4: Dodge the Subject to Pull the Eye In
 Soft brush brightening raccoon face on separate named layer
Once the edges are darker, Chelsea creates a new named layer - “dodge face” - and uses a soft brush to lift the shadows on the raccoon itself. She’s not using a precise subject selection mask here on purpose. A hard mask edge would make the subject look cut out. A soft brush keeps the brightening gradual so it reads as light, not as a Photoshop job.
Soft brush brightening raccoon face on separate named layer
Once the edges are darker, Chelsea creates a new named layer - “dodge face” - and uses a soft brush to lift the shadows on the raccoon itself. She’s not using a precise subject selection mask here on purpose. A hard mask edge would make the subject look cut out. A soft brush keeps the brightening gradual so it reads as light, not as a Photoshop job.
She mentions using ClearView (DxO’s local contrast tool) alongside the brightness lift, which adds a subtle texture pop to the fur. The combination of darkened edges and a brightened subject creates a visual tunnel that pulls the viewer’s attention exactly where you want it. It’s the oldest trick in portrait lighting, applied in post.
Step 5: Add a Subtle God Ray for Dimension
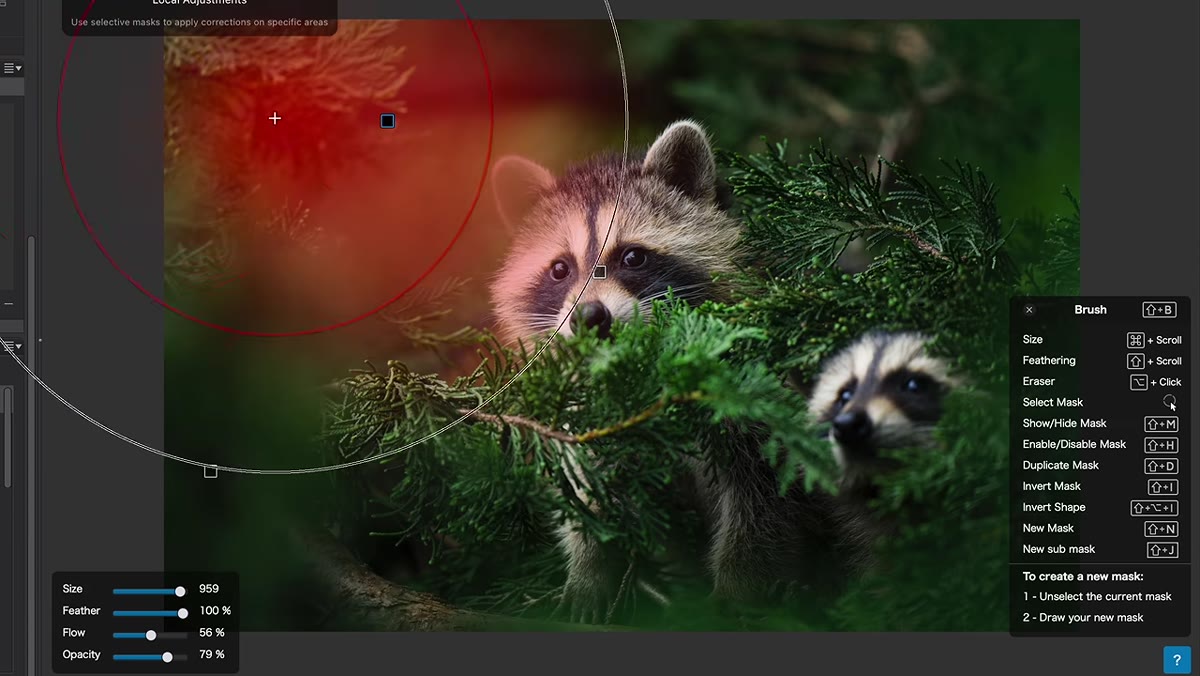 Small exposure increase on brush layer simulating top-corner light
The last light adjustment is the most restrained one. Because the natural light in the scene is entering from the upper corner, Chelsea adds one more brush layer she calls “god ray” - a small area of slightly raised exposure coming from that corner. She lets it clip the edge of the subject just slightly, which sells the effect.
Small exposure increase on brush layer simulating top-corner light
The last light adjustment is the most restrained one. Because the natural light in the scene is entering from the upper corner, Chelsea adds one more brush layer she calls “god ray” - a small area of slightly raised exposure coming from that corner. She lets it clip the edge of the subject just slightly, which sells the effect.
The critical move here is pulling the highlights back down after raising the exposure. You want the sense of light, not blown-out white patches on the fur. Raise the exposure enough to see the effect, then reduce highlights until the fur texture comes back. It’s a two-step adjustment that most people skip, and skipping it is why a lot of god ray edits look fake.
What I’d Add for Non-Wildlife Shots
Chelsea is shooting wildlife with long glass, so her specific concerns - fur texture, eye sharpness, subject separation from a busy background - are pretty genre-specific. But the core workflow maps directly to any kind of natural-light photography.
When I’m editing environmental portraits or outdoor product shots, I use the same sequence: technical first, vignette second, subject lift third. The one place I’d extend her workflow is in color grading. She doesn’t touch color much in this video, which makes sense for a raccoon in a green forest (desaturating earth tones would kill the mood), but for portraits I’ll often add a slight warm tone to skin and cool the shadows to increase contrast between subject and background without touching exposure at all. It’s worth experimenting with after you’ve got the luminosity workflow locked in.
If you’re coming from preset-heavy editing - and I spent a solid two years there - the transition to this kind of manual, intentional approach feels slow at first. It gets faster. And the results are consistently more natural-looking than anything I got from dragging a preset slider.
The single most important thing Chelsea demonstrates here is that editing should enhance what’s already in the frame, not invent something new. Every adjustment she makes - the vignette shape, the direction of the god ray, the decision to use a soft mask instead of a precise selection - comes from looking at the actual photo and asking what’s already working. That’s a discipline, not just a technique.
Watch the full tutorial on YouTube to see every brush stroke in real time - watching her toggle the before/after at each stage is worth the runtime alone.
Comments (2)
Great breakdown. The step-by-step approach really helps.
The before and after really sells it. Incredible difference.
Leave a Comment