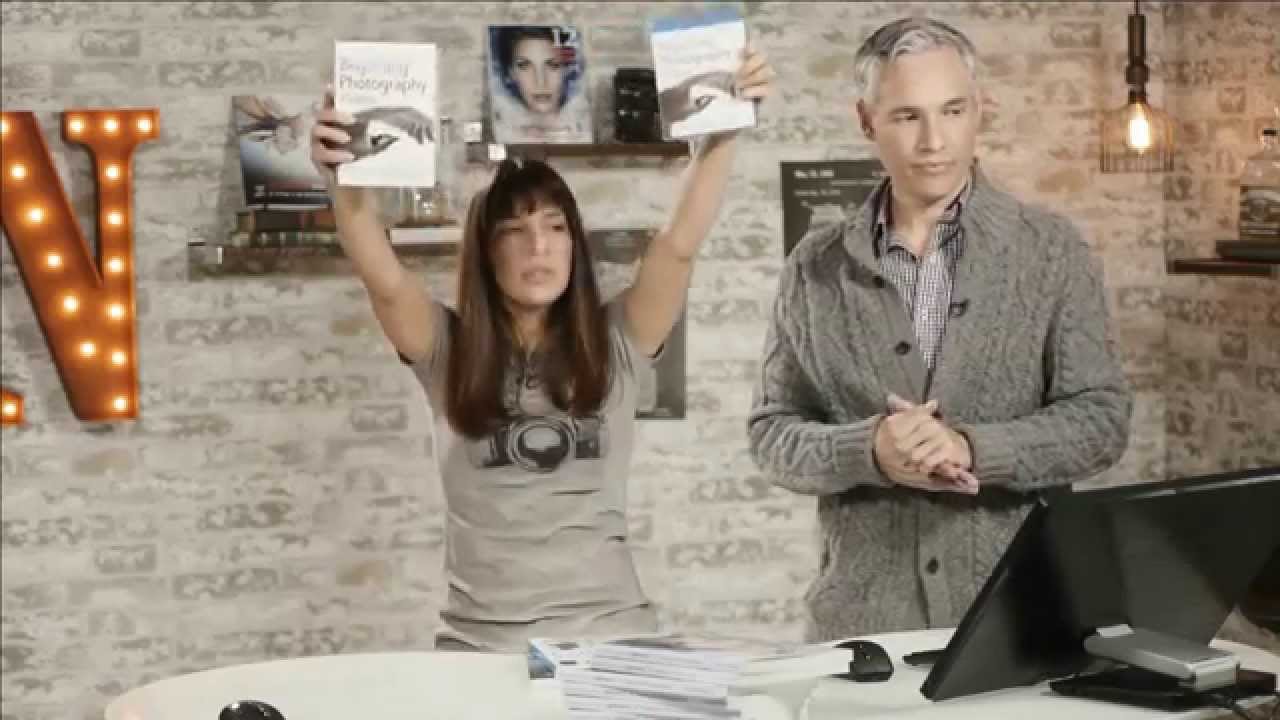
Every November I turn into a different person. The camera bag stays in the corner, the spreadsheet comes out, and I spend two weeks cross-referencing prices on gear I’ve been watching since August. It’s a sickness. I know this. But I’ve also saved thousands of dollars and found some genuinely great equipment that never would have crossed my radar otherwise. So when Tony and Chelsea Northrup dropped their Black Friday and Cyber Monday deals breakdown, I watched it twice – once for the deals themselves, once to think through which ones actually make sense depending on where you are in your photography journey.
Watch the full tutorial on YouTube
In this Tony and Chelsea Northrup tutorial, they move fast through a curated list of discounts across education bundles, accessories, and cameras. The video is short and punchy, which I appreciate, but it rewards a slower read-through because some of these deals need context to evaluate properly. That’s what I’m here for. I’ll walk you through each category they cover, add my own take from testing gear at this price level, and flag where I think your money goes furthest.
Step 1: Start with Education Before You Start with Gear
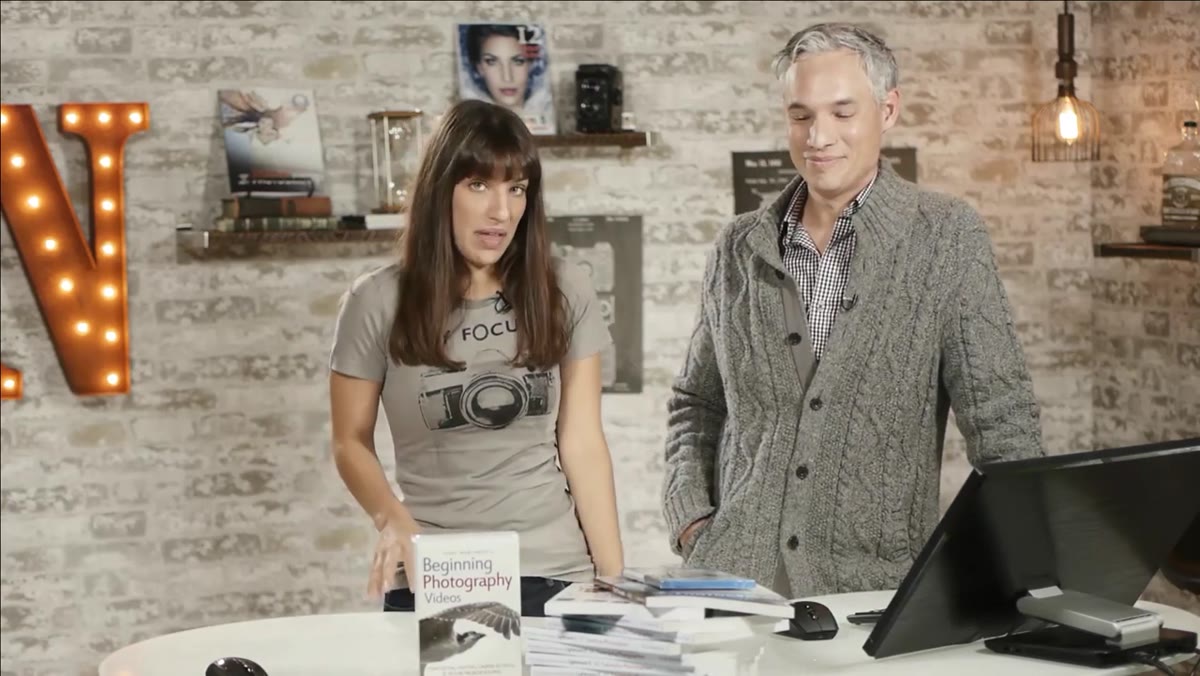 Tony introducing the photography education bundle deal
Tony leads with their own educational package, and I actually think that framing is smart even if it’s obviously self-serving. The bundle includes dozens of hours of video instruction across topics like shooting, post-processing, and buying decisions, plus physical books and DVDs, for under $90. A digital streaming version comes in lower than that.
Here’s my honest take: if you are newer to photography and you have been buying gear hoping it fixes your images, stop. Spend $70 to $90 on structured learning first. I started with a $300 kit camera and shot a wedding that ended up in a local magazine – not because the gear was good, but because I understood light and composition. Educational resources at this price point are some of the highest-leverage purchases you can make.
Step 2: Consider the Books-Only Option If You Learn Better by Reading
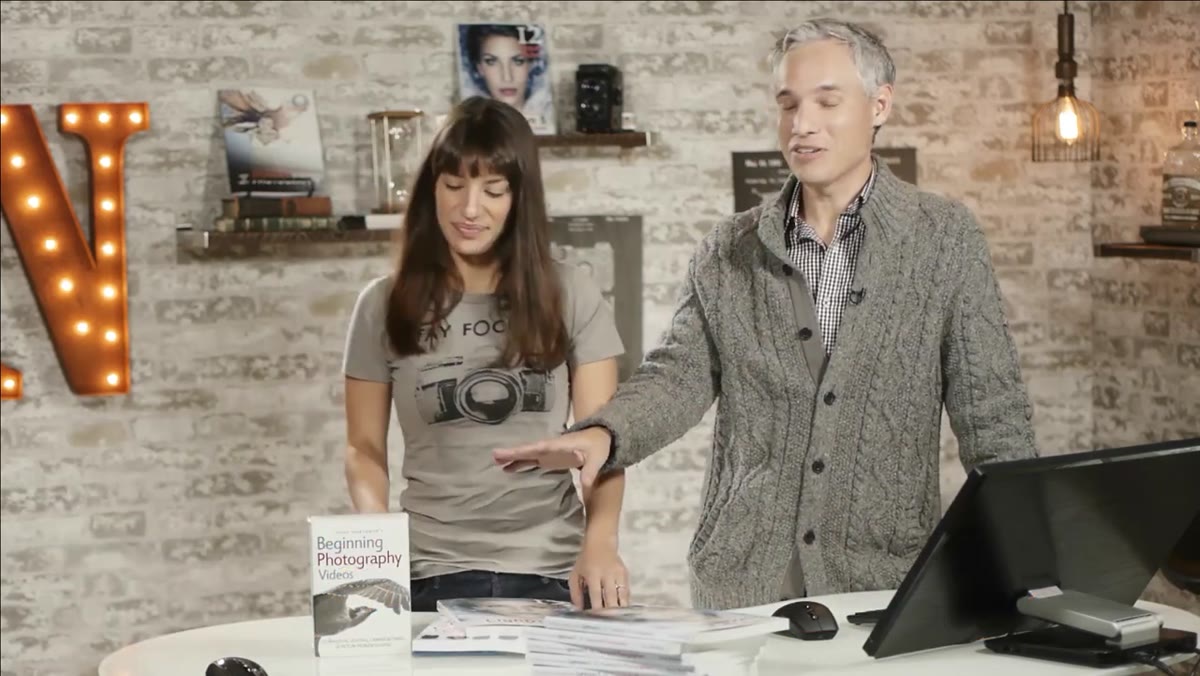 Chelsea presenting the three-book bundle pricing
If video instruction isn’t how your brain works, Tony and Chelsea also offer a three-book bundle that drops well below what you’d pay buying each title individually. The ebook version comes in even cheaper and gives you instant access – useful if you’re grabbing this as a last-minute gift or want to start learning the same day.
Physical books have one underrated advantage: you can flip back to a specific diagram or reference a settings chart mid-shoot without scrubbing through a timestamp. I keep two photography references on my desk and reach for them more often than I queue up tutorials. If you’re the same way, the print bundle is worth the small price premium over the ebook version.
Step 3: Grab a Dual-Purpose Battery Charger for Your Bag
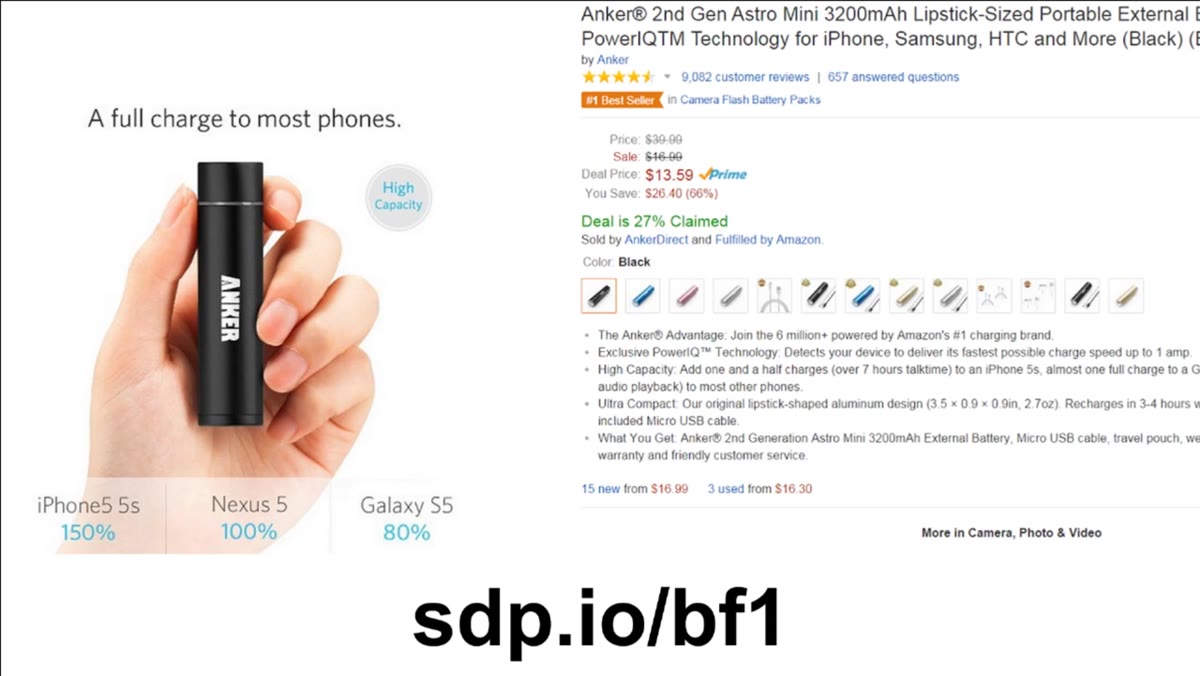 Battery charger product shown on screen
This is the category I get most excited about because it’s invisible money. A small battery charger that handles Sony and Samsung camera batteries AND charges devices via USB is the kind of accessory that earns its keep on every single shoot. Tony mentions keeping these in his bag constantly, and that matches my experience.
The key thing to check before you buy any third-party charger: confirm it supports your specific battery model. Most of these chargers list compatibility on the product page. At the price point Tony references (well under $30), you can afford to keep one in your camera bag and one in your travel kit without feeling it.
Step 4: Look Hard at the Digital Picture Frame Deal
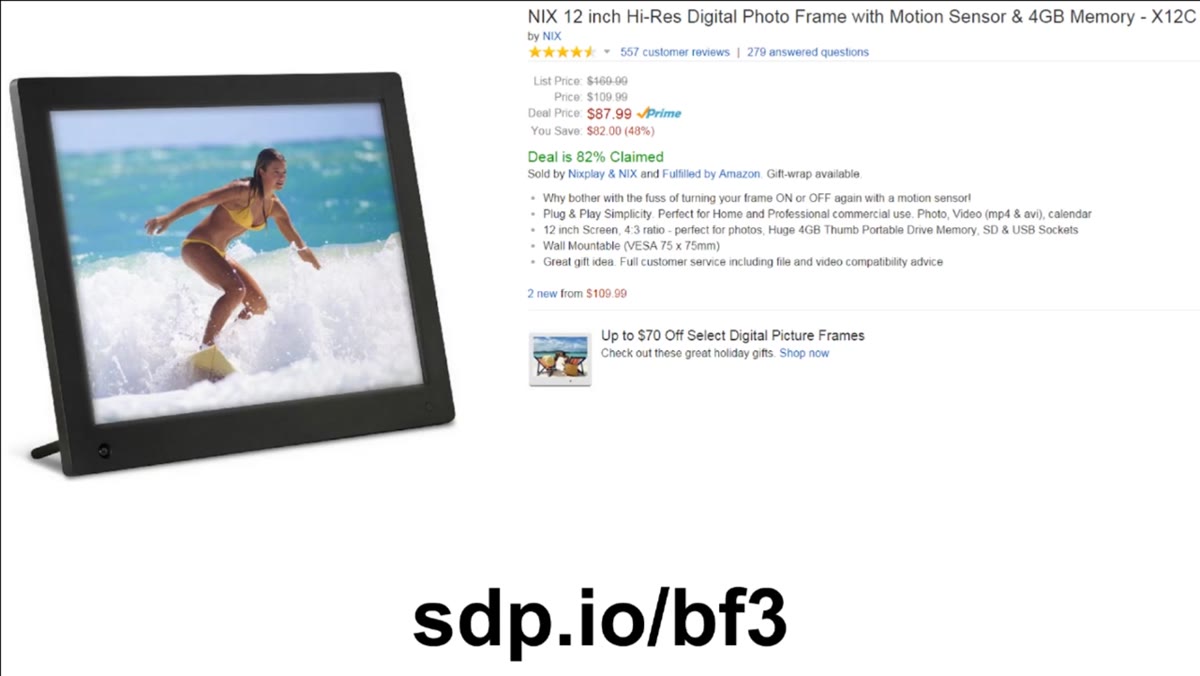 Digital picture frame shown at discounted price
Tony flags a digital picture frame at roughly half off. I know “digital picture frame” sounds like a gift-shop novelty, but hear me out. If you are shooting regularly and storing everything on a hard drive that nobody ever looks at, a frame cycling through your best work is genuinely motivating. It also makes for a much better gift for a non-photographer family member than yet another print they’ll stick in a drawer.
At $88 or similar pricing, look for a frame with WiFi sync capability so you can update it remotely. The ones without WiFi require you to manually load an SD card, which means you’ll do it once and forget about it.
Step 5: Use the Fat Gecko or Similar Suction Mount for Vehicle Shots
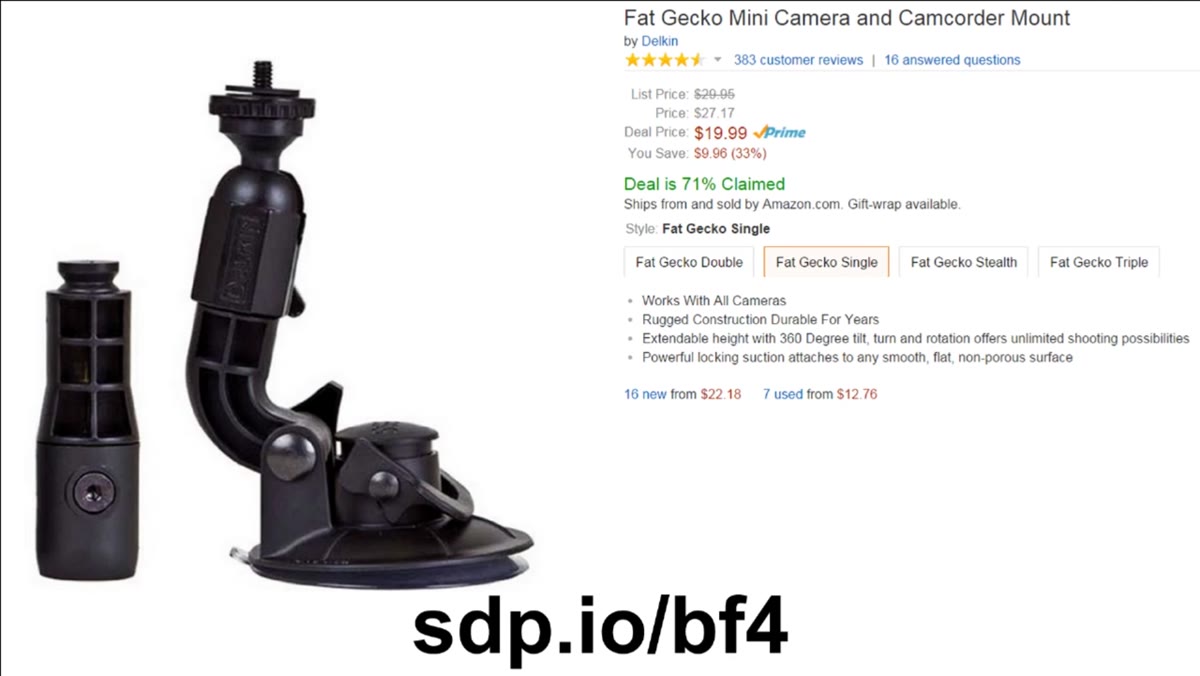 Suction cup camera mount demonstrated
At around $20, a suction-cup vehicle mount is one of those accessories that looks gimmicky until you actually need it. Tony mentions the Fat Gecko specifically, and the principle is sound: strong suction, compatible with standard camera and GoPro threads, easy to reposition. Road trip content, automotive photography, and any moving-vehicle sequence gets dramatically easier with one of these.
One practical note: always use a safety tether connecting the mount to the vehicle. No suction cup is 100% reliable on every surface, and a camera hitting asphalt at 60 miles per hour ruins your whole day.
Step 6: Stock Up on Memory Cards and Storage While Prices Are Down
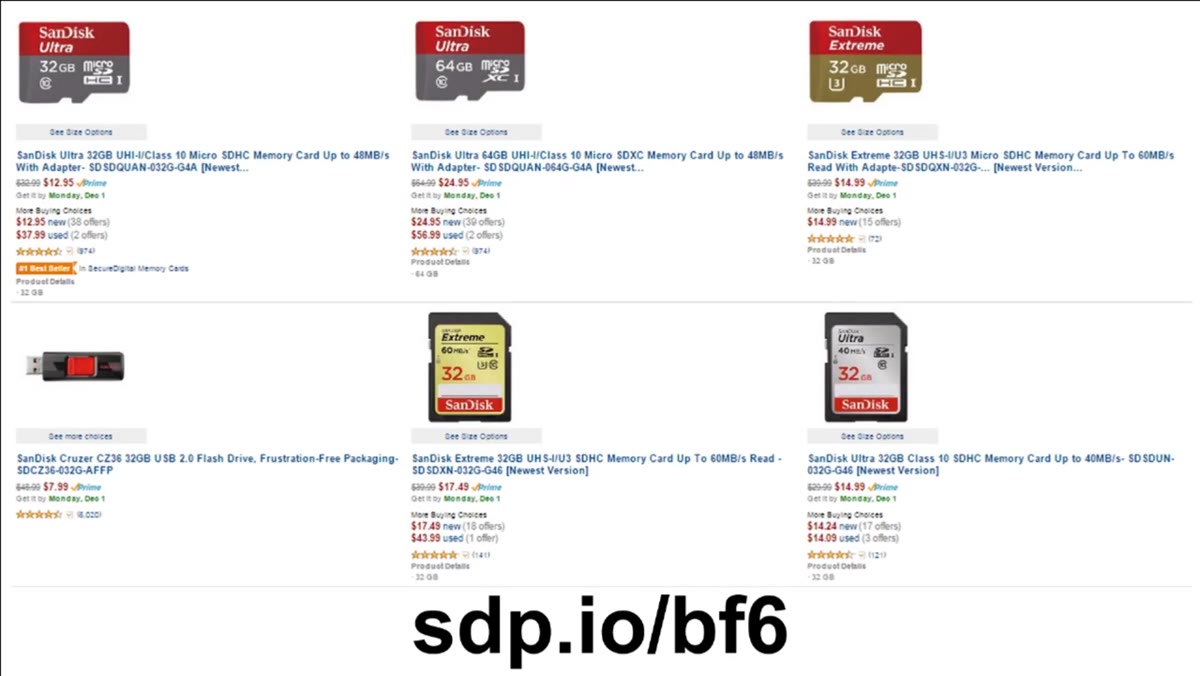 Memory card deals across SD, CF, and microSD formats
Tony covers memory cards across multiple formats – SD, CF, and microSD – and portable hard drives at aggressive Black Friday pricing. This is the category where I actually do buy in bulk. Memory cards don’t expire, prices spike randomly throughout the year, and running out of cards mid-shoot is a preventable disaster.
For portable drives, the benchmark he mentions is 1TB under $50, which is solid for travel backup. I would push slightly further and suggest going to 2TB if the price difference is small. Storage needs creep upward faster than you expect once you start shooting RAW files consistently.
Step 7: Evaluate the Camera Body Deals Based on Your Current Kit
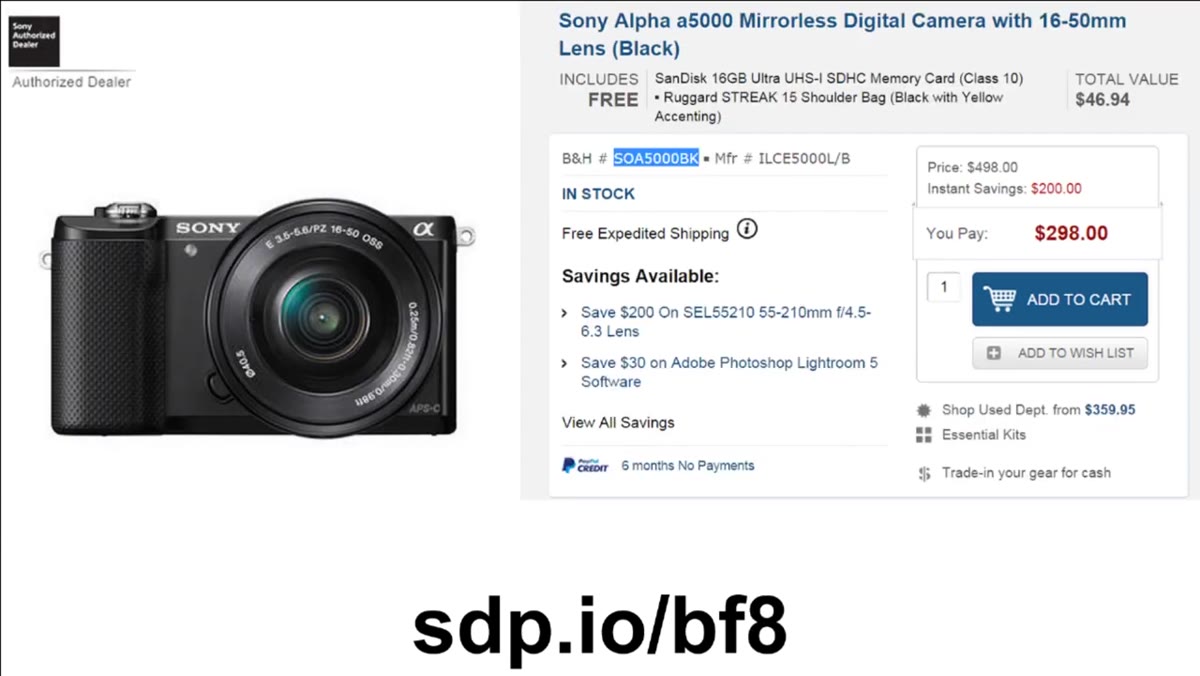 Sony a5000 mirrorless camera featured as a B&H deal
The camera deals Tony covers – including a Sony mirrorless body and a Nikon DSLR kit with two lenses – represent the high-ticket end of the list. The logic he applies is worth understanding: he positions the Sony a5000 as a complement to an existing DSLR, not a replacement. A compact mirrorless with APS-C image quality gives you a lighter carry option without learning a completely new system.
The Nikon kit with an 18-55 and a 55-200 lens bundled in is a strong entry-level setup for anyone starting from nothing. Two lenses covering wide-to-short-telephoto means you can shoot most real-world situations without immediately needing to buy more glass.
What I’d Add: Use Affiliate Links Even When You Skip the Bundles
Tony mentions at the end that shopping through their links costs you nothing extra but helps fund their independent reviews. This is actually the whole model that makes honest gear reviews sustainable, including on this site. When reviewers have to buy equipment themselves, the incentives stay clean. I’d rather support that system than save zero dollars by going directly to the retailer.
If none of the specific deals fit your needs, that affiliate link approach – shopping through a trusted reviewer’s link for gear you were already planning to buy – is a no-effort way to support content you actually find useful.
The single biggest takeaway from this video is something Tony implies but doesn’t say directly: Black Friday is the right time to buy the things you identified in September, not the time to discover new wants. Go in with a list. The deals are real, but so is the pressure to buy things that don’t solve an actual problem in your kit.
Watch the full tutorial on YouTube and use Tony and Chelsea’s breakdown as a starting point – then cross-reference whatever you’re eyeing against your actual shooting gaps before you click buy.
Comments (3)
Love how you break down complex stuff into manageable steps.
This should be required reading for anyone starting out.
This is fantastic. I've been recommending this approach to my readers too.
Leave a Comment