Time lapse is one of those techniques that looks wildly technical from the outside but is actually pretty approachable once you understand what the gear is doing and why. The problem most beginners hit isn’t the photography itself. It’s showing up to a two-hour shoot, firing off 400 frames, and then discovering the footage is unusable because something in the setup wasn’t locked down. I’ve seen it happen at meetups here in Denver more times than I can count, and I’ve done it myself.
In this KelbyOne tutorial, photographer and educator Scott Kelby walks through every piece of gear you need before you attempt a time lapse sequence on a DSLR. Watch the full tutorial on YouTube before or after reading this. What I want to do here is pull out the actual logic behind each item, add some real-world context, and flag where you can spend less without sacrificing the shot.
The core point Kelby makes is this: time lapse has no tolerance for weak links. A landscape photo where one frame is slightly soft is no big deal. A time lapse where 40 frames are shaky because your tripod flexed in the wind? That video is done. Every gear decision here is about consistency over hours, not just quality in the moment.
Step 1: Start With a Tripod That Won’t Move
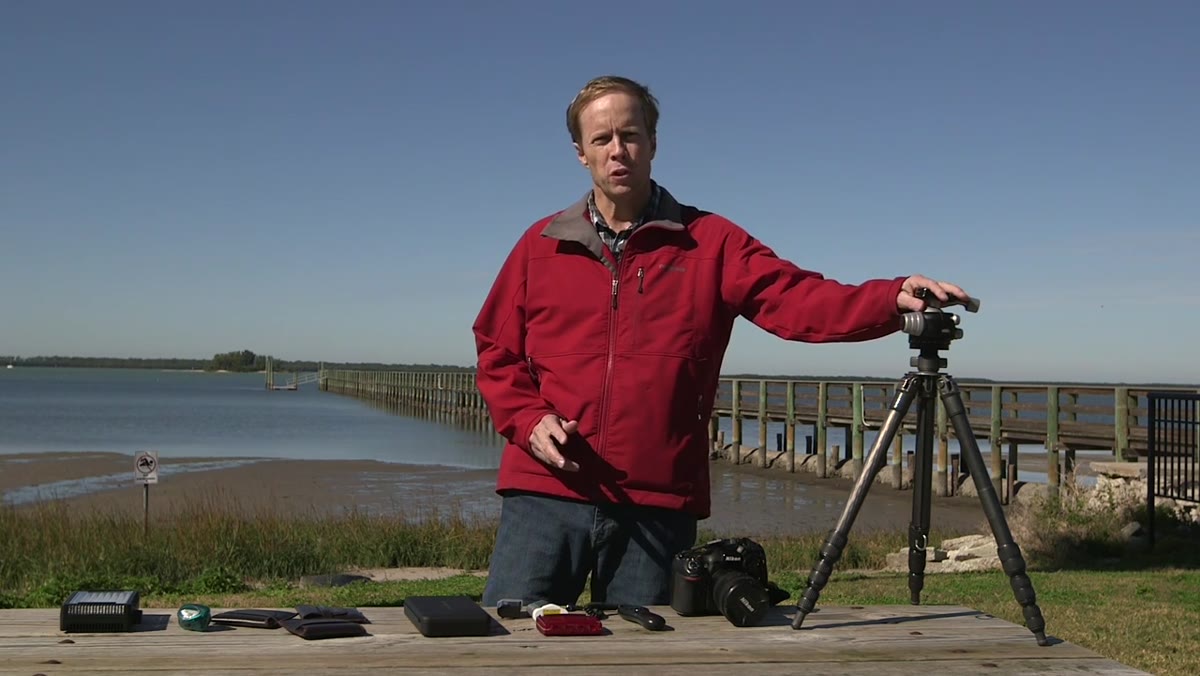 Sturdy tripod shown as foundation for time lapse setup
The first thing covered is the tripod, and it gets more emphasis than anything else in the first minute. That’s intentional. When you’re shooting 300 to 600 frames over a couple of hours, any micro-movement between shots creates a jitter in the final video that looks terrible and can’t really be fixed in post. Kelby mentions using a Gitzo and a Really Right Stuff rig, which are both high-end options, but the takeaway isn’t “buy expensive.” The takeaway is “buy solid.”
Sturdy tripod shown as foundation for time lapse setup
The first thing covered is the tripod, and it gets more emphasis than anything else in the first minute. That’s intentional. When you’re shooting 300 to 600 frames over a couple of hours, any micro-movement between shots creates a jitter in the final video that looks terrible and can’t really be fixed in post. Kelby mentions using a Gitzo and a Really Right Stuff rig, which are both high-end options, but the takeaway isn’t “buy expensive.” The takeaway is “buy solid.”
If you’re on a budget, the question to ask about any tripod isn’t how it performs for a single 10-second exposure. It’s how it performs after two hours in a light breeze with a camera on top. That’s a different test entirely. Look for metal construction, a center column you can lock firmly, and rubber feet that actually grip. I’ve tested a lot of cheap tripods, and the ones that fail for time lapse usually fail because of a loose ball head, not a weak leg.
Step 2: Use Any Camera, But Know Its Settings
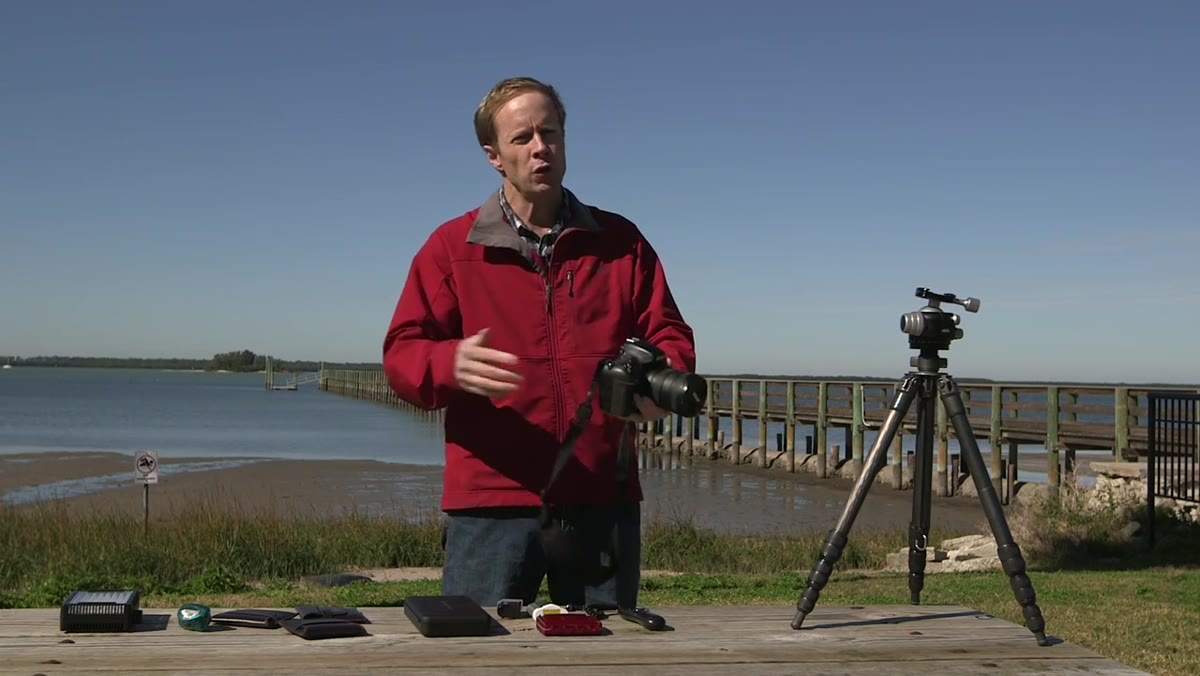 Nikon DSLR body shown as the camera used in tutorial
Kelby is shooting Nikon, but he makes the point clearly: any DSLR works for time lapse. The camera body is not the critical variable. What matters is understanding how to configure your camera to fire at consistent intervals automatically, and that’s less about the brand and more about the menu system you’re working with.
Nikon DSLR body shown as the camera used in tutorial
Kelby is shooting Nikon, but he makes the point clearly: any DSLR works for time lapse. The camera body is not the critical variable. What matters is understanding how to configure your camera to fire at consistent intervals automatically, and that’s less about the brand and more about the menu system you’re working with.
The setting you’re hunting for is usually found under shooting menu options and may be labeled “interval timer shooting” depending on your body. Before you invest in any external accessories, check your camera’s manual to see if this feature is already built in. Newer Nikons in particular often include it natively, which removes the need for a separate purchase entirely.
Step 3: Choose a Wide, Bright Lens
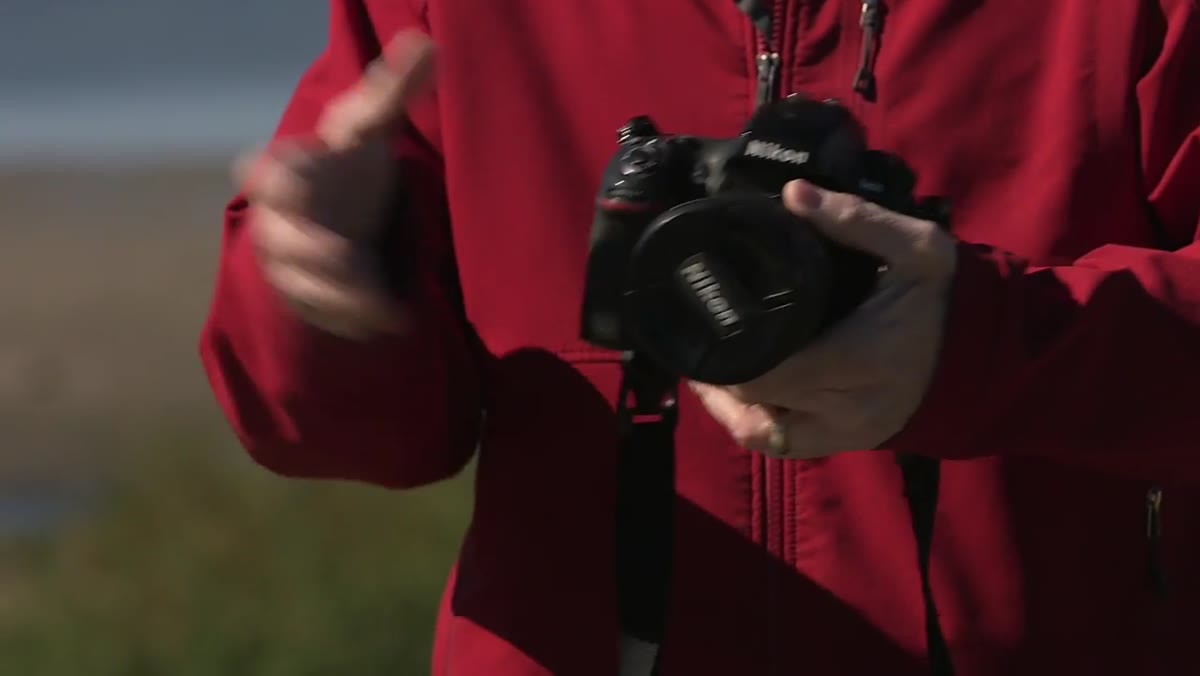 Wide angle lens attached to camera body for time lapse
Lens choice for time lapse is driven by two priorities: field of view and maximum aperture. Kelby prefers wide angles because they capture more of the scene, which means more visual movement across the frame. Clouds, stars, people, traffic - all of it reads better with more context around it.
Wide angle lens attached to camera body for time lapse
Lens choice for time lapse is driven by two priorities: field of view and maximum aperture. Kelby prefers wide angles because they capture more of the scene, which means more visual movement across the frame. Clouds, stars, people, traffic - all of it reads better with more context around it.
The second factor is brightness. He’s using a 3.5 maximum aperture lens, which he notes helps with focusing in low light situations. If you’re shooting a night sky time lapse or a pre-dawn sequence, a slower lens forces you into higher ISOs or longer shutter speeds, both of which can create problems at the frame-to-frame consistency level. A fast prime in the 24mm to 35mm range is a strong choice here, and there are solid options available for under $200 if you’re shopping used.
Step 4: Get an Intervalometer
 Intervalometer device shown as critical time lapse accessory
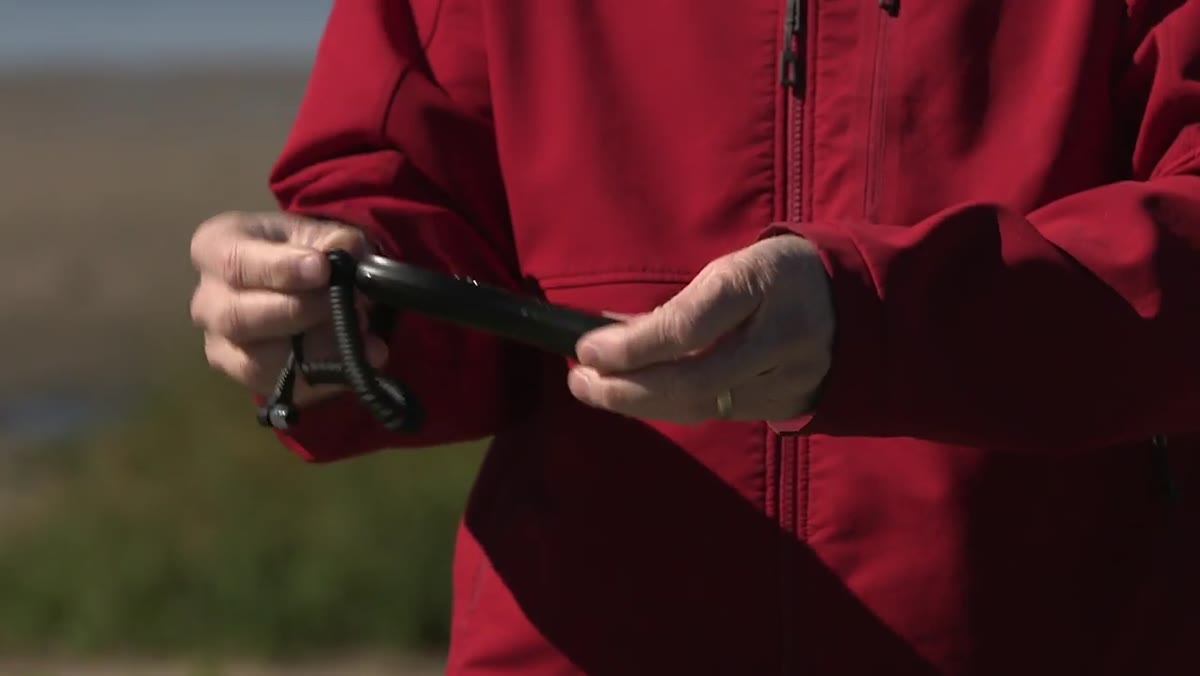
This is the piece of gear that’s actually specific to time lapse work. An intervalometer is essentially a programmable timer that tells your camera when to fire, how many frames to shoot, and how long to wait between shots. Without one (or without the built-in equivalent), you’re stuck manually pressing the shutter every 10 seconds for three hours, which is not a real option.
Intervalometer device shown as critical time lapse accessory
This is the piece of gear that’s actually specific to time lapse work. An intervalometer is essentially a programmable timer that tells your camera when to fire, how many frames to shoot, and how long to wait between shots. Without one (or without the built-in equivalent), you’re stuck manually pressing the shutter every 10 seconds for three hours, which is not a real option.
Kelby uses a Vello-brand unit in the tutorial. Third-party intervalometers typically run anywhere from $25 to $60 depending on your camera brand, and the cheap ones work fine for most situations. The key specs to check are compatibility with your specific camera model and whether it supports bulb mode, which you’ll need for very long individual exposures like star trails.
Step 5: Bring More Batteries Than You Think You Need
 Extra camera batteries shown as essential long-session gear
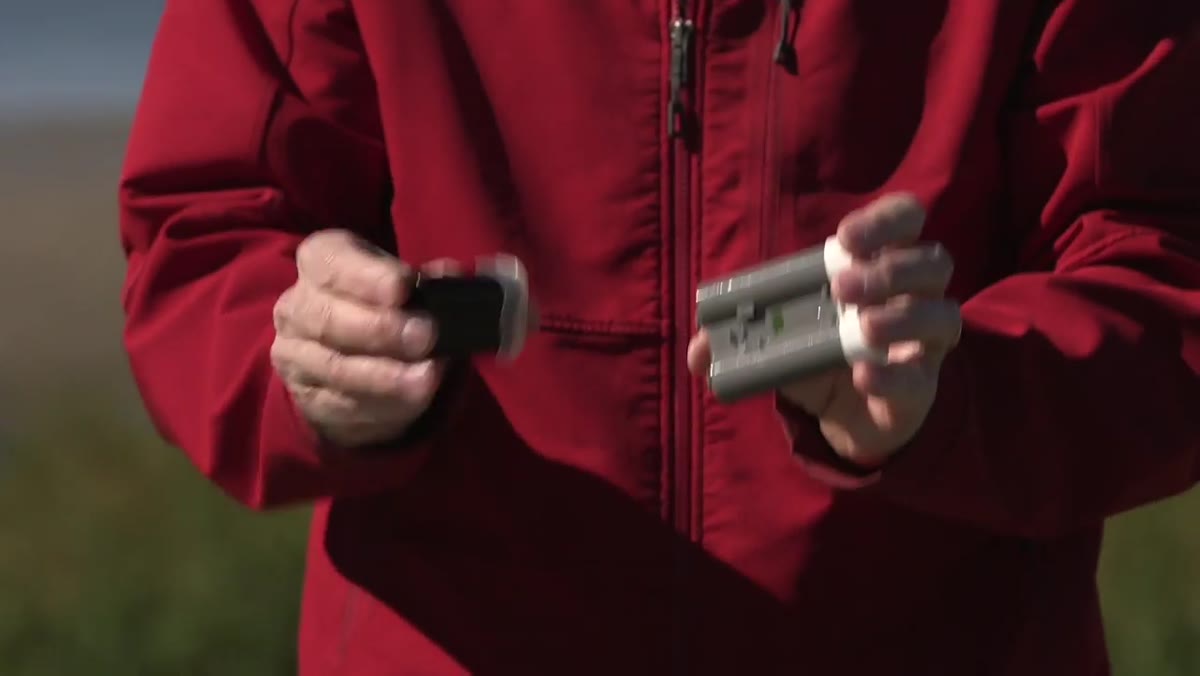
This one is straightforward but easy to underestimate. A multi-hour time lapse sequence will drain a battery significantly faster than a normal shooting day because the camera is cycling constantly. Kelby mentions shooting three-hour sequences in Colorado at night and burning through half a battery life in that time.
Extra camera batteries shown as essential long-session gear
This one is straightforward but easy to underestimate. A multi-hour time lapse sequence will drain a battery significantly faster than a normal shooting day because the camera is cycling constantly. Kelby mentions shooting three-hour sequences in Colorado at night and burning through half a battery life in that time.
Bring at least two fully charged batteries, and rotate them if you notice the charge dropping. Cold temperatures accelerate drain, so if you’re doing any kind of winter or mountain shooting, that second battery isn’t optional - it’s the difference between a complete sequence and one that cuts off at the two-hour mark.
Step 6: Use a Large, Fast Memory Card
 Fast memory card shown as requirement for high-volume shooting
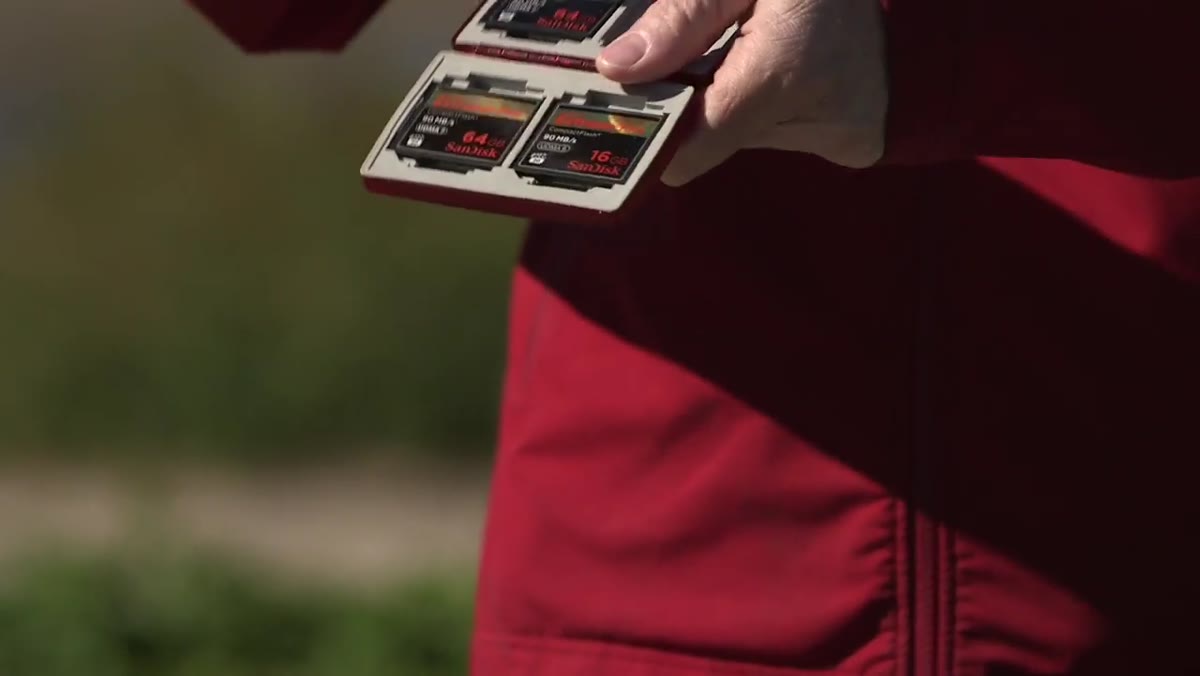
The card question has two parts: capacity and write speed. Capacity is obvious. If you’re shooting 700 RAW frames on a high-megapixel body, you need a card with enough room to hold all of it without swapping mid-sequence. A 64GB or 128GB card is a practical minimum for serious sessions.
Fast memory card shown as requirement for high-volume shooting
The card question has two parts: capacity and write speed. Capacity is obvious. If you’re shooting 700 RAW frames on a high-megapixel body, you need a card with enough room to hold all of it without swapping mid-sequence. A 64GB or 128GB card is a practical minimum for serious sessions.
Write speed is the part people skip over, and it’s a real problem. If your card writes slowly and your interval between shots is short, the camera may still be processing and writing the previous frame when it’s time to fire the next one. That results in missed frames, which creates gaps in your final video. Look for cards rated at UHS-I or UHS-II with write speeds of 60MB/s or higher. Sandisk Extreme and Lexar Professional both hit that range at reasonable prices.
My Take: The Budget Priority Order
I cover a lot of gear on this site, and time lapse is one of the setups where I’d actually push you to spend on the tripod first and cut elsewhere. A solid tripod in the $80 to $150 range will do more for your results than a premium lens or a fancy intervalometer. The intervalometer is a cheap fix - $30 gets you a reliable one. The card is a cheap fix. The batteries are cheap. The tripod is the one place where quality directly affects every single frame you’ll ever shoot.
If you already own a DSLR and a decent wide lens, you can get into time lapse for around $100 total in new gear. That’s the kind of math I like.
The single most important thing Kelby communicates in this tutorial is that time lapse punishes inconsistency. Every piece of gear in this list exists to lock something down - the frame, the timing, the power, the storage. Get those four things stable and the technique takes care of itself. Watch the full tutorial on YouTube to see how Kelby sets up the intervalometer and dials in the camera settings on an actual Nikon body.
Comments (2)
Great breakdown. The step-by-step approach really helps.
Great article! I actually covered something related on my site — the photoshop angle is really complementary to this.
Leave a Comment