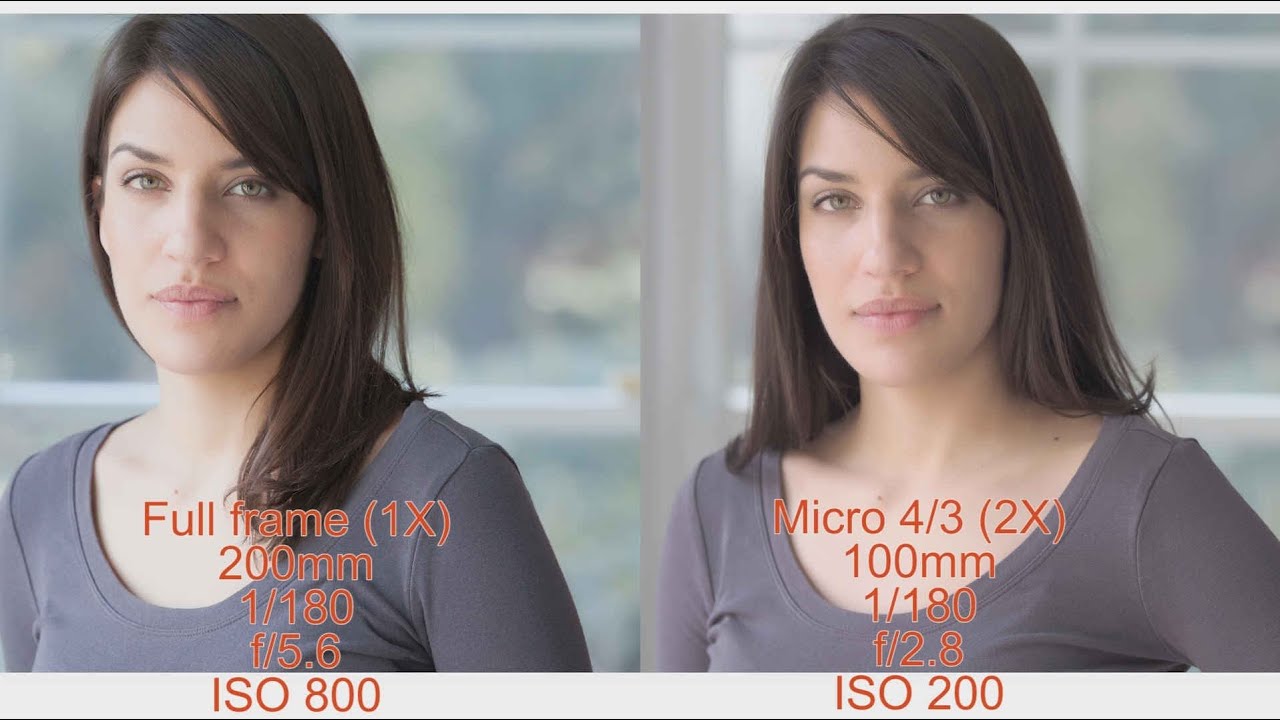
If you’ve ever tried to compare a Micro Four Thirds lens to a full-frame lens and felt like the specs weren’t adding up, you’re not imagining things. The industry has a habit of listing focal length equivalents without mentioning that aperture equivalents matter just as much. I spent an embarrassing amount of time shopping budget lenses before I figured out why two lenses with “equivalent” focal lengths were producing noticeably different background separation. The answer, it turns out, is a calculation most gear guides skip entirely.
In this Tony & Chelsea Northrup tutorial, Tony demonstrates the full crop factor picture using three actual camera bodies and a single lens, showing you in real images why multiplying the crop factor by the aperture is not optional if you want honest comparisons. This is the kind of practical, no-handwaving explanation I wish I’d had years ago when I was building my first kit on a tight budget and trying to figure out whether a cheap Micro Four Thirds prime could compete with a full-frame 50mm.
The tutorial is aimed at anyone comparing lenses across different sensor sizes, which in practice means anyone shopping for a camera system right now. Whether you’re debating Micro Four Thirds vs APS-C or APS-C vs full-frame, this math applies to every decision you’re about to make.
Step 1: Understand What Crop Factor Actually Does to Your Image
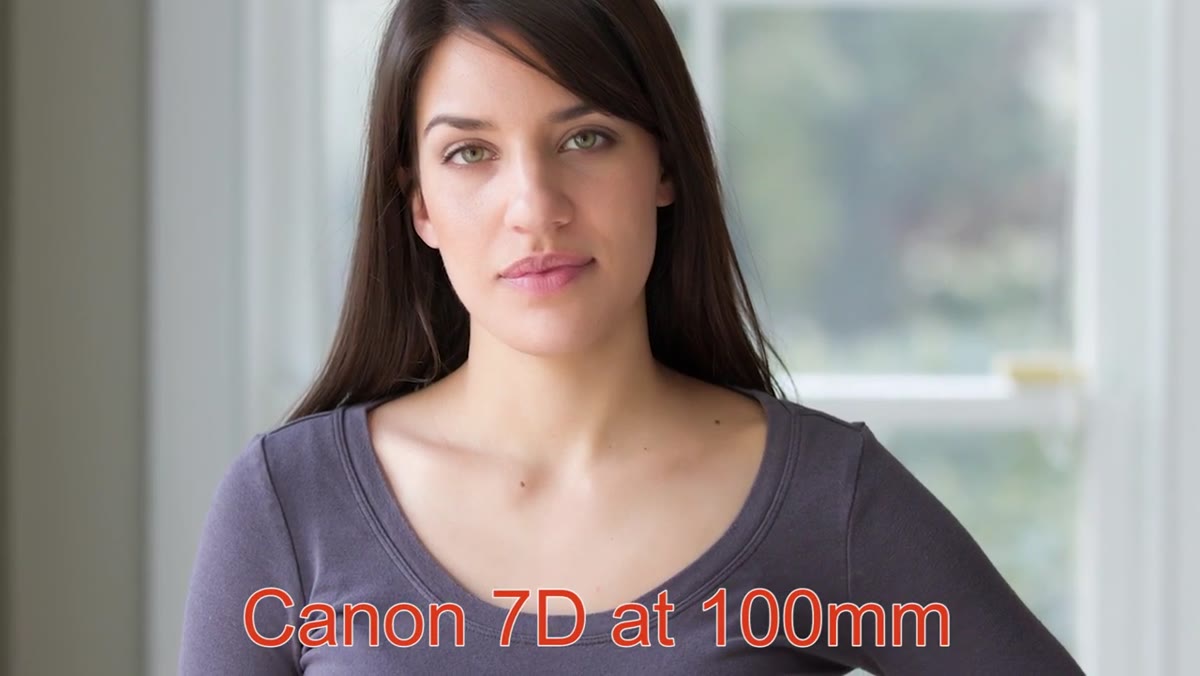 Same 100mm lens mounted on three different sensor size bodies
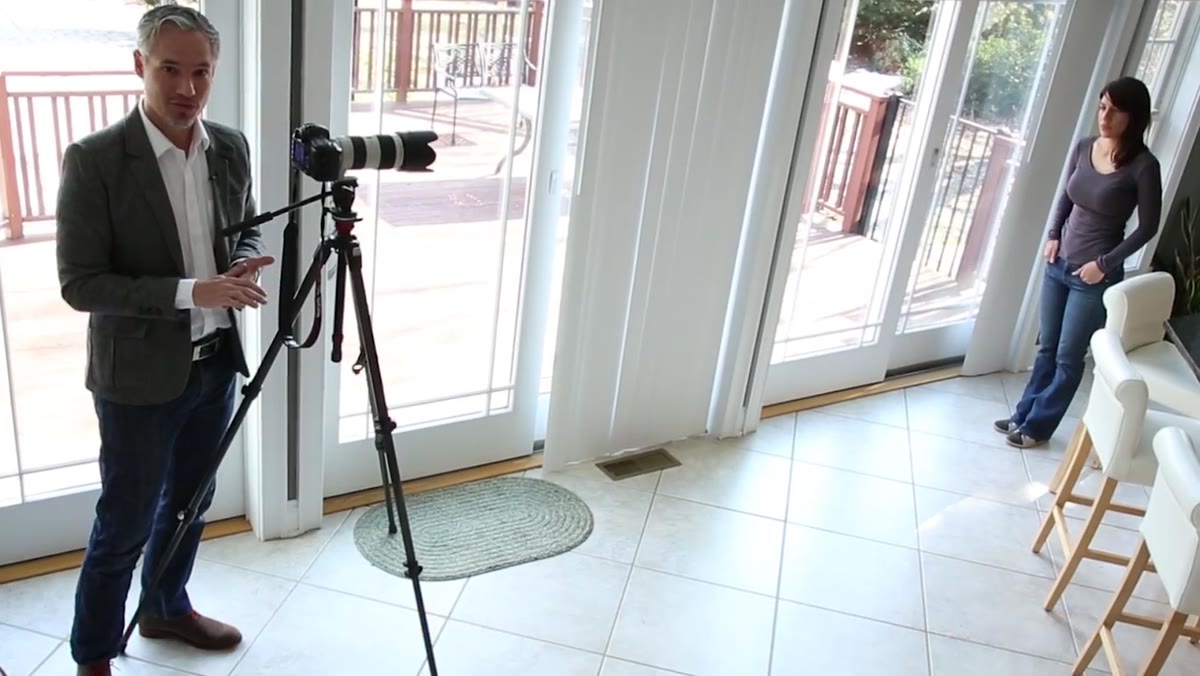
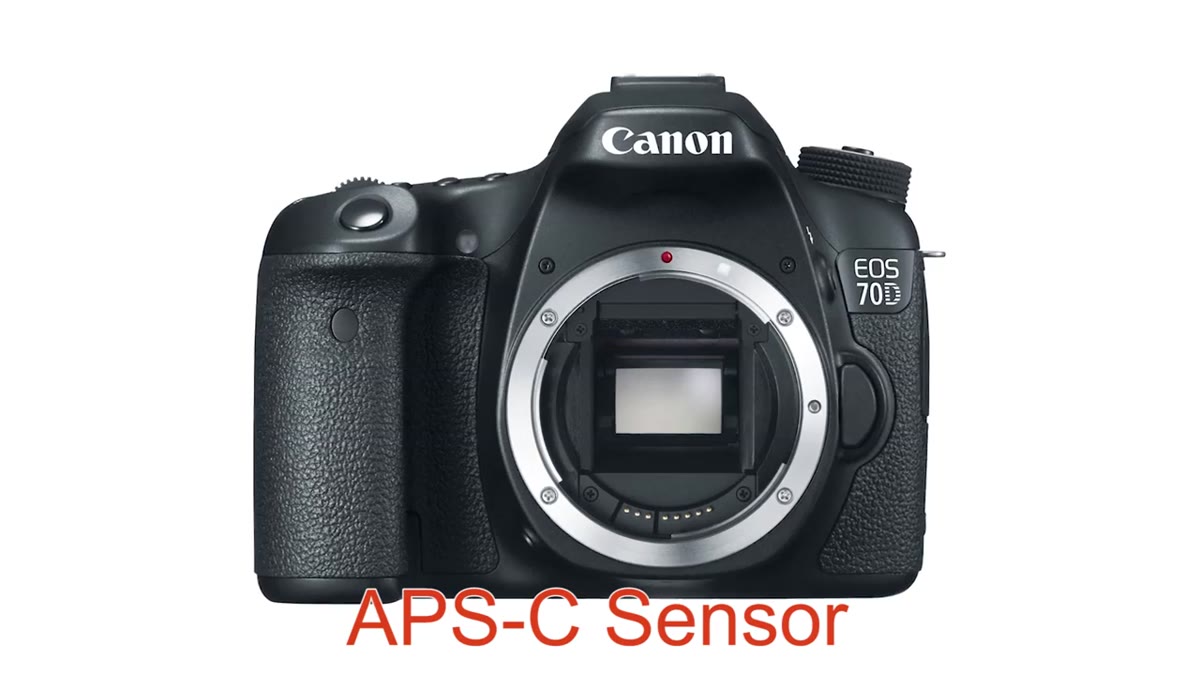
Crop factor is not a lens property. It’s what happens when a smaller sensor captures only the center portion of the image circle a lens projects. Tony demonstrates this by mounting the same 100mm lens on a full-frame Canon 5D Mark II, then an APS-C Canon 7D (1.6x crop factor), then a Micro Four Thirds camera (2x crop factor), without changing any settings between shots. The resulting images look like they were taken with three completely different focal lengths. The lens didn’t change. The sensor size changed what portion of the image was recorded.
The practical numbers: a 100mm lens on a Canon APS-C body behaves like 160mm. On a Nikon APS-C body (1.5x crop factor), it becomes 150mm. On Micro Four Thirds, it becomes 200mm. Full-frame bodies have no crop factor, so what you see is what you get.
Step 2: Match Focal Length Equivalents Between Systems
 Full-frame camera set to 200mm beside Micro Four Thirds at 100mm
Once you know the crop factor, you can find the equivalent focal length on any system. To get the full-frame equivalent of a crop-sensor lens, multiply the lens’s actual focal length by the crop factor. To go the other direction, divide the full-frame focal length by the crop factor to find what you’d need on the smaller sensor.
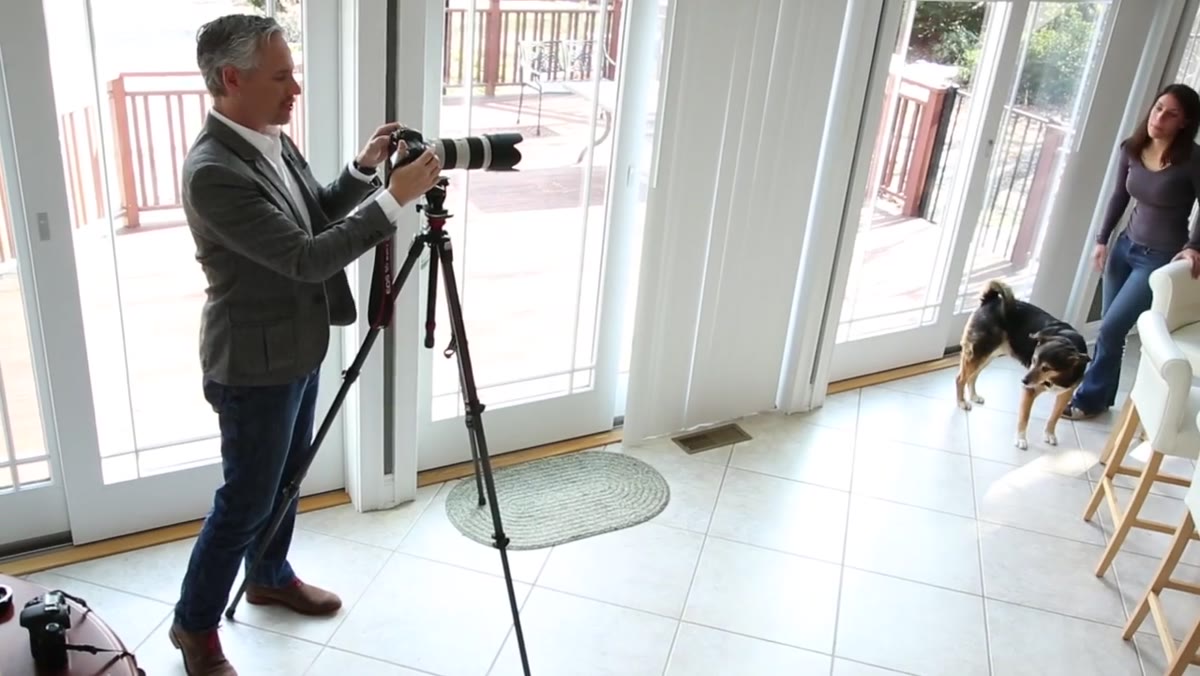
Tony shoots Chelsea at 200mm on the full-frame body specifically so he can compare it side-by-side with the Micro Four Thirds body using a 100mm lens (100mm x 2 = 200mm equivalent). The framing matches. The angle of view is nearly identical. But this is where most people stop the calculation, and that’s the mistake.
Step 3: Compare the Background Blur and Notice the Problem
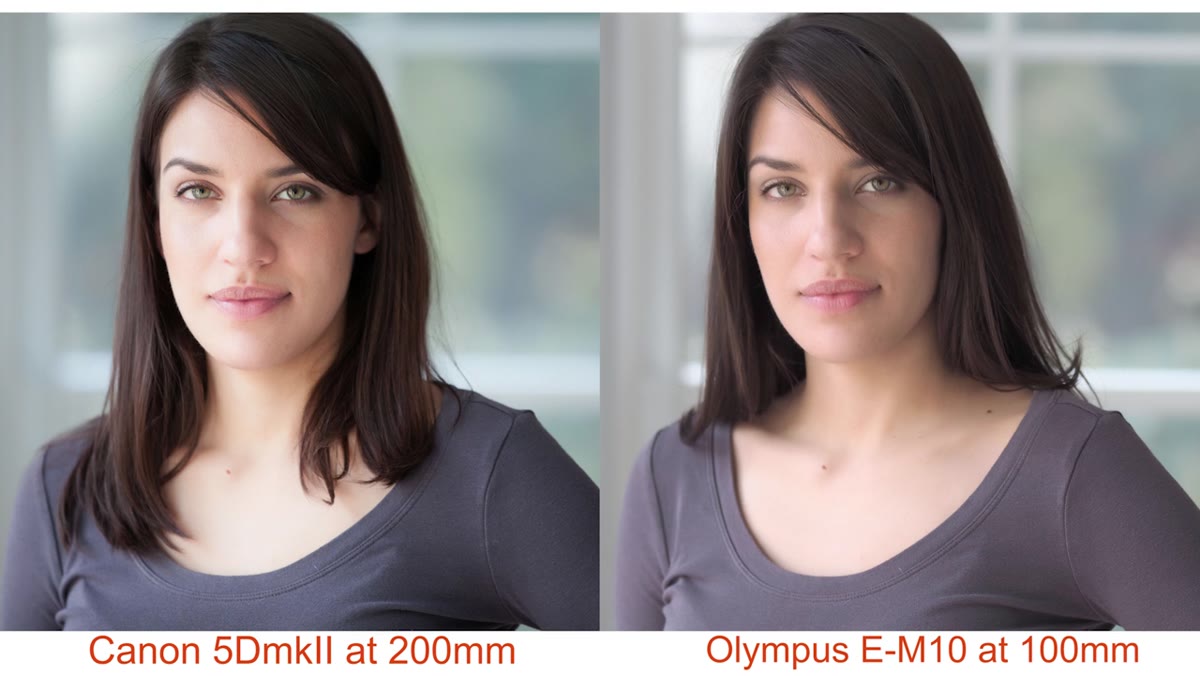 Side-by-side showing full-frame 200mm vs Micro Four Thirds 100mm bokeh difference
When Tony puts those two “equivalent” shots next to each other, the framing is similar but the background blur is dramatically different. The full-frame shot at f/2.8 produces noticeably more separation between Chelsea and the background. The Micro Four Thirds shot at 100mm f/2.8 looks much flatter in comparison.
This is the moment the tutorial clicks into place. Same subject framing. Same f-stop number. Very different results. If you were using f-stop numbers alone to evaluate lens performance across these two systems, you’d walk away with a false impression of what either lens actually delivers.
Step 4: Apply the Crop Factor to the Aperture
 Micro Four Thirds body dialed to f/5.6 to match full-frame f/2.8 background blur
Here’s the calculation that gets skipped in most lens comparison articles: take your f-stop and multiply it by the crop factor the same way you do with focal length. A Micro Four Thirds camera has a 2x crop factor, so an f/2.8 lens on that system is equivalent to f/5.6 on full-frame in terms of depth of field and background blur. Tony changes the aperture on the Micro Four Thirds body to f/5.6 and the background blur in the resulting image matches the full-frame f/2.8 shot much more closely.
This doesn’t mean f/2.8 on a Micro Four Thirds camera is “fake” or useless. It just means you need to compare accurately. If someone tells you a 45mm f/1.8 Micro Four Thirds lens is equivalent to an 85mm f/1.8 full-frame lens, they’re half right. The focal length math checks out (45 x 2 = 90mm, close enough). But the aperture equivalent is f/3.6, not f/1.8. That’s a meaningful difference in background separation.
Step 5: Account for the Noise Difference Too
 Explanation of smaller sensor gathering less total light at same ISO
Aperture equivalence also connects to image noise. When sensor size shrinks, each pixel captures less total light, even if the f-stop number stays the same. Tony explains that the amount of light per square centimeter of sensor is identical across systems at the same f-stop, but a smaller sensor means fewer total photons reaching the sensor overall. If two cameras have the same megapixel count, the smaller sensor’s pixels are physically tinier, which means more noise at the same ISO setting.
This is why you can’t just slap a fast lens on a crop-sensor body and expect full-frame performance. The aperture math and the noise math are connected. A full-frame body at ISO 1600 will typically outperform a Micro Four Thirds body at the same ISO, for the same reason the f/2.8 apertures aren’t truly equivalent between systems.
What I’d Add From My Own Lens Testing
I keep a running spreadsheet of every budget lens I’ve tested, and I started adding an “effective aperture” column after I ran into exactly the problem Tony describes. I was comparing a popular Micro Four Thirds f/1.7 prime against a cheaper full-frame f/1.8 option and almost talked myself into the Micro Four Thirds system based on the raw f-stop numbers. Once I applied the 2x multiplier, the full-frame option was the obvious value play for the kind of low-light, shallow depth-of-field shooting I was doing.
The lesson extends beyond just Micro Four Thirds. APS-C shooters need to run these numbers too. A Canon APS-C lens at f/2.8 is closer to f/4.5 on a full-frame equivalent basis. That’s not a dealbreaker, especially given the price difference, but it should factor into your buying decision honestly rather than being hidden behind marketing language about “equivalent focal length.”
The single most important thing to take away from Tony’s tutorial: whenever you see a lens spec listed for a crop-sensor system, write down two numbers, not one. Multiply the focal length by the crop factor, and multiply the aperture by the crop factor. Those two numbers together tell you what you’re actually getting compared to a full-frame system. Anything less is an incomplete comparison.
Watch the full tutorial on YouTube to see Tony’s side-by-side demonstration with actual camera bodies. Seeing the background blur difference in the real images makes the math land in a way that no explanation fully captures on its own.
Comments (2)
Love how you break down complex stuff into manageable steps.
This should be required reading for anyone starting out.
Leave a Comment