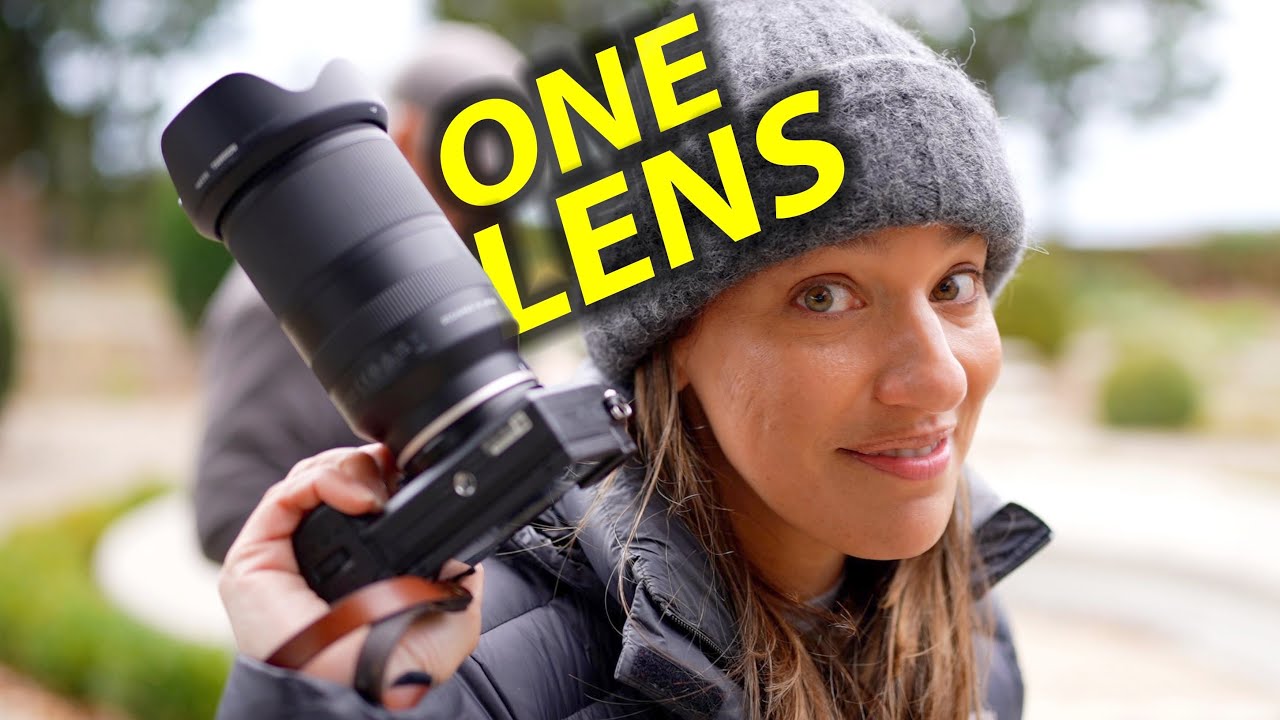
I’ve lost more shots to lens changes than I care to admit. You’re out somewhere, the light is doing something interesting, and by the time you’ve swapped glass, capped the old lens, found somewhere clean to set the body down, the moment is gone. I built my whole review approach around proving that affordable gear can deliver real results, and the one category I kept dismissing was the superzoom. Too much compromise, I told myself. Too soft at the long end. Then I sat down with this Tony & Chelsea Northrup tutorial on superzoom lenses and had to do some honest recalibrating.
Watch the full tutorial on YouTube
The Northrups frame the whole argument around a real-world frustration: one shooter locked in at wide angle while the other is still hunting for their lens cap. That’s not a hypothetical. That’s every group trip I’ve been on. Their case for superzooms isn’t about image quality supremacy. It’s about capturing the shot versus missing it entirely, and that reframe matters more than most pixel-peeper arguments.
Step 1: Understand What a Superzoom Actually Is
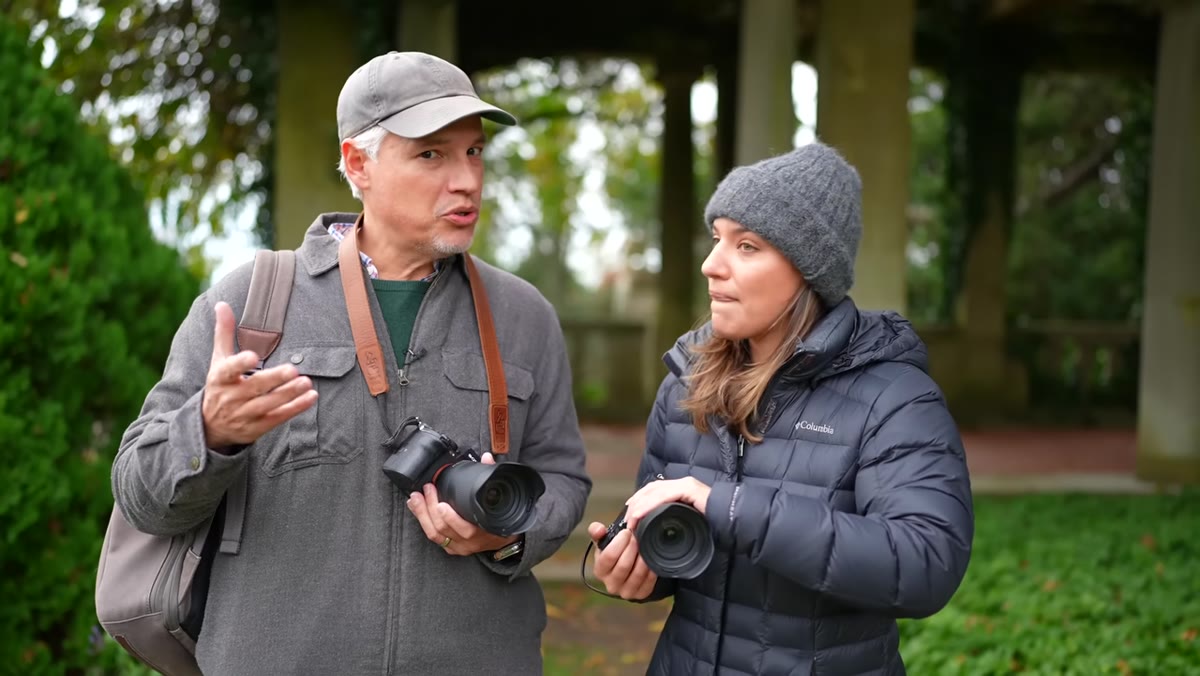
 Chelsea holding superzoom lens explaining the category
A superzoom isn’t just a long zoom. It’s a lens designed to cover the full range from wide angle to telephoto in a single barrel, typically something in the neighborhood of 18mm to 300mm on APS-C or 28mm to 200mm on full frame. Tony shoots the Tamron 18-300mm on Sony and Fuji APS-C bodies. Chelsea uses the Tamron 28-200mm on full frame Sony. The key detail is that these aren’t the same as the kit lens that came in the box with your camera. Kit lenses usually top out around 55mm or 70mm, which is nowhere near enough reach for wildlife, sports, or pulling in architectural details from across a square.
Step 2: Know When Versatility Beats Sharpness
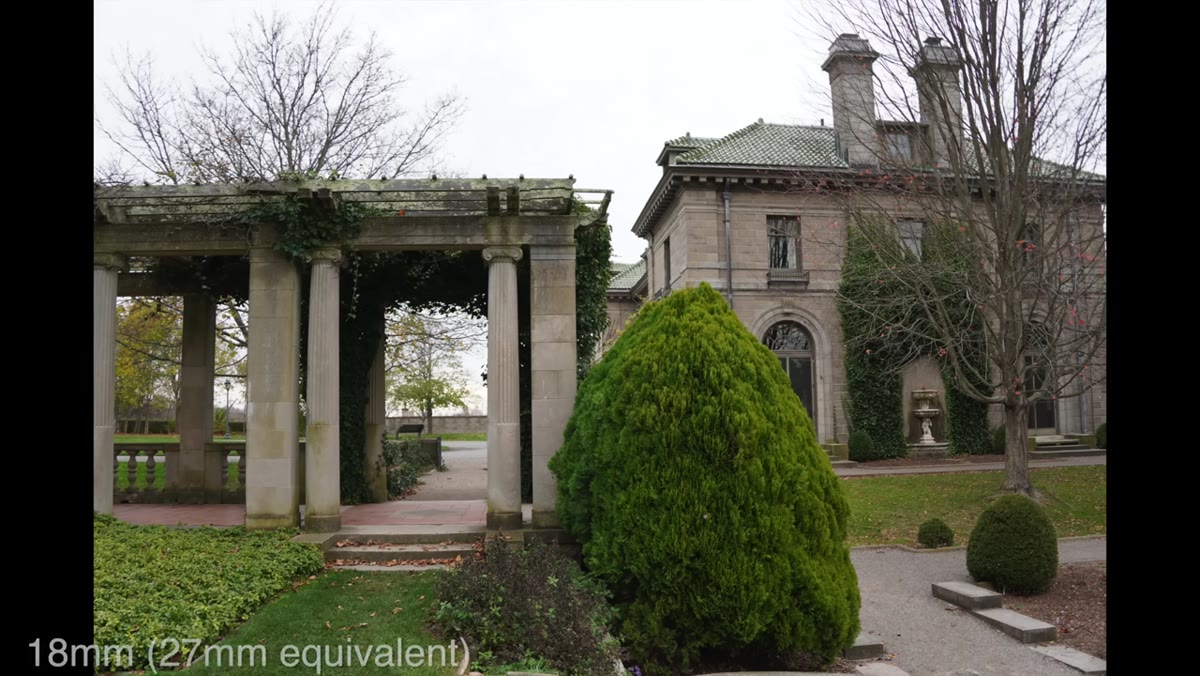
 Chelsea demonstrating wide angle shot of landscape at 28mm
Tony is upfront that he is a prime lens person by habit. He tests sharp glass for a living. But he’s honest that the superzoom earns its place in specific situations: travel, unpredictable environments, any scenario where you don’t know what focal length you’ll need next. The practical rule here is simple. If you’re somewhere you can’t predict what you’ll want to photograph, the cost of a lens swap is often higher than the cost of a slight sharpness penalty. You’re not shooting for a billboard. You’re documenting a moment. Get the shot with a good lens rather than missing it waiting for a perfect one.
Step 3: Test the Full Focal Range Back-to-Back
 Side-by-side comparison of superzoom vs kit lens output
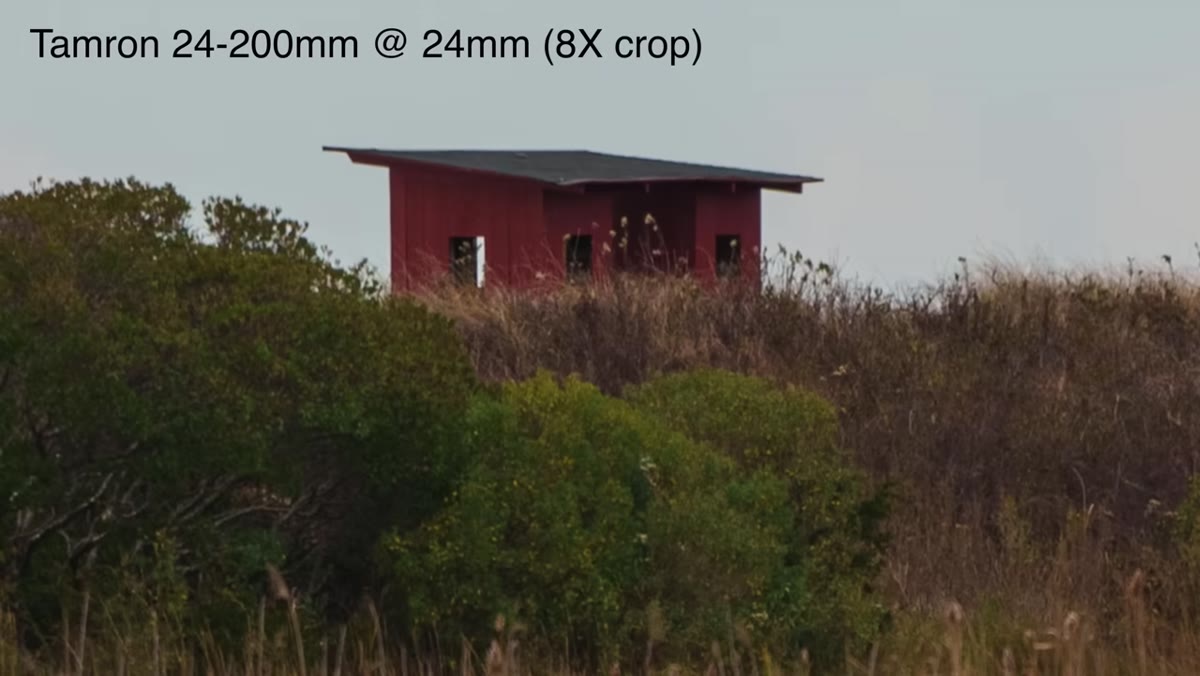
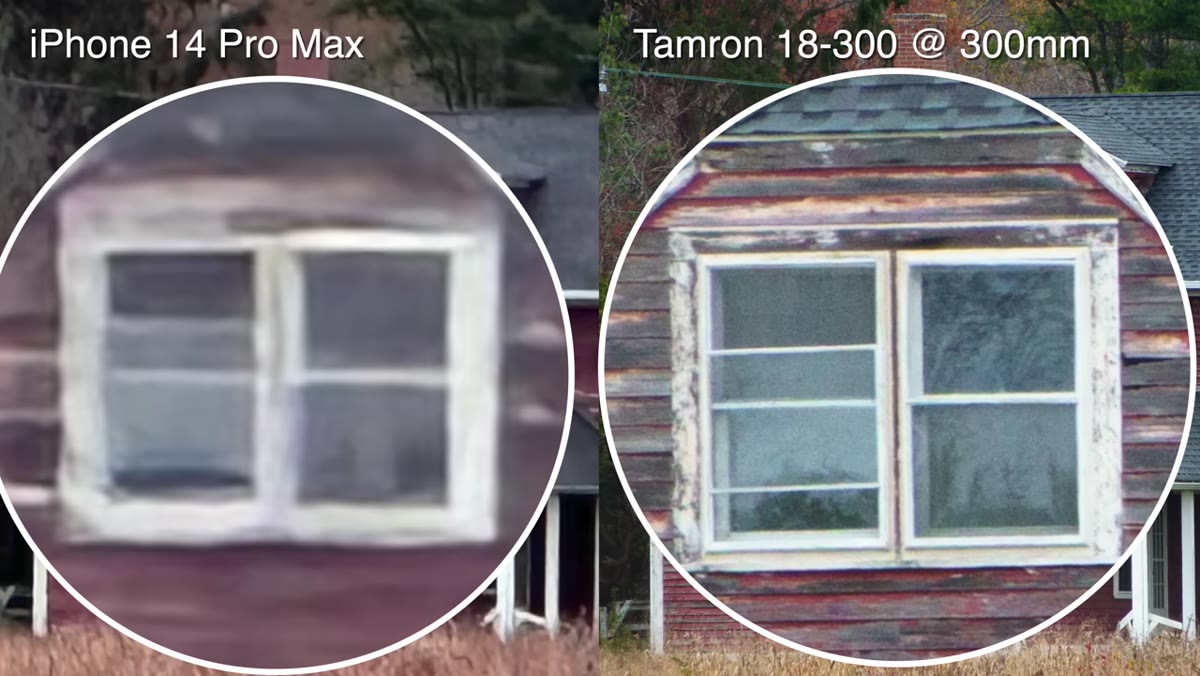
The Northrups run direct comparisons: superzoom against the standard kit lens, and superzoom against an iPhone 14 Pro. This is the part worth paying attention to. The kit lens comparison shows real, visible differences. The superzoom produces more detail, better contrast, and noticeably cleaner results at both ends of the range. The iPhone comparison is closer than some people expect at wide angles, but falls apart at telephoto distances where the phone’s digital zoom introduces noise and smearing that the optical zoom on the superzoom avoids entirely. If you’re moving up from a smartphone, this is where the dedicated lens earns its cost.
Step 4: Use the Telephoto End Intentionally
 Chelsea zoomed to 200mm isolating red boat on horizon
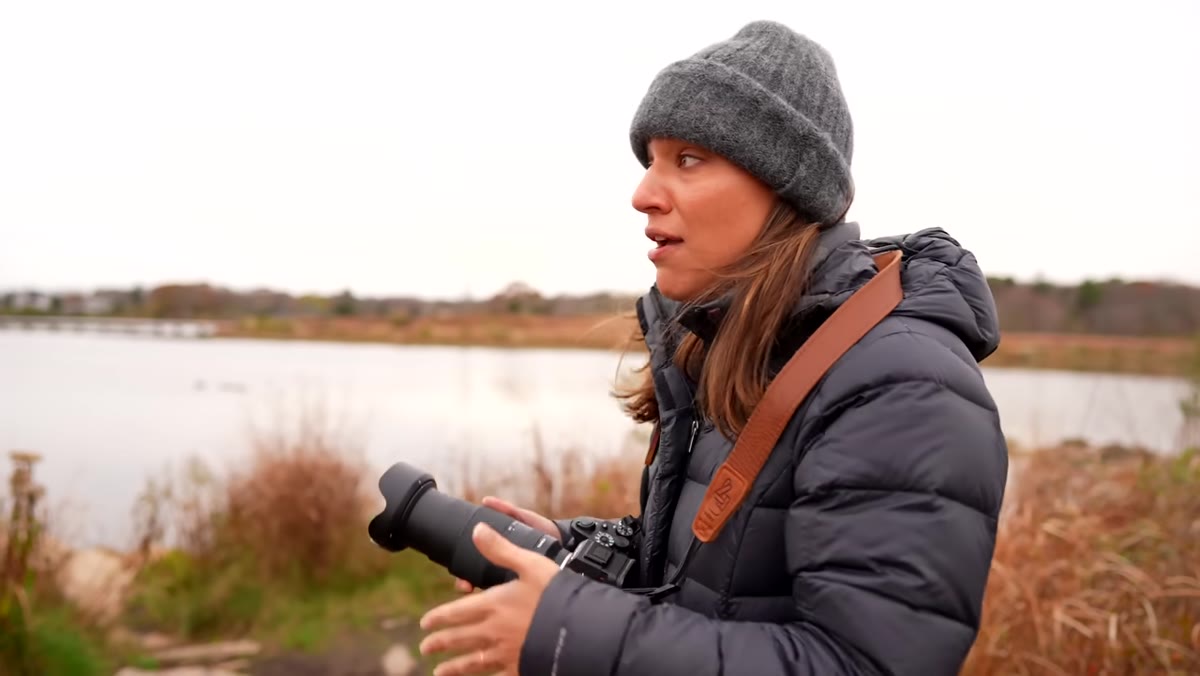
One specific technique the video demonstrates is using the long end of the superzoom to isolate details in a wide landscape. Chelsea shoots a broad scene at wide angle to capture the full environment, then zooms to 200mm to pull a small red boat on the horizon into a tight, compressed frame. These are two completely different images from the same spot without moving your feet. Compression at the long end also produces flattering portrait results, with backgrounds rendered softer and subjects more separated. This is not a technique people associate with travel zooms, but it works and it’s worth practicing deliberately rather than just using the lens as a convenience tool.
Step 5: Work Around the Wide-End Limitation with Panoramas
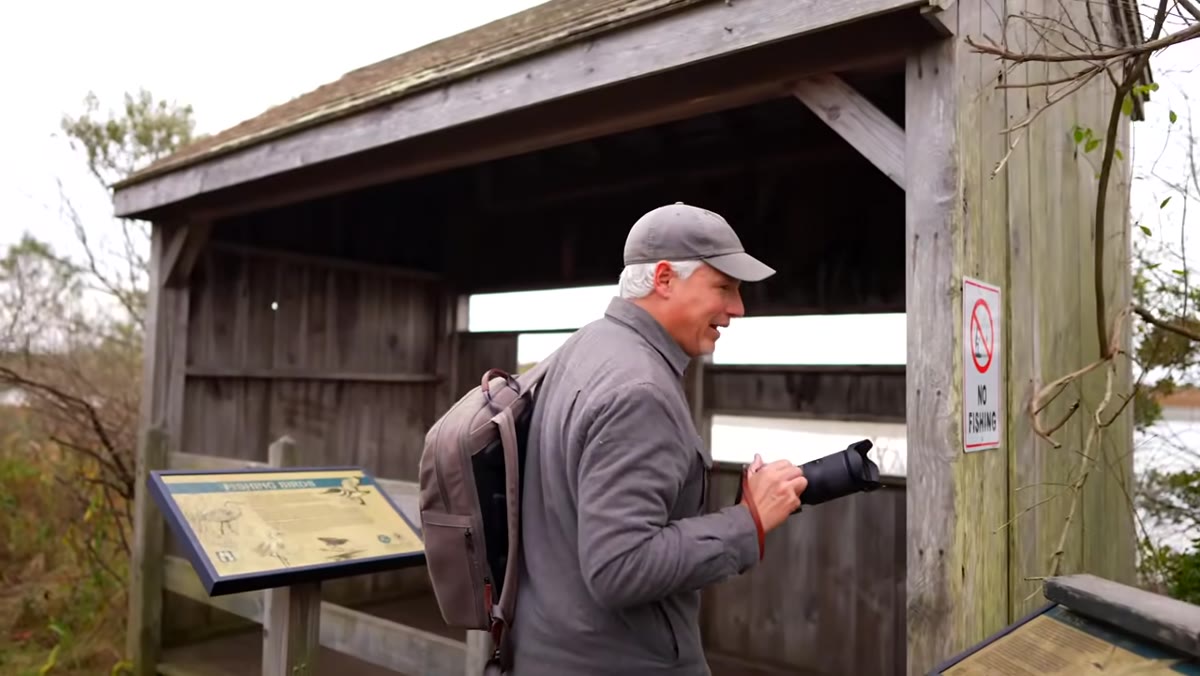 Chelsea taking overlapping vertical frames for panorama stitch
Superzooms have a real limitation on the wide end. Most smartphones now shoot at something like 13mm equivalent, which is significantly wider than the 18mm or 28mm starting point on these lenses. The workaround the Northrups demonstrate is the panorama stitch. Instead of trying to get everything in one frame, rotate the camera to portrait orientation and take a series of overlapping frames, each sharing roughly a third of its area with the next shot. Import into Lightroom, use the Photomerge panorama function, and the resulting file is both wider and higher resolution than a single frame. Honestly, this approach produces better results than the phone panorama mode in most cases because you’re working with raw files and a proper sensor.
Step 6: Compare Realistically Against Your Own Shooting Habits
 Tony discussing real-world trade-offs vs prime lenses
Before buying, the Northrups push viewers to be honest about how they actually shoot. If you’re a deliberate studio or landscape photographer who sets up a tripod and plans every shot, a superzoom probably isn’t your main lens. But if you travel, shoot events, or find yourself in unpredictable environments, the calculus changes. The question isn’t whether the superzoom is sharper than a prime. It’s whether you’d rather have one flexible lens on the camera or the right prime sitting in your bag while you miss the shot.
My Take: Check Used Prices Before You Buy New
I ran the numbers on both lenses the Northrups cover, and there’s a healthy used market for both the Tamron 18-300 and 28-200 on major reseller sites. I spotted copies of the 18-300 for Sony E-mount running $50 to $80 below retail at the time I checked, in excellent condition. For a lens you’re buying for travel versatility rather than studio work, buying used is a no-brainer. The optical formula doesn’t wear out. The autofocus motor is worth checking with a quick test, but otherwise these lenses hold up well. If you’re on a Sony APS-C system, this is also worth cross-referencing against the Sigma 18-50mm f/2.8, which covers less range but offers a faster aperture for the wide-to-standard portion. Depends entirely on whether you need that telephoto reach.
The single most important thing this tutorial reinforced for me is that gear decisions should match your shooting context, not your gear fantasies. A superzoom won’t replace a 70-200mm f/2.8 for professional sports work. But for the photographer who wants one lens that handles a full day of unpredictable travel without constant swapping, it delivers real value at a price that makes sense.
Watch the full tutorial on YouTube to see the full side-by-side comparisons and hear Tony and Chelsea walk through the specific lenses they tested.
Comments (2)
This saved me so much time on my last edit. Wish I'd found this sooner.
Great breakdown. The step-by-step approach really helps.
Leave a Comment