Every time I see a stunning macro shot in a Facebook group, someone in the comments asks what lens was used. The answer is almost always a dedicated macro lens, followed by a price tag that makes the original poster go quiet. I get it. A true 1:1 macro lens runs $800 to $1,200 depending on brand and focal length, and if you’re not shooting product photography or nature full-time, that’s a hard investment to justify. I’ve been sitting on this question for a while: is there a legitimate workaround, or is the macro lens one of those cases where you actually have to spend the money?
In this KelbyOne tutorial featuring Brad Moore alongside host RC Concepcion, Brad walks through a side-by-side comparison he built out in his own testing lab — macro lens versus 70-200mm with nothing, versus that same lens fitted with extension tubes and a close-up filter screw-on. Watch the full tutorial on YouTube. The results are genuinely useful if you already own a mid-range telephoto and want to start experimenting with close-up work before committing to new glass.
What I appreciate about Brad’s approach is that he’s not trying to sell you on budget gear being secretly better. He’s asking a practical question: if you already have a 70-200mm lens, how close can you actually get with the right accessories, and how does that compare to the real thing? The answer, as you’ll see, is more nuanced than the macro lens gatekeepers would have you believe.
Step 1: Understand What a Close-Up Filter Actually Is
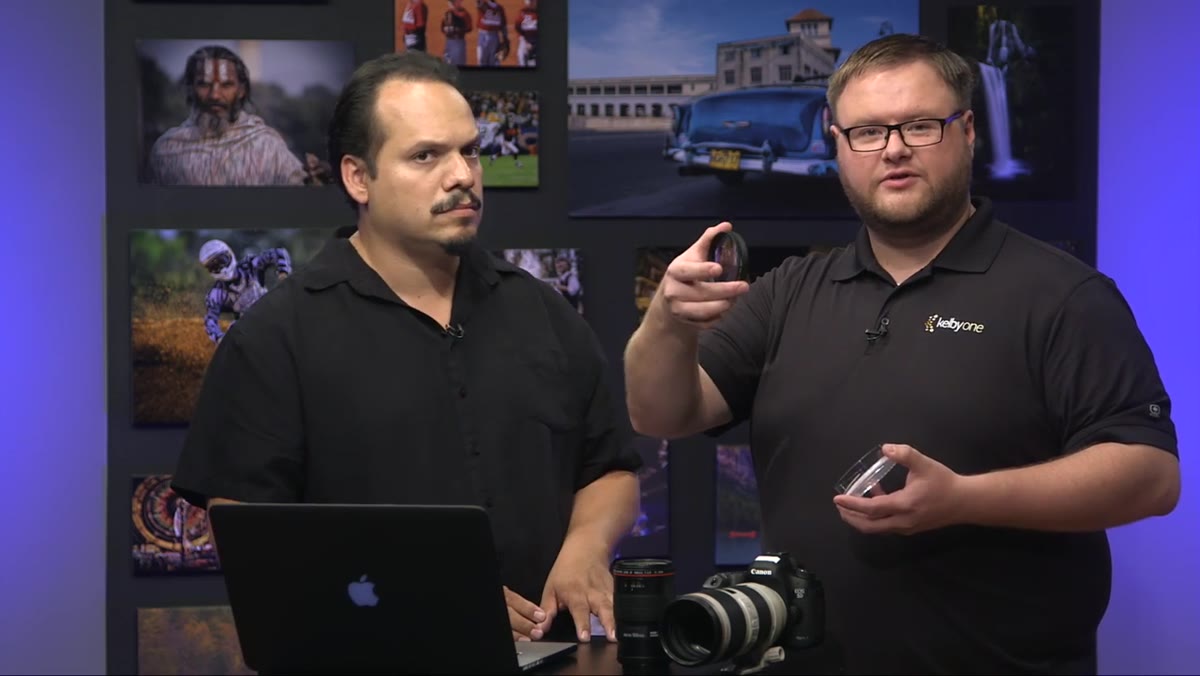 Brad holding Canon close-up filter next to a macro lens
A close-up filter is not a filter in the traditional sense. It looks like a screw-on UV or polarizer, but it’s actually a supplementary lens element that reduces your minimum focusing distance. Canon makes a well-known version, but the key point Brad makes is that these are not brand-locked to your camera system. What matters is the thread diameter. If your lens takes 77mm filters, you buy a 77mm close-up lens. That’s it. Most 70-200mm lenses, which are already in a huge percentage of portrait photographer bags, use a 77mm thread, so the fit is usually straightforward.
The close-up filter is not a replacement for a macro lens. Brad is clear about that. But it closes the gap considerably, and at a fraction of the cost. Think of it as a proof-of-concept accessory. If you shoot a few rolls worth of close-up work and love it, then you’ve justified the macro lens investment. If you use it twice a year, you’ve saved yourself $1,000.
Step 2: Set Up Your Baseline Shot With the True Macro Lens
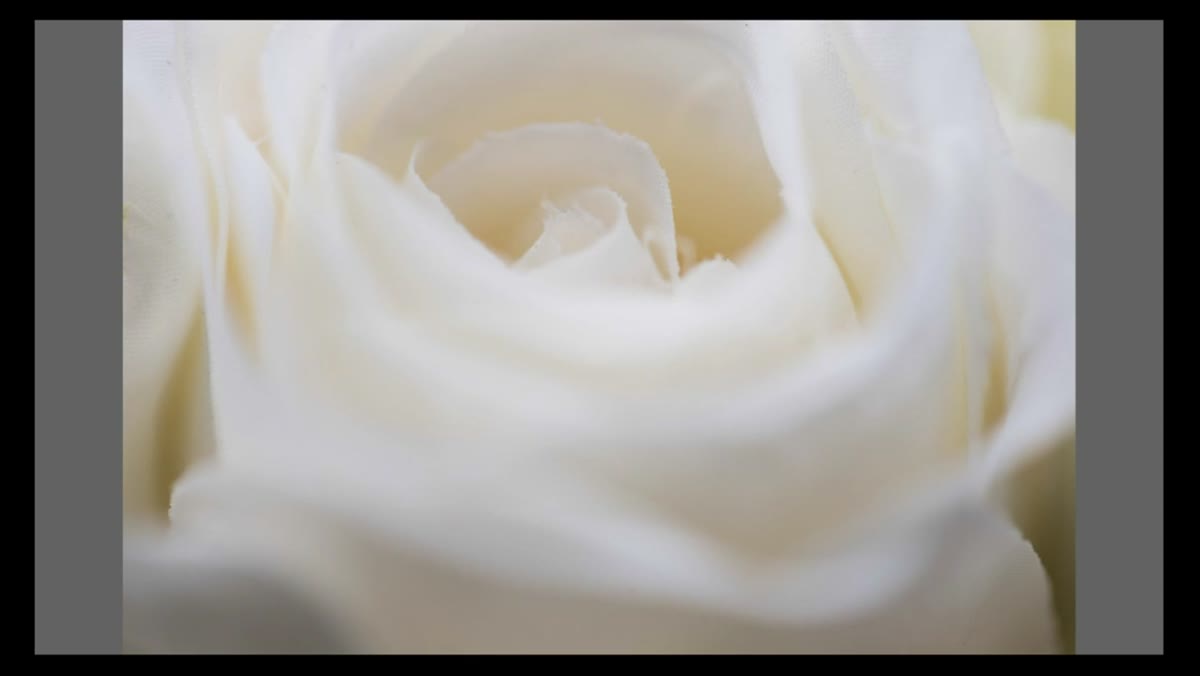 Macro lens test shot of flowers on screen during comparison
Before any accessory comparisons mean anything, you need to know what you’re comparing against. Brad’s baseline is a dedicated macro lens shot at its closest focusing distance while still holding sharp focus. That shot becomes the reference point for every accessory combination tested afterward. If you’re doing this at home, pick a small, detailed subject with clear texture, something like a flower cluster, coins, or fabric. Shoot at the lens’s minimum focusing distance and note how much of the frame the subject fills.
The critical variable here is not magnification alone. It’s focusing distance. A macro lens lets you get physically close to a subject and still achieve focus. A standard telephoto lens cannot do that. The subject will go soft long before you get anywhere near true close-up territory. Keep that distinction in mind as you work through the accessory options below.
Step 3: Test the 70-200mm With No Accessories
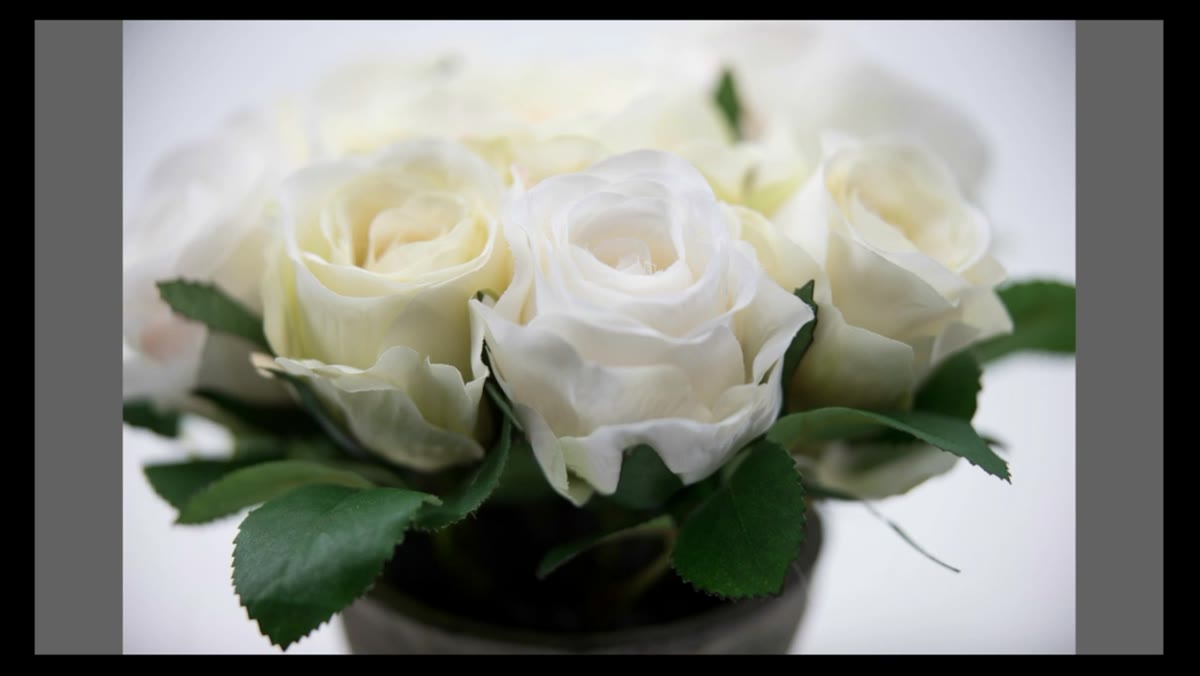 70-200mm unassisted shot showing limited close-focus ability
Point a 70-200mm at a small subject, try to move in close, and you’ll quickly hit a wall where autofocus just gives up or the image goes visibly soft. Brad’s test confirms what most photographers already know intuitively but haven’t formally compared: without help, a telephoto zoom is not a close-up lens. At 70mm you can get reasonably close. At 200mm you actually have to back up further to hold focus, which works against you for fill-frame close-up work.
This step matters because it establishes how much work each accessory is actually doing. Without seeing the baseline, you might look at an extension tube result and think “that’s pretty good” without realizing just how dramatic the difference really is.
Step 4: Add Extension Tubes, Starting With the Smallest
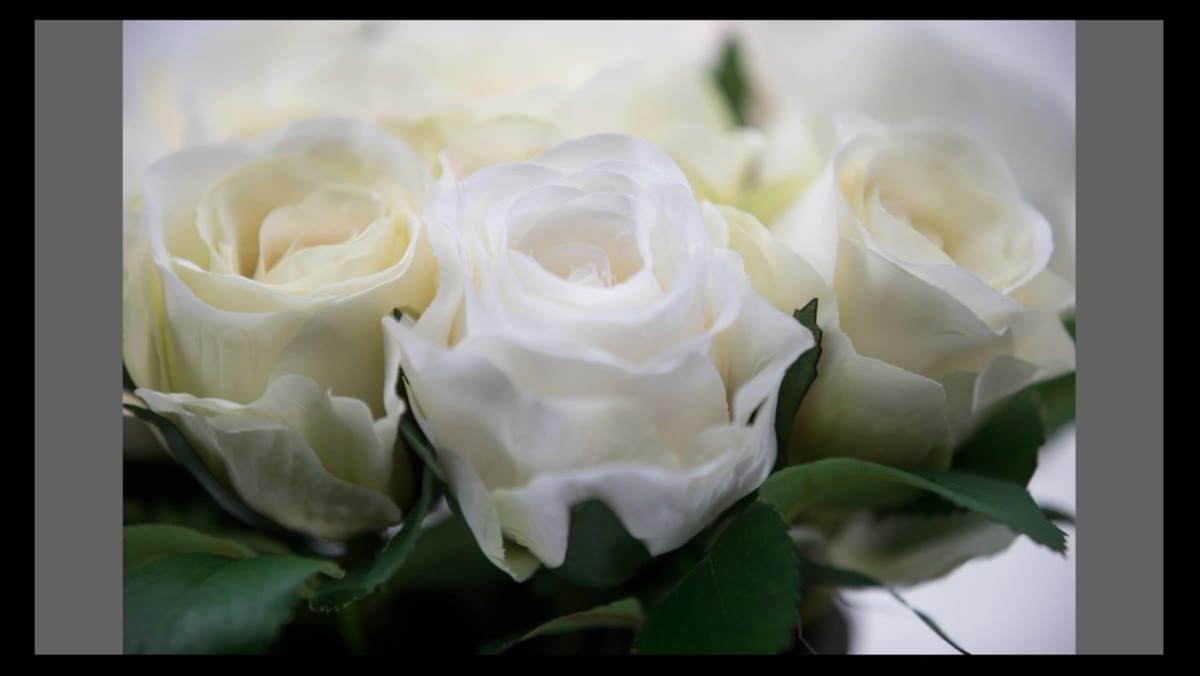 13mm extension tube being mounted between camera body and lens
Extension tubes mount between your lens and camera body. There are no glass elements inside, just a hollow spacer that physically moves the lens further from the sensor. That shift in distance changes the math on minimum focus, letting you get closer to your subject than the lens was originally designed to allow. Brad tests three sizes: 13mm, 21mm, and 31mm.
Start with the smallest tube. Brad’s 13mm result showed a meaningful jump in how close he could get compared to the unassisted 70-200mm shot. Autofocus still works with quality extension tubes (look for tubes that maintain electronic contacts with the lens mount), though it can slow down. Set your aperture somewhere in the f/8 to f/11 range when starting out. Depth of field gets extremely shallow as you close focus distance, and a slightly stopped-down aperture gives you a more usable plane of focus to work with.
Step 5: Step Up Through the Larger Tubes
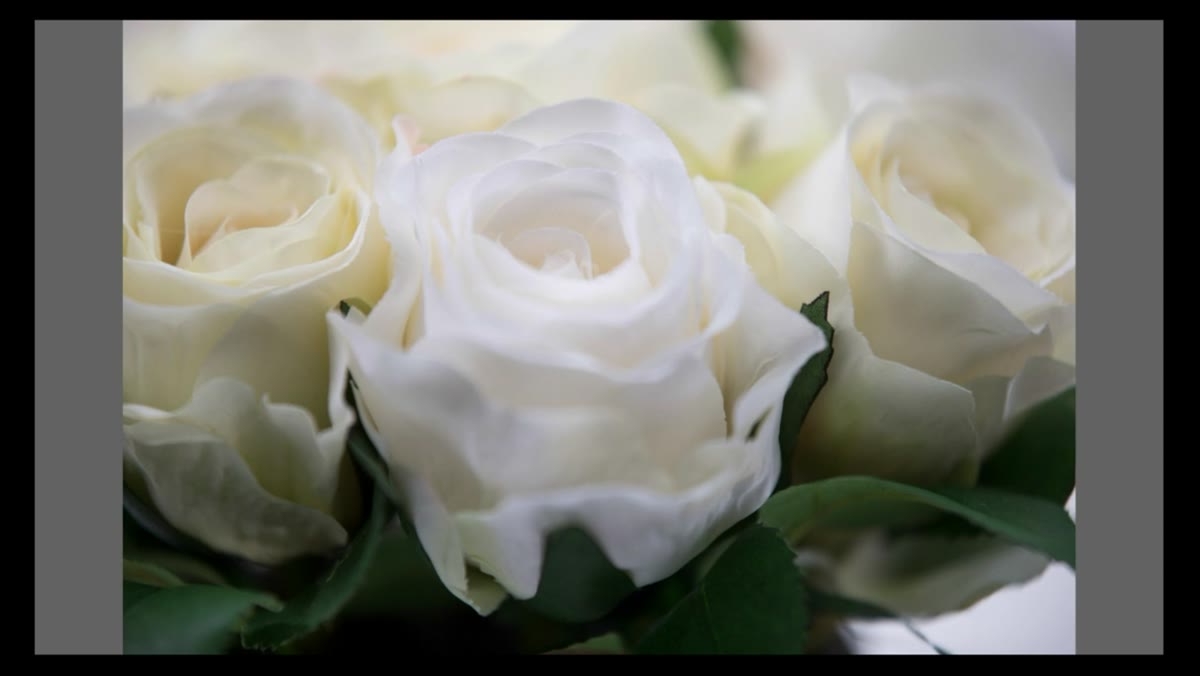 21mm and 31mm extension tube comparison shots side by side on screen
Swapping in the 21mm tube got Brad noticeably closer than the 13mm, and the 31mm got him closer still. Each increase in tube length pushes you further into true macro territory. The progression Brad shows is a clean visual argument: small tube, medium tube, large tube, and each frame fills with more subject detail and less background. By the time you’re at the 31mm tube, you’re approaching results that can genuinely compete with a dedicated macro lens for casual use.
The trade-off worth noting is light loss. Moving the lens further from the sensor reduces the amount of light reaching it, so your exposure needs to compensate. Bump your ISO, slow your shutter slightly, or open your aperture a stop or two. In controlled environments like a home studio or a still-life setup, this is easy to manage. In field conditions with moving subjects, it adds a layer of complexity.
Step 6: Compare the Full Stack Against the Macro Lens Baseline
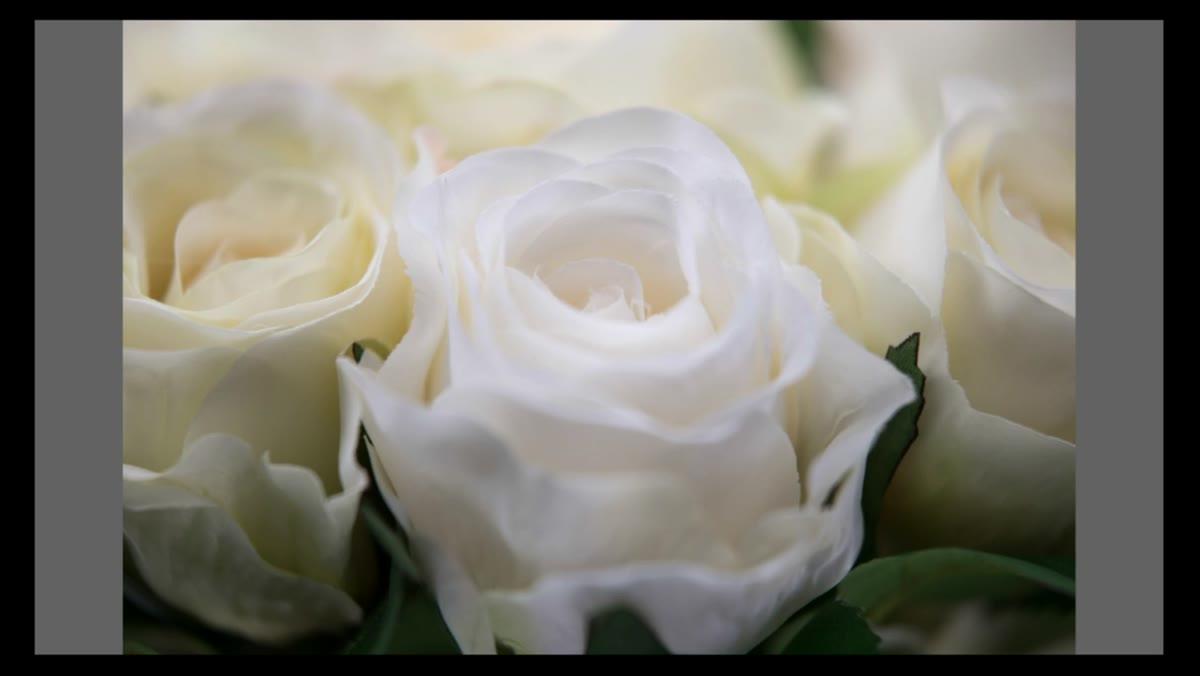 Final extension tube result compared to original macro lens shot
Once you’ve worked through each tube size, pull up your macro lens baseline shot and compare. Brad’s comparison is the honest version of this exercise. The macro lens wins on pure image quality and ease of use. But the gap is smaller than most people expect, and the extension tube setup costs a fraction of the price. For photographers who want to experiment before buying, or who only shoot close-ups occasionally, the tubes earn their place in the bag.
My Take: Stack the Tubes, Then Decide
I’ve run similar comparisons with off-brand extension tube sets bought for under $25 on Amazon. They work. The autofocus is slower and sometimes hunting, but for static subjects, they hold up. Where I push back slightly on the “good enough” framing is in professional or fast-turnaround situations. If you’re shooting product work for clients, the macro lens pays for itself in time saved and consistency. But if you’re a portrait shooter who wants to grab a few creative close-ups at a wedding or a family session, a $25 tube set on your existing 70-200mm is a genuinely smart move.
The single most important thing Brad’s comparison shows is that the macro lens is not magic. It’s optimized glass with a specific design goal. The extension tube is a mechanical workaround that exploits physics. Both produce usable results. What you’re really paying for with the macro lens is convenience, consistency, and image quality ceiling, not some exclusive optical secret. Know what you need, test what you have, and spend accordingly.
Watch the full tutorial on YouTube to see Brad’s actual comparison shots and the full slow shutter speed segment that follows the macro discussion.
Comments (1)
Never thought of approaching it this way. Really creative.
Leave a Comment