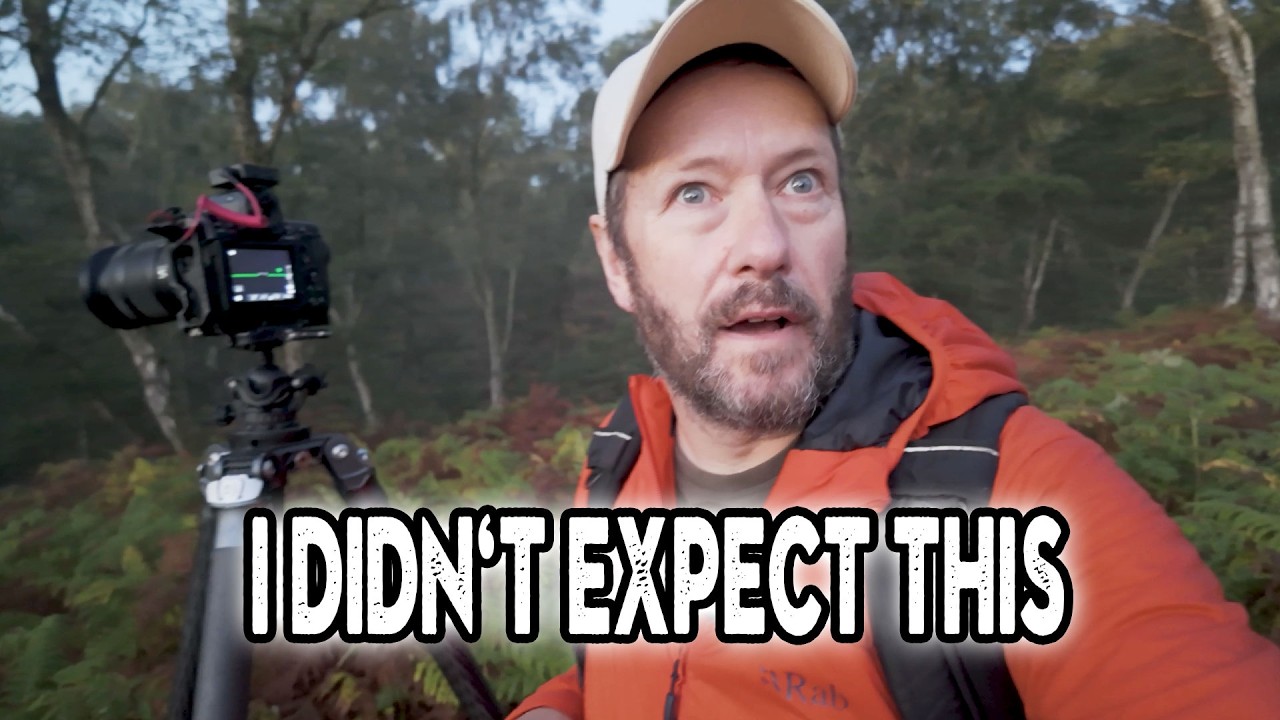
There’s a specific kind of defeat that every outdoor photographer knows. You check three weather apps the night before, set a 4:30 AM alarm, drive forty minutes in the dark, and arrive to find… nothing. No fog. No dramatic light. Just trees standing around looking ordinary. I used to pack up and go home. Wasted morning, wasted fuel, nothing on the card worth keeping. What I’ve slowly learned, mostly by watching photographers who’ve put in far more field time than me, is that the conditions you planned for are just an excuse to be out there. The real skill is what you do when the plan falls apart.
In this Nigel Danson tutorial shot at Cannock Chase in England, Watch the full tutorial on YouTube, Danson shows up expecting heavy fog across the woodland, finds barely a whisper of it, and just… keeps shooting. What unfolds is one of the more honest and instructive woodland photography walkthroughs I’ve seen. No dramatic conditions, no magic hour golden light painting the forest floor. Just a working photographer making real decisions in real time. For anyone who shoots landscapes on a budget and can’t afford to wait for perfect conditions every weekend, this video is required viewing.
Step 1: Show Up Anyway and Recalibrate Immediately
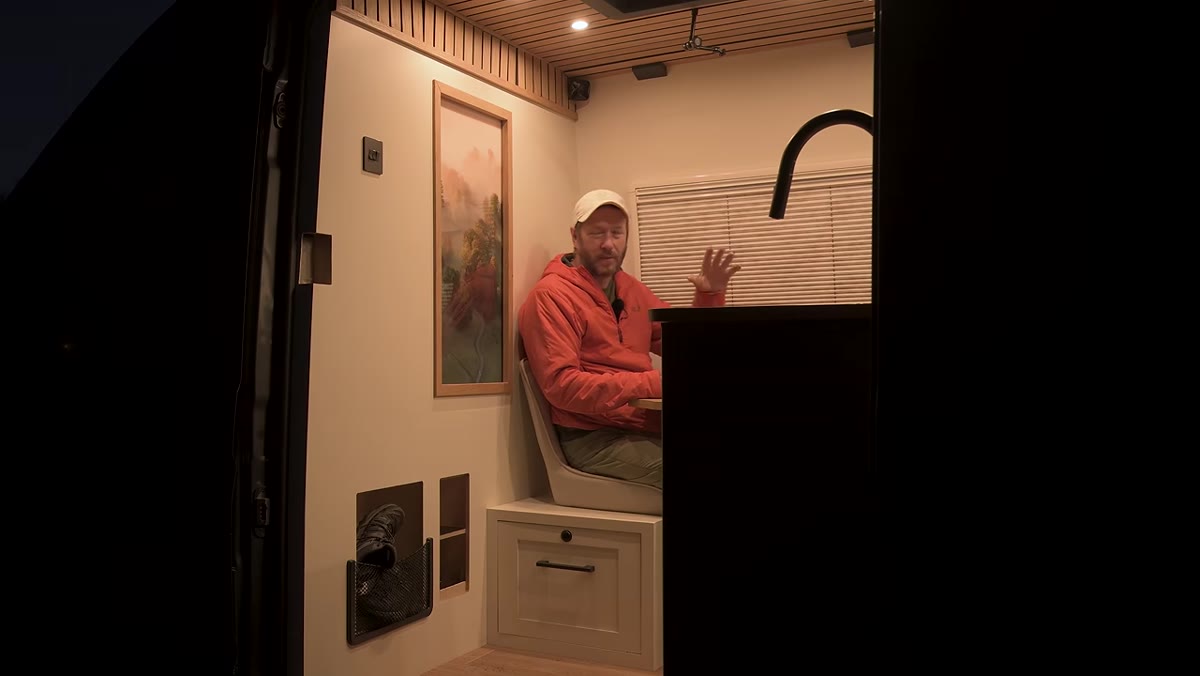 Danson standing outside, noting the absence of fog
The moment Danson realizes the fog isn’t coming, he doesn’t sulk or pivot to another location. He reframes the objective out loud. Instead of “shooting fog,” he decides he’s now “shooting a forest without fog.” That mental shift sounds small but it completely changes how you move through a location. When you’re no longer hunting one specific look, you start noticing the actual light in front of you. Get into the habit of naming your new goal the second conditions change. It gives your eye something to search for.
Step 2: Head Downhill Toward Low-Lying Fog Pockets
 Danson scanning the valley below for remaining fog patches
Fog doesn’t disappear uniformly. It retreats into valleys and low-lying ground as temperatures shift after sunrise. Danson spots a faint band of it sitting in a lower section of the woodland and heads toward it rather than chasing the hilltop views he originally planned. If you’re shooting somewhere hilly or near a valley floor, always check the lower elevations before giving up on fog entirely. You often get isolated pockets that interact beautifully with low-angle light, even if it’s not the sweeping fogscape you imagined.
Step 3: Use Tree Gaps as Natural Frames for Light Tunnels
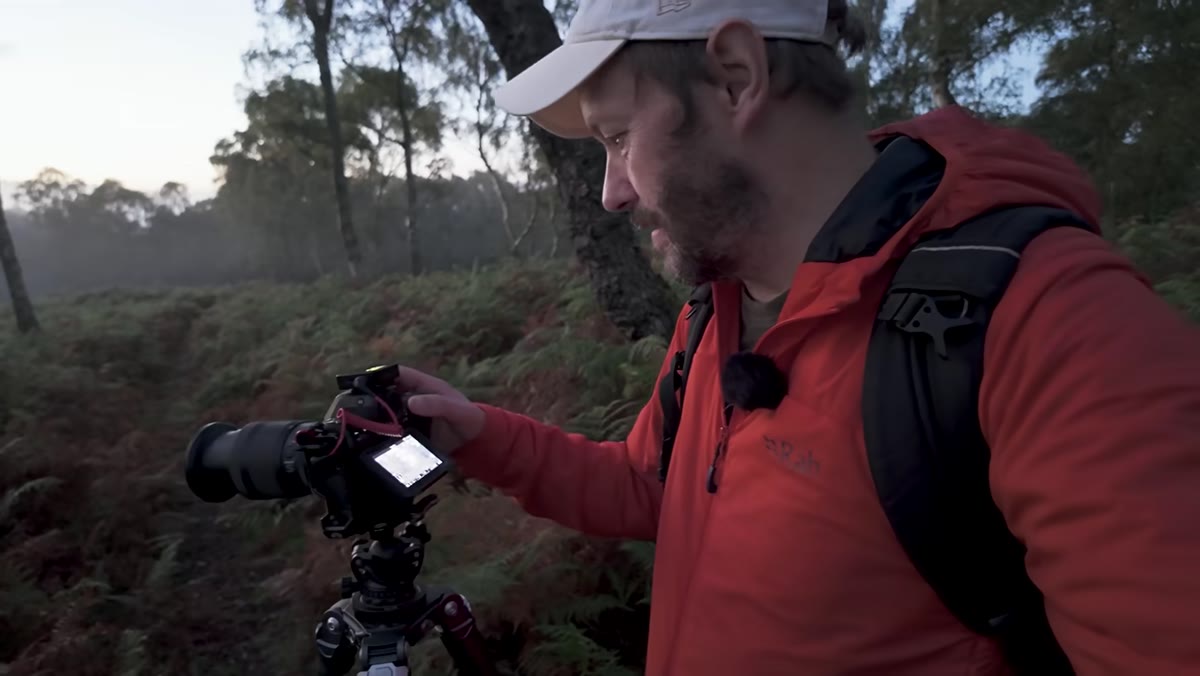 Camera viewfinder showing trees forming a tunnel effect toward glowing sky
One of the more useful compositional moves Danson demonstrates is finding a gap between trees and shooting through it toward the brighter sky. The trees form a tunnel, and even without fog the contrast between the dark foreground trunks and the glowing background creates depth and visual pull. He’s shooting through a specific opening he scouted while walking, not just pointing the camera at the forest generally. When you’re in woodland without dramatic conditions, stop looking at the forest as a whole and start looking for corridors, frames within frames, anything that gives the eye a path to travel.
Step 4: Wait for Sidelight to Hit the Trees Before Firing
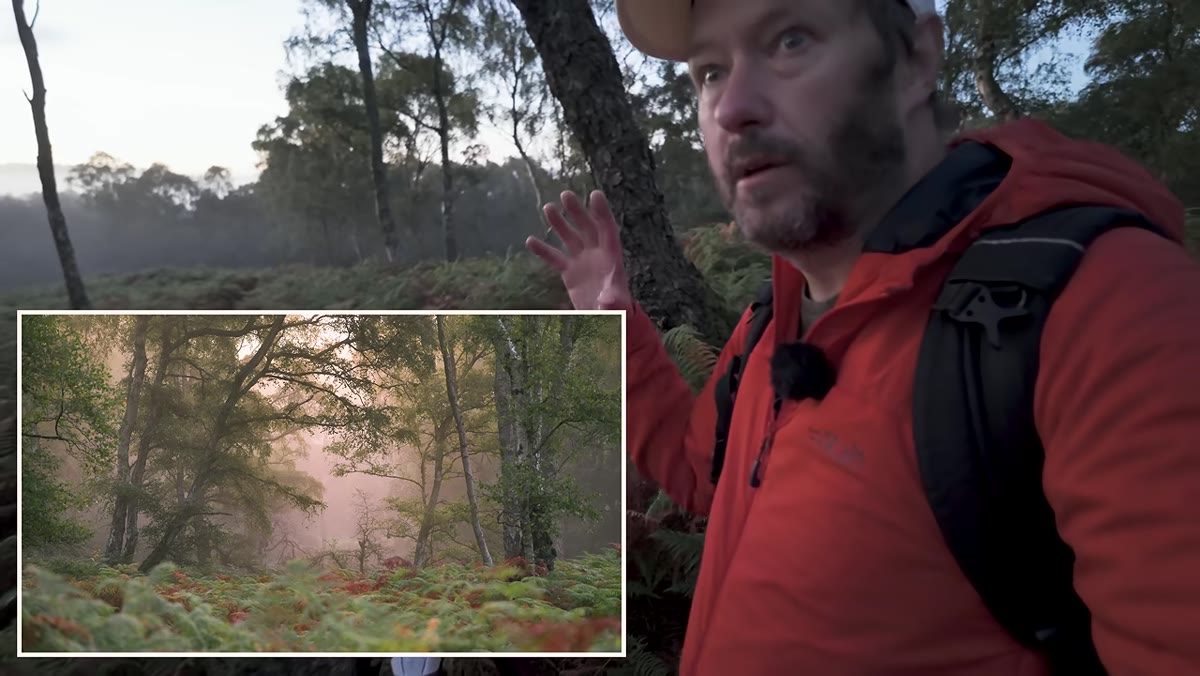 Danson noting the light is still too flat, waiting for sun angle to shift
This is a patience point that gets skipped in a lot of tutorials. Danson acknowledges the shot isn’t ready yet because the sunlight is still hitting the trees front-on, which flattens everything. He’s waiting for the sun to shift to a side angle so the light rakes across the bark and creates texture. Front-lit trees in a woodland scene look flat and muddy. Side-lit trees suddenly have dimension and presence. If you’re in position and the light is close but not quite there, wait. Five to ten minutes can be the difference between a forgettable frame and one worth printing.
Step 5: Shoot Long Exposures to Handle the Dark Woodland Interior
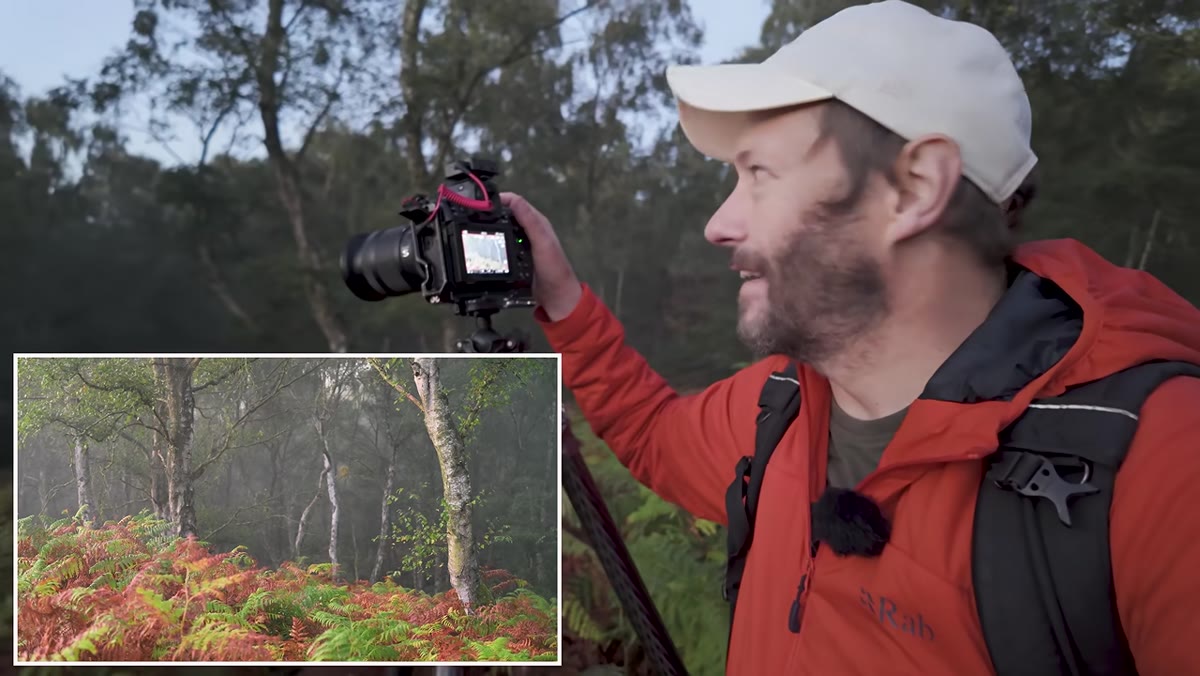 Camera settings visible, showing 13-second exposure in dark woodland conditions
Danson mentions shooting at 13 seconds with his 24-120mm lens in the darker sections of the forest. Woodland interiors are tricky because the exposure range between the bright sky gaps and the shadowed tree trunks is huge. Long exposures let you pull in shadow detail without blowing the sky, especially in the blue hour period just after sunrise when the ambient light is still soft and even. If you’re handholding anything in low woodland light, you’re fighting a losing battle. Even a cheap tripod (I’ve tested five under $50 and the Zomei Q666 still lives in my car) gives you options that no image stabilization system fully replaces.
Step 6: Move Constantly and Read the Scene in Layers
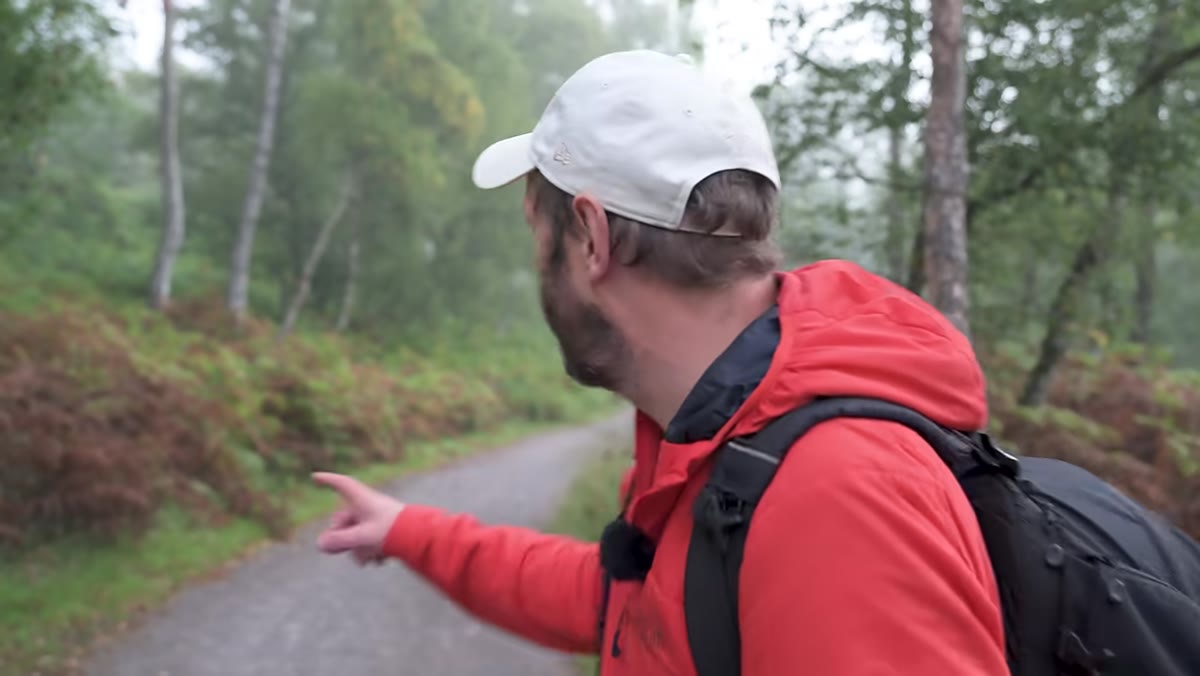 Danson repositioning to capture a curved road with trees on either side
Danson finds a composition around a curved road bending through the trees and adjusts his position several times before settling. He mentions shifting the tree slightly in the frame by moving laterally, and then zooming in to tighten the composition. Woodland photography rewards walking slowly and looking in layers: foreground anchor, mid-ground subject, background context. The curve of the road adds a leading line that the earlier shots didn’t have. The lesson is to keep moving even when you think you’ve found the shot. Walk ten feet left. Walk ten feet right. The difference between a good frame and a great one is often just a few steps.
What I’d Add: Revisit the Same Spot an Hour Later
Danson keeps moving through the session, which is exactly right for exploring a new location. But for spots you know well, I’ve found that sitting on one composition and watching the light change over 30 to 45 minutes produces better results than covering more ground. I’ve done this at a stand of aspens outside Denver where I know the trees, the slope, and how the early light hits. Some mornings I come home with one frame I actually want to process instead of 200 mediocre ones. The willingness to commit to a single scene and wait is underrated, especially when conditions aren’t delivering the drama you expected.
The biggest thing this tutorial reinforced for me: presence beats planning. You can optimize your gear list, your weather apps, your wakeup time, all of it. But the photographer who shows up when conditions fail and still finds something worth shooting is the one who actually gets better. The fog would have been beautiful. What Danson found without it was just as instructive, maybe more so.
Watch the full tutorial on YouTube and pay attention to how Danson talks through his disappointment in the first few minutes. That honesty about what isn’t working is more educational than any tutorial that only shows the perfect conditions.
Comments
Leave a Comment