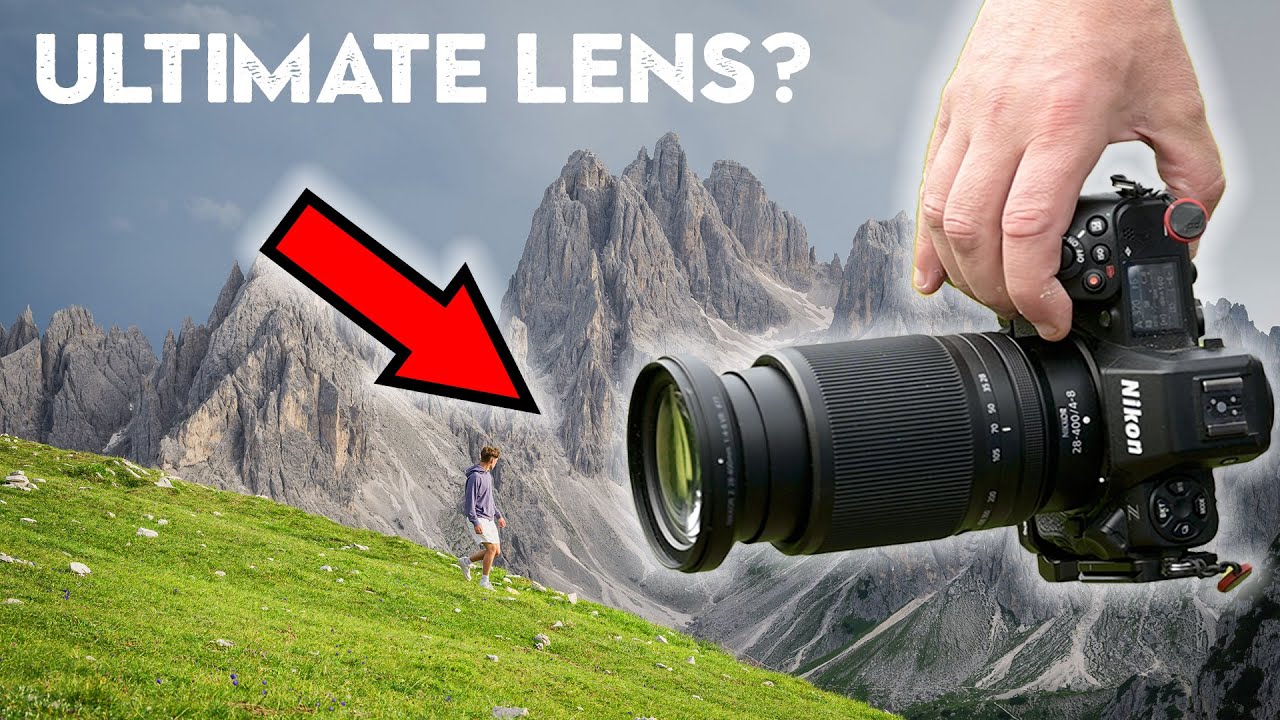
The dream for any photographer who shoots on foot is simple: one lens that covers everything, weighs nothing, and doesn’t make you choose between a wide establishing shot and a compressed telephoto pull. I’ve spent years chasing that setup on a budget, testing every superzoom I can get my hands on, and the tradeoffs are always the same. You gain range, you lose sharpness. You gain convenience, you lose speed. So when a new lens promises 28mm to 400mm in a single barrel, I pay attention, but I also stay skeptical until someone actually takes it somewhere that matters.
In this Nigel Danson tutorial, he hauls the Nikon Z 28-400mm f/4-8 into the Italian Dolomites at around 2,000 meters for a real-world sunrise shoot. No studio charts, no controlled lighting. Just steep terrain, unpredictable light, and a direct comparison against his trusted 24-120mm f/4, which is one of the sharpest mid-range lenses Nikon makes. Watch the full tutorial on YouTube if you want to see the footage side by side. This breakdown focuses on the practical workflow he uses on the mountain so you can apply it to your own hiking shoots.
The core question the video answers isn’t “is this lens technically perfect?” It’s “can a single superzoom replace a two or three-lens kit when you’re moving fast through changing light?” That framing matters a lot if you’re trying to cut weight on trail shoots.
Step 1: Assess the Scene Before You Commit to a Focal Length
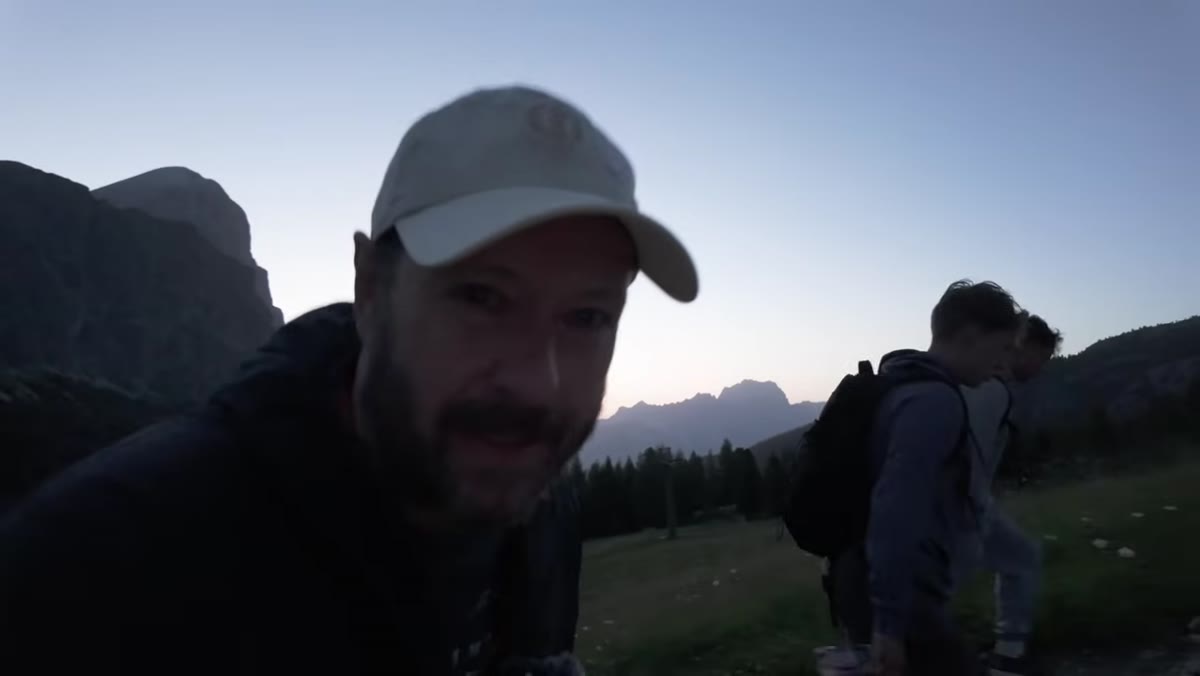 Danson hiking uphill toward dramatic Dolomite ridgeline at dawn
Before he fires a single shot, Danson scouts the terrain and notes what focal lengths the scene is actually asking for. At high elevation with big mountain faces, jagged ridgelines, and wildflowers in the foreground, the answer is “everything.” That’s exactly the kind of location where a 28-400mm makes its case. If you’re shooting somewhere more predictable, like a single waterfall or a flat coastline, a superzoom is overkill and you’d be better served by a prime.
Danson hiking uphill toward dramatic Dolomite ridgeline at dawn
Before he fires a single shot, Danson scouts the terrain and notes what focal lengths the scene is actually asking for. At high elevation with big mountain faces, jagged ridgelines, and wildflowers in the foreground, the answer is “everything.” That’s exactly the kind of location where a 28-400mm makes its case. If you’re shooting somewhere more predictable, like a single waterfall or a flat coastline, a superzoom is overkill and you’d be better served by a prime.
When you arrive at a location, spend two or three minutes identifying your likely shots before touching your lens controls. Ask whether you need wide context shots, mid-range environmental portraits, or compressed telephoto pulls of distant peaks. Knowing this upfront lets you work the zoom range deliberately instead of just cranking it back and forth hoping something sticks.
Step 2: Use the Wide End for Foreground-Led Compositions
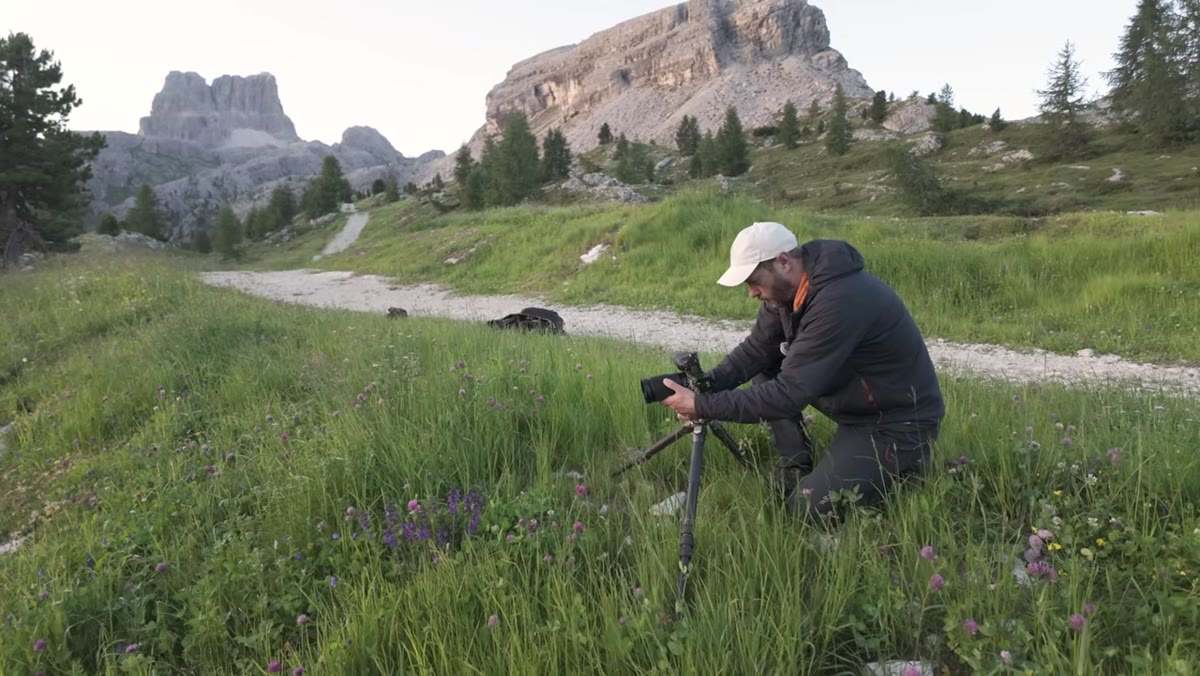
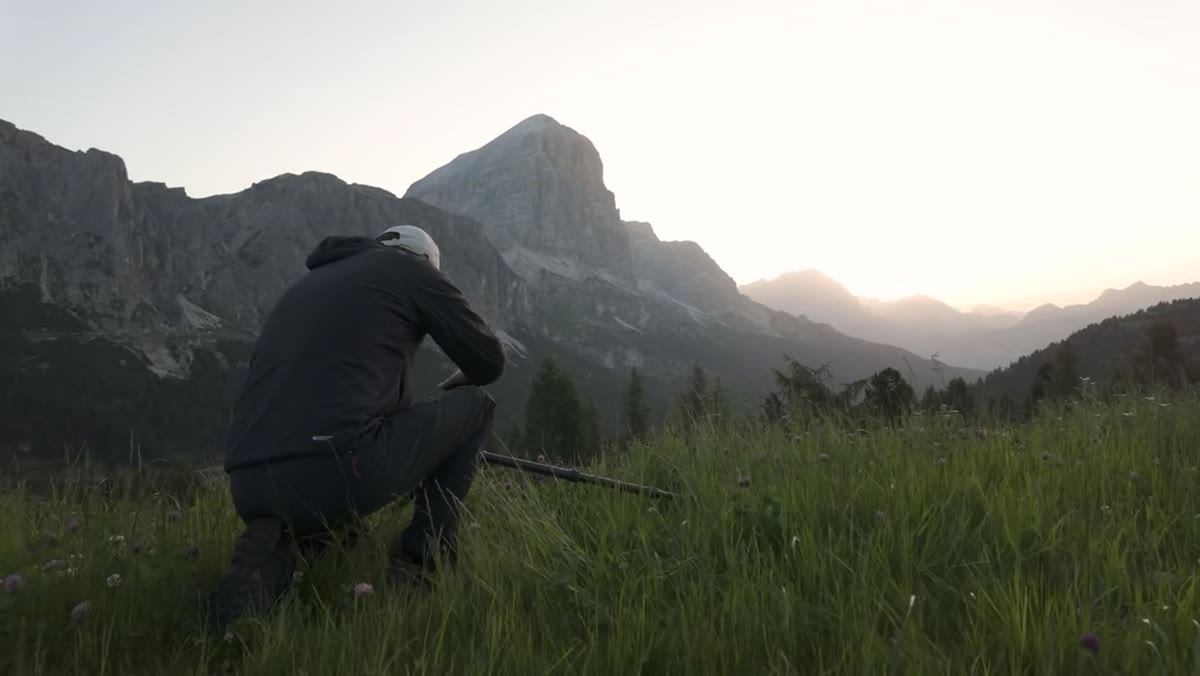 Shooting wildflowers at 30mm with mountain backdrop in frame
At 28-30mm, Danson works the wildflowers in the foreground with the mountain range behind them. He’s clear that 28mm isn’t truly “wide angle” in the landscape sense, so if ultra-wide foreground distortion is part of your style, you’ll still want a dedicated wide prime. But for a classic near-far composition with flowers or rocks leading into a big background, 28mm is genuinely workable.
Shooting wildflowers at 30mm with mountain backdrop in frame
At 28-30mm, Danson works the wildflowers in the foreground with the mountain range behind them. He’s clear that 28mm isn’t truly “wide angle” in the landscape sense, so if ultra-wide foreground distortion is part of your style, you’ll still want a dedicated wide prime. But for a classic near-far composition with flowers or rocks leading into a big background, 28mm is genuinely workable.
To get the foreground and background both sharp, he focus stacks. Shoot one frame focused on the flowers, one focused on the midground or background, and blend them in post. At 28mm on this lens, you’re working with f/4 as your widest aperture, which is plenty for daytime landscape work. Don’t try to fight physics by stopping down to f/22 for depth of field, because diffraction will kill the sharpness you’re trying to preserve.
Step 3: Bracket Exposures When Sun and Shadow Are in the Same Frame
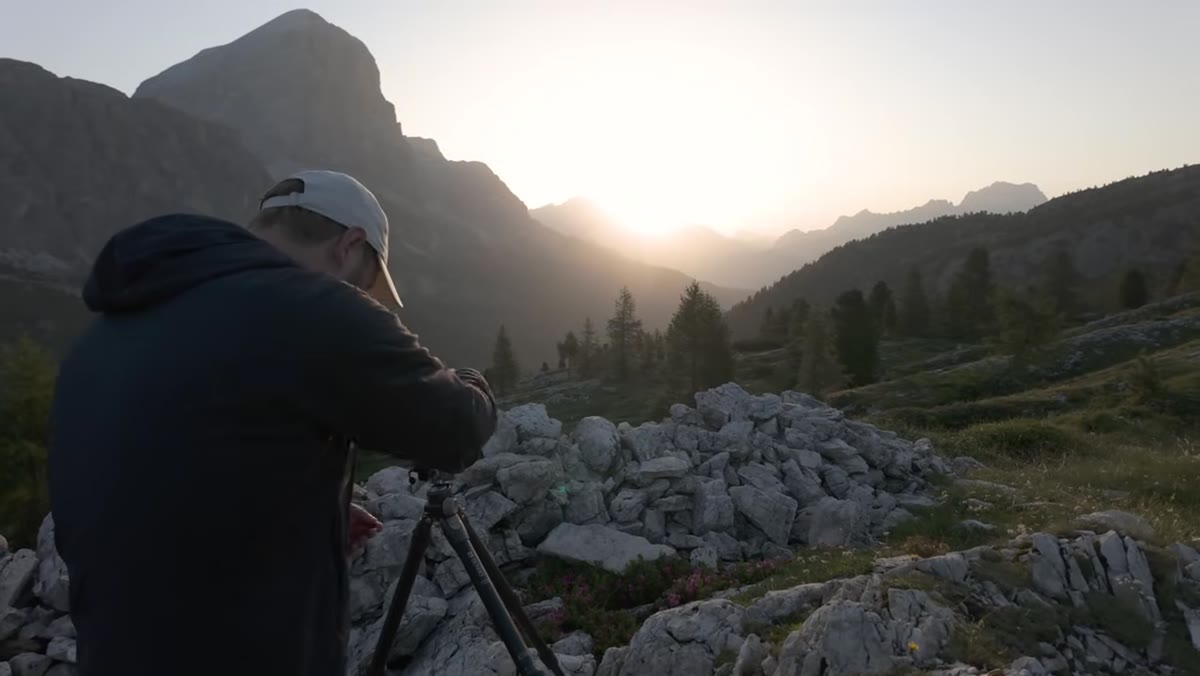 Bracketing shots at f/10 with sun partially behind ridgeline
One of the trickiest moments in landscape shooting is when you have direct sun in frame alongside shadowed foreground elements. Danson hits this exact problem when the sun crests the ridge while flowers below are still in shade. His fix is straightforward: bracket exposures. He shoots one frame metered for the highlights at the top, one in the middle, and one for the shadow detail in the flowers.
Bracketing shots at f/10 with sun partially behind ridgeline
One of the trickiest moments in landscape shooting is when you have direct sun in frame alongside shadowed foreground elements. Danson hits this exact problem when the sun crests the ridge while flowers below are still in shade. His fix is straightforward: bracket exposures. He shoots one frame metered for the highlights at the top, one in the middle, and one for the shadow detail in the flowers.
He’s shooting at f/10 here, around 28mm, which keeps the sunburst effect subtle but controlled. If you push further to f/13 or f/16, the burst becomes more dramatic, but you risk introducing more diffraction blur. When you’re blending brackets in Lightroom or Photoshop later, the shadow frames give you clean flower detail and the highlight frame preserves sky and sun texture without blown-out white blobs.
Step 4: Go Long for Sunburst and Compression Shots
 Shooting at 400mm toward sun cresting distant mountain peak
Once the sun is up, Danson walks the zoom all the way to 400mm to compress the scene and shoot toward the sun as it breaks over the ridge. At maximum focal length and f/8, you can see the actual circular shape of the sun in the frame, and the compression flattens the mountain layers into a dramatic stack. This is where the 28-400mm does something a shorter zoom simply cannot.
Shooting at 400mm toward sun cresting distant mountain peak
Once the sun is up, Danson walks the zoom all the way to 400mm to compress the scene and shoot toward the sun as it breaks over the ridge. At maximum focal length and f/8, you can see the actual circular shape of the sun in the frame, and the compression flattens the mountain layers into a dramatic stack. This is where the 28-400mm does something a shorter zoom simply cannot.
At 400mm, shutter speed becomes critical because any camera shake is amplified. Make sure you’re using the in-body stabilization on your camera body and dial in a shutter speed that matches or exceeds the focal length. On a mirrorless system with IBIS, you can sometimes get away with slightly slower speeds, but don’t push it at maximum zoom unless you’re on a tripod.
Step 5: Compare Directly Against a Reference Lens Mid-Shoot
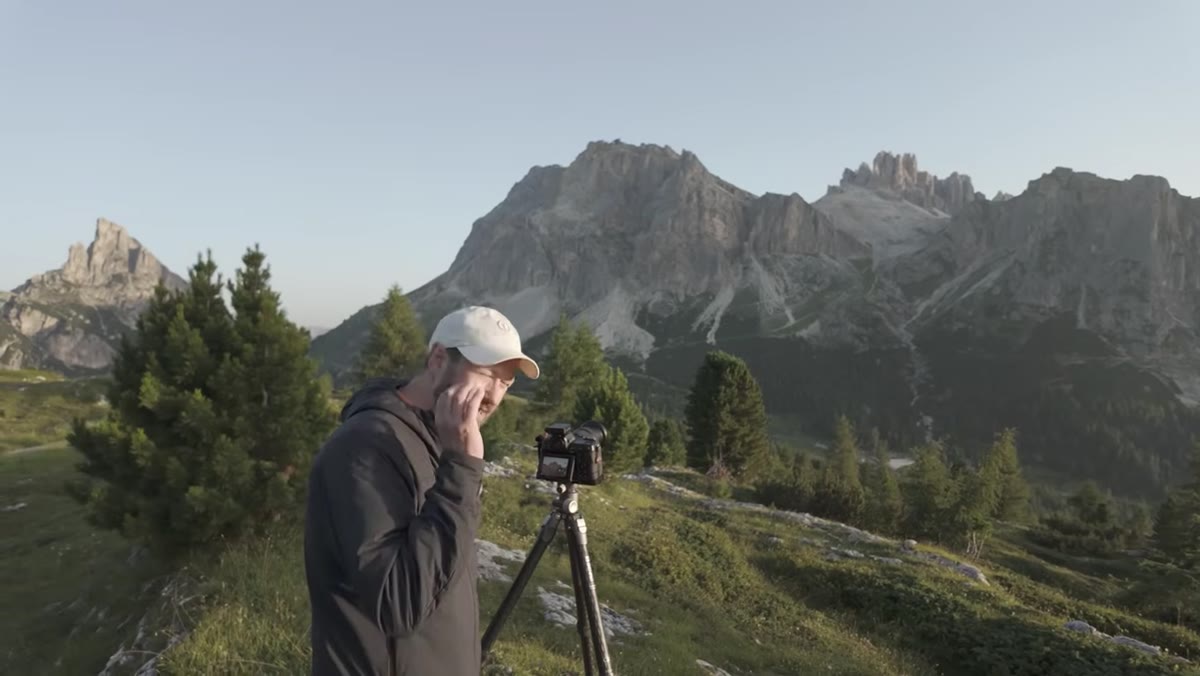 Swapping to 24-120mm to shoot identical frame at 105mm
The most useful thing Danson does in this video is pull out his 24-120mm f/4 and shoot the same scene at the same focal length, around 105mm, so he has a direct quality comparison. He matches the framing as closely as possible so the test is actually meaningful. This is something I do in my own lens comparisons and it separates useful reviews from marketing material. Anyone can say a lens is “sharp.” Matching real-world frames against a known benchmark actually shows you where the differences live.
Swapping to 24-120mm to shoot identical frame at 105mm
The most useful thing Danson does in this video is pull out his 24-120mm f/4 and shoot the same scene at the same focal length, around 105mm, so he has a direct quality comparison. He matches the framing as closely as possible so the test is actually meaningful. This is something I do in my own lens comparisons and it separates useful reviews from marketing material. Anyone can say a lens is “sharp.” Matching real-world frames against a known benchmark actually shows you where the differences live.
If you’re evaluating a new lens, build this habit into your first few shoots. Pick a focal length both lenses share, shoot the same frame with identical settings, and compare the edges and corners at 100% in post. Center sharpness is almost always fine on modern lenses. The edges and corners in the 24-105mm range are where optical compromises usually show up first.
What I’d Add: Budget the Extra Stop Mentally Before You Buy
Danson is shooting this lens on a high-end Nikon Z body with excellent in-body stabilization. That matters because the 28-400mm tops out at f/8 at the long end, which is two stops slower than a dedicated telephoto prime. On a body with weaker IBIS or in dim early morning light, f/8 at 400mm means you’re either raising ISO further than you’d like or accepting motion blur in any moving subjects like grass or leaves.
I ran into this same tradeoff when I tested a budget superzoom last spring. In golden hour conditions it was fine. Push it into the blue hour or shoot in mixed forest light and f/8 starts to bite. Know your shooting conditions before deciding this lens replaces your telephoto completely.
The single biggest takeaway here is that the 28-400mm isn’t a compromise lens you settle for. In the right context, specifically multi-hour hikes with changing light and unpredictable compositions, it’s the smarter choice over carrying three separate lenses. The quality holds up well enough against a premium mid-range zoom that most photographers wouldn’t notice the difference in final prints.
Watch the full tutorial on YouTube to see the side-by-side image comparisons Danson pulls up and judge the sharpness difference yourself.
Comments (2)
This is going in my reference folder. Incredibly useful.
Couldn't agree more. I've seen this make a huge difference in workflows work specifically.
Leave a Comment