
There’s a lens sitting in my spreadsheet right now with a question mark next to it. The Viltrox 26mm f/2.8 pancake. At $300, it sits in that awkward zone where it’s too expensive to dismiss as a throwaway and not expensive enough for most reviewers to take seriously. I’ve been burned before by lenses that looked great on paper and fell apart the first time I shot backlit or in harsh midday sun. So when I came across Watch the full tutorial on YouTube from Pierre T. Lambert, where he takes this exact lens into the streets of Chicago after a friend flatly told him it was garbage, I stopped scrolling.
What makes this tutorial worth your time is that Pierre isn’t running lab tests or pixel-peeping sample charts. He’s putting the lens through a real street shoot, chasing hard light, backlight, leading lines, and fleeting moments. That’s the environment where budget glass either earns its price or exposes itself. And his working process along the way is a masterclass in how to squeeze great images out of modest equipment. Here’s what I pulled from the video, broken into the actual steps he works through on the street.
Step 1: Frame with the door — use architecture to do compositional work for you
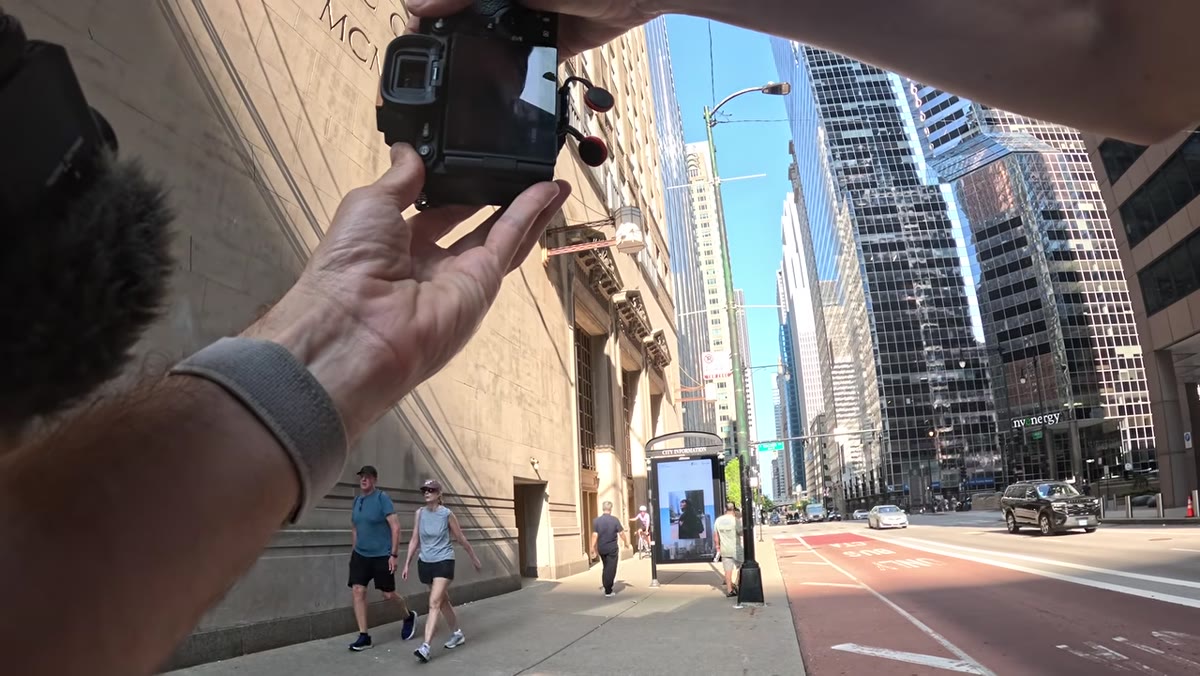 Pierre positioning Joey in a doorframe on the street
Pierre starts the shoot by placing his subject inside a doorframe and waiting for pedestrian traffic to clear. The idea is simple but easy to skip: let the existing architecture act as a natural frame inside your image. With a 26mm focal length on an APS-C body, you’re working with roughly a 39mm full-frame equivalent. That’s wide enough to include context but tight enough to keep your subject from getting lost. Find a doorway, an archway, or a gap between buildings. Stand back enough that the frame fills the edges of your composition, then wait for the moment to be clean.
The light was shifting fast during this sequence, and Pierre calls it out directly. When you’re working with hard, directional morning light, you may have a usable window of less than a minute before the angle changes everything. Don’t chimp. Set your exposure before you get to the spot and trust it.
Step 2: Test backlight early — know your lens’s flare behavior before it costs you a shot
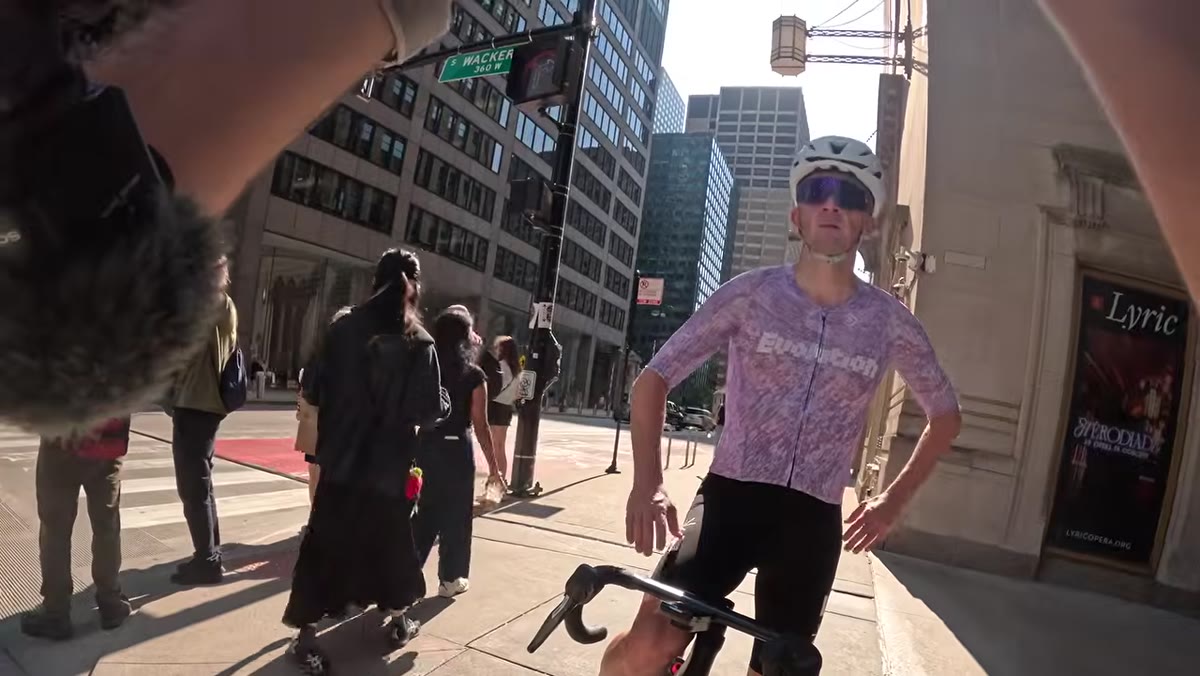 Pierre shooting directly into backlight to test lens flare
Right after the doorframe sequence, Pierre deliberately turns the camera toward the sun to see how the Viltrox handles backlight. His verdict: the flare is bad. He compares it to shooting with a phone lens. That’s a real limitation, and he doesn’t sugarcoat it. But he also doesn’t stop shooting. What he figures out quickly is that the flare, while ugly in direct shooting, can be managed or avoided by repositioning slightly so the sun is just out of frame.
The practical move here is to test your lens’s flare behavior in the first 10 minutes of any street shoot. Find a backlit situation on purpose. Look at what you get. Now you know what you’re working with and you can make decisions around it rather than getting surprised later.
Step 3: Read shadows as compositional geometry — let the light draw the lines for you
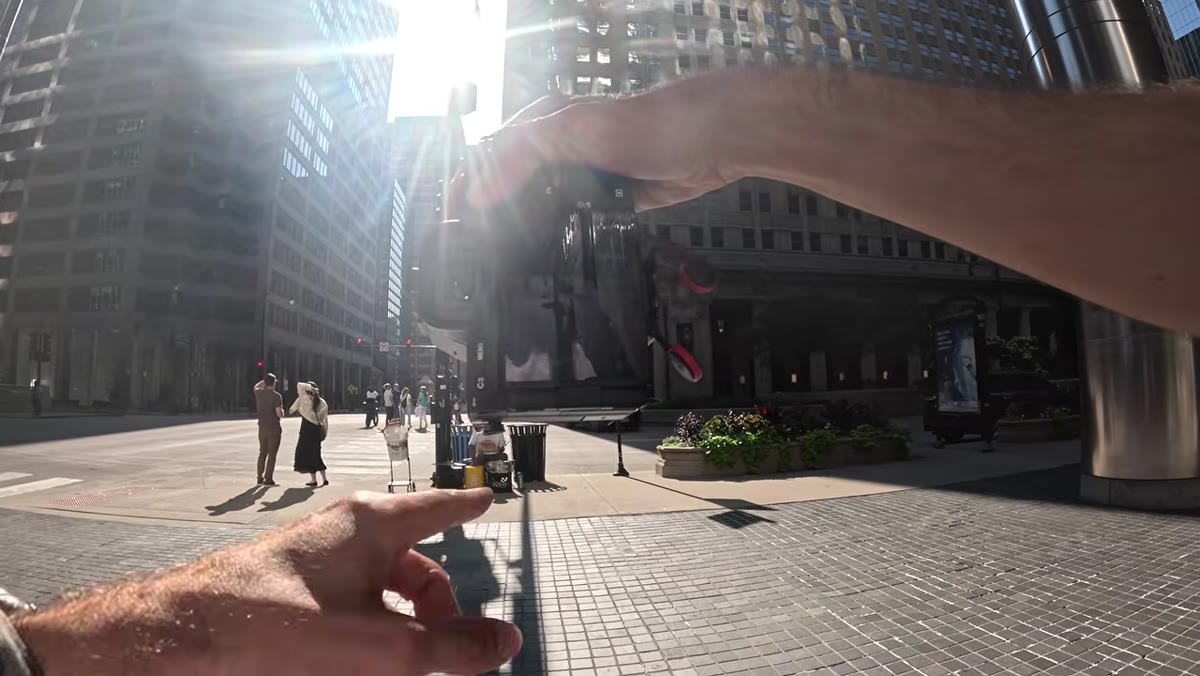 Two long shadows creating leading lines toward a street musician
This is where the tutorial gets genuinely instructive. Pierre spots two long shadows falling across the pavement, converging toward a street musician setting up nearby. He recognizes them immediately as leading lines and moves to position the camera so both shadows point toward the subject. The 26mm field of view is wide enough to include the full length of those lines without having to back up into traffic.
The technique is about reading what the light is already doing rather than trying to control it. Hard morning or late afternoon sun throws long directional shadows on urban streets. Those shadows are free geometry. When you see them, ask where they’re pointing and whether that direction contains something worth framing.
Step 4: Expose for the light patch, then wait for a subject to enter it
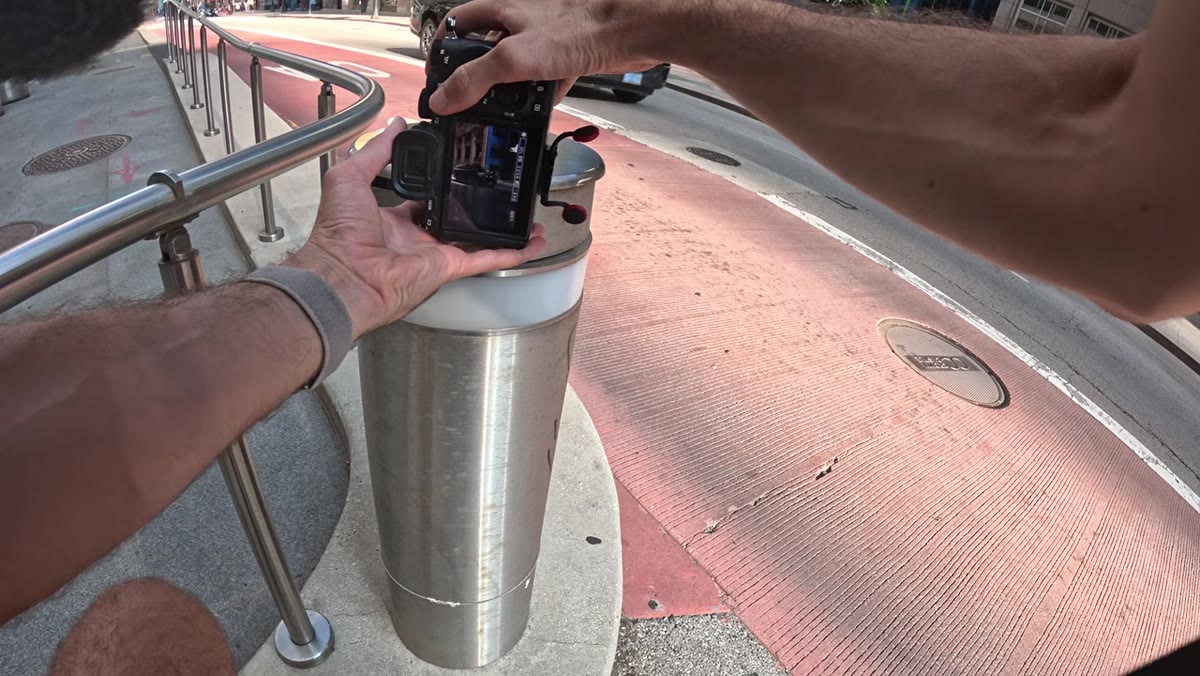 Pierre aiming at a bright patch near a blue building, waiting for pedestrians
Near a blue building, Pierre locks his exposure on a specific bright patch of pavement rather than metering for his subject. This is a technique that rewards patience. You’re essentially pre-building the shot, then waiting for the world to walk into it. Set your aperture and shutter speed so that patch of light is properly exposed. Anyone who moves through that zone becomes part of the frame at the right exposure, often silhouetted or rim-lit depending on the angle.
With a lens this small and light, you can hold it up for a while without fatigue, which makes the waiting game more practical than it sounds. Pierre gets his frame with a pedestrian crossing exactly where he wanted. The shadow geometry plus the subject plus the light patch produces an image that looks deliberately crafted.
Step 5: Use hard shadows to define the frame quickly without studio control
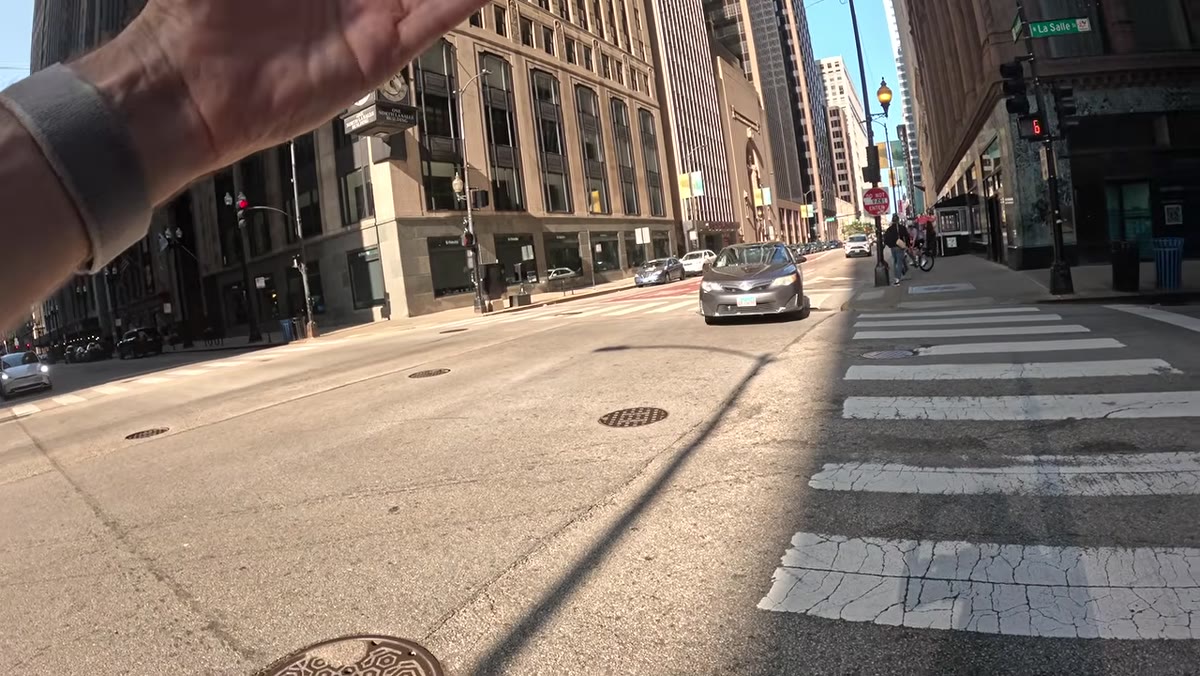 Hard shadow lines carving a geometric frame around Pierre’s subject
Toward the end of the Chicago session, Pierre makes an observation that I think is the most useful line in the whole video. He says hard shadows let you define a frame very fast because they create geometry on their own. You’re not building composition element by element. The light is handing you structure.
This is especially relevant when you’re shooting with a lens that has real optical weaknesses, like this one does with flare. If you’re leaning into high-contrast situations with strong directional light, the image structure becomes so dominant that the lens’s shortcomings matter less. The photo reads as intentional. That’s not a workaround. It’s a legitimate approach.
What I’d Add From My Own Testing
I’ve run a similar exercise with the 7Artisans 25mm f/1.8, which costs even less and has comparable optical limits. The flare problem Pierre identifies with the Viltrox is real across most budget pancake lenses. My honest extension to his workflow: carry a small piece of black foam core or just use your free hand as a flag when you’re shooting anywhere near direct sun. It takes two seconds and it eliminates 80% of the flare problem without touching your lens or settings. It’s the same principle grip departments use on film sets, just scaled down to one person on a sidewalk.
The Viltrox 26mm f/2.8 is not garbage. It’s a constrained tool, and Pierre’s Chicago shoot demonstrates exactly how to work within those constraints rather than fight them.
The single most important takeaway from this video is that strong light matters more than strong glass. If you’re chasing shadows, geometry, and decisive moments, a $300 pancake can produce images you’re genuinely proud of. If you need to shoot into the sun without penalty, budget differently.
Watch the full tutorial on YouTube to see the actual images Pierre pulls from this shoot and judge the output for yourself.
Comments (2)
I tried this on a client project yesterday and the results were way better than expected.
Clear and practical. No fluff. Appreciate that.
Leave a Comment