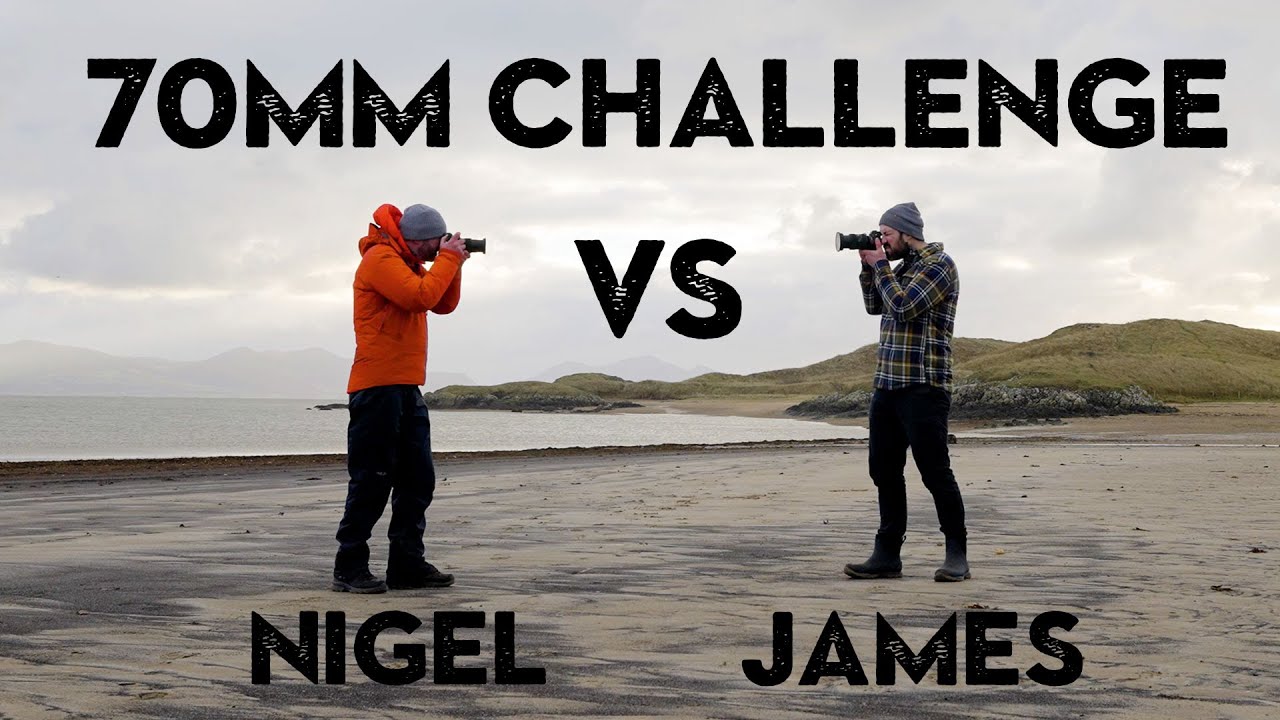
There’s a trap a lot of photographers fall into, and I know because I lived in it for years. You’re out on location, the light is doing something incredible, and instead of committing to a composition, you’re spinning the zoom ring every thirty seconds chasing the “perfect” framing. You never actually settle. You come home with 400 shots and none of them feel decisive. The fix is almost annoyingly simple: pick one focal length and refuse to touch it.
Watch the full tutorial on YouTube
In this Nigel Danson tutorial, Nigel and fellow photographer James Popsys head to a beach location and lock themselves into shooting at exactly 70mm for the entire session, both on 70-200mm zooms. No cheating, no cropping, no sneaking to 85mm when the shot looks almost right. What comes out of it is a masterclass in how constraints force better decision-making. I’ve done gear-restricted experiments myself (once bought five tripods under fifty bucks just to stress-test them all), so I know that limiting your options tends to sharpen your eye faster than any new piece of glass will.
Step 1: Choose Your Focal Length and Commit Publicly
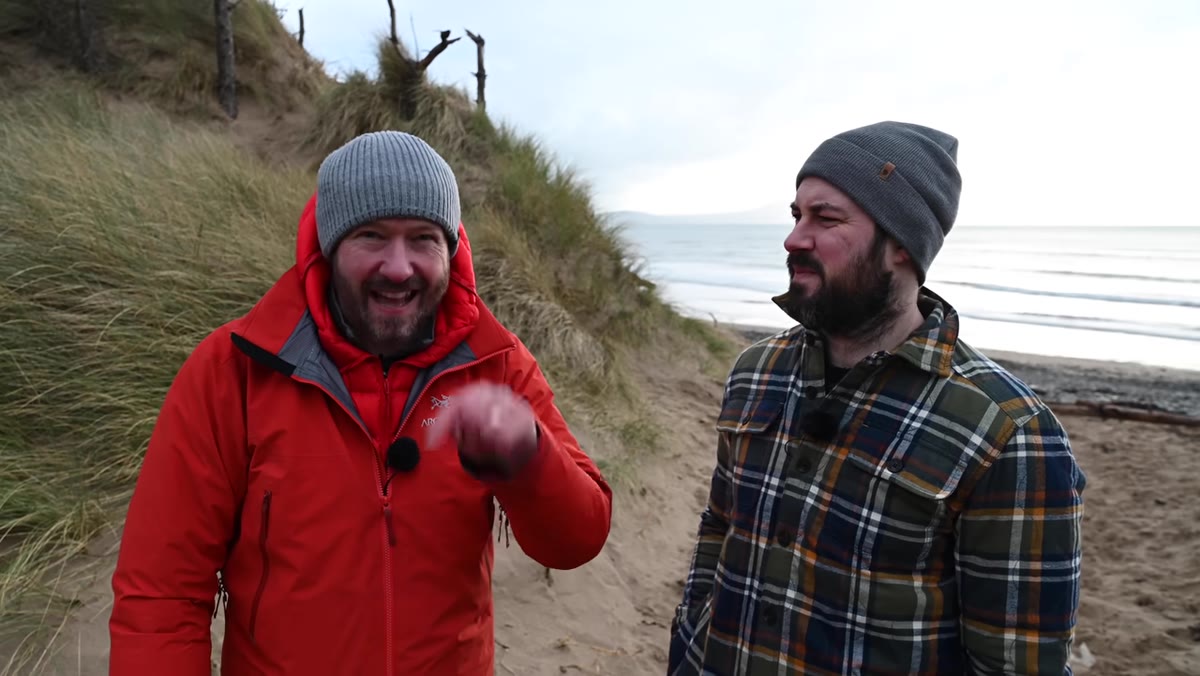 Nigel and James agreeing on 70mm as the single focal length
The first move is picking your fixed focal length before you arrive on location, not after you see the scene. Nigel and James chose 70mm specifically because it sits in the middle ground. It isn’t a dramatic wide angle and it isn’t a compressing telephoto. That middle position means you have to work harder for interesting compositions. Tell someone else your choice, or at minimum write it down. Accountability matters because once you’re standing in front of a beautiful mountain range, every instinct will tell you to zoom out.
If you shoot a zoom lens, put a piece of tape over the focal length markings if you have to. The point is to remove the decision entirely so your brain can focus on light, position, and composition instead.
Step 2: Start With an Obvious Shot to Calibrate the Focal Length
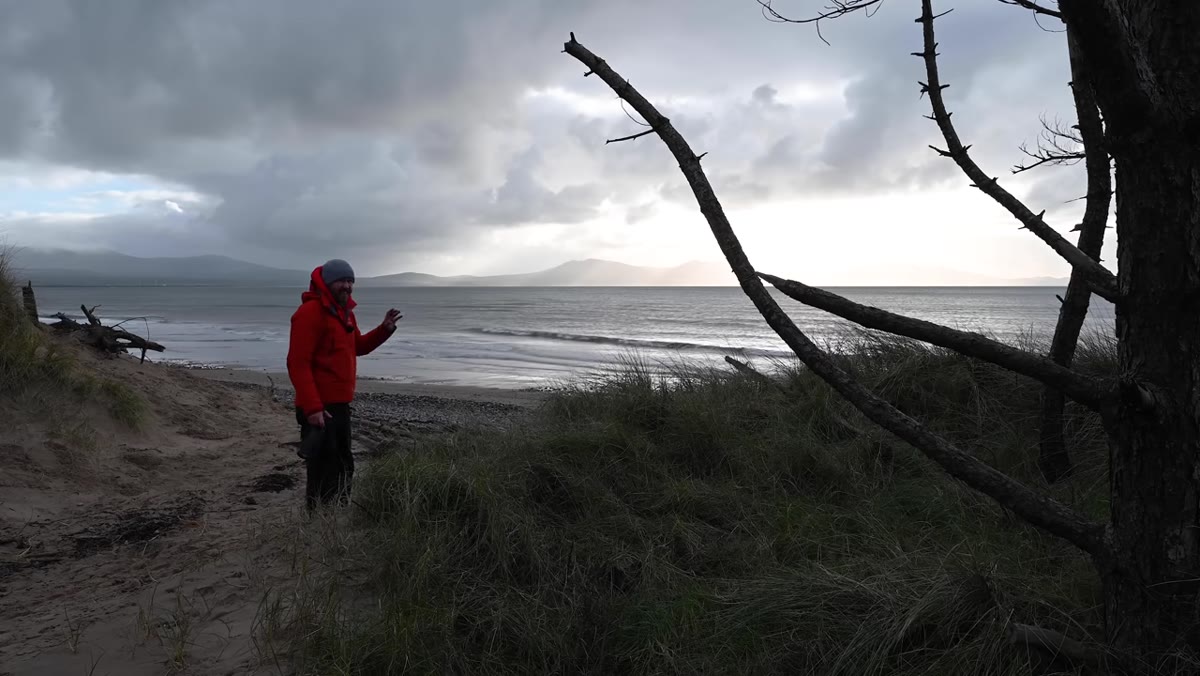 Nigel pointing camera toward mountains with clouds
Nigel’s first move at the beach is straightforward: he finds the most obvious shot available, the mountains with dramatic cloud cover, and uses it to understand how 70mm actually renders the scene in front of him. This is smart. You need a calibration shot before you start experimenting. Shoot something you already understand compositionally, then study how the focal length compresses or separates elements compared to what you’d normally use.
At 70mm on a full-frame sensor, you get moderate compression without the distortion of a wide angle. Elements in the middle distance start to feel more intentional, more isolated. Notice that when you frame your first test shot. It tells you what this focal length wants to do.
Step 3: Use Orientation as a Compositional Variable
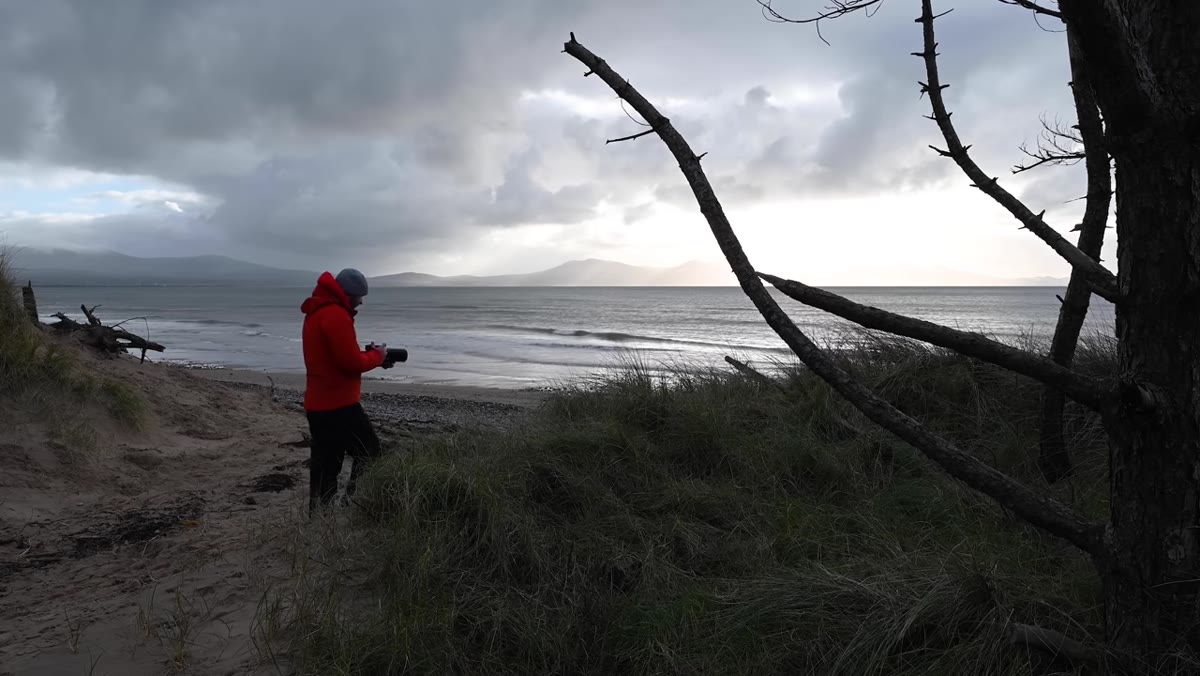 Camera oriented vertically to frame mountains and sky
One of the first adjustments Nigel makes is flipping to portrait orientation. This is a move a lot of landscape photographers skip because we default to horizontal framing outdoors. But at 70mm, portrait orientation lets you stack elements vertically, foreground to sky, in a way that feels natural rather than forced. You’re not trying to cram a wide scene into a narrow frame. You’re letting the focal length do what it does well, which is emphasize depth in a vertical column.
Try shooting the same scene both ways before moving your feet. You’ll often find the portrait version is stronger than you expect, especially when clouds are doing something dramatic in the upper third.
Step 4: Adjust Camera Height Before Adjusting Anything Else
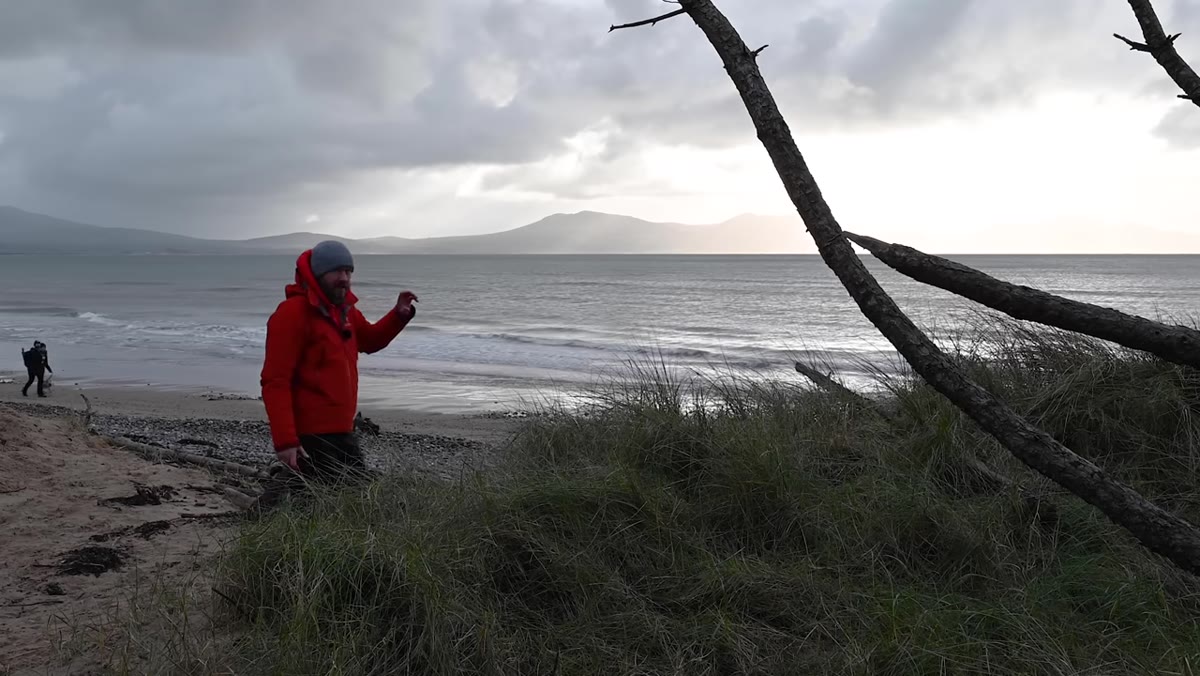 Nigel lowering tripod to reduce visible sea in foreground
Once Nigel has his base composition, his next move isn’t to change focal length (he can’t) or reframe dramatically. He lowers his camera height slightly to cut out excess sea in the foreground. This is a principle worth burning into your muscle memory: camera height controls what’s included in the bottom portion of your frame more precisely than anything else at a fixed focal length.
A few inches of vertical movement can eliminate a distracting mid-ground element or bring in a leading line you couldn’t see from standing height. At 70mm, these small positional changes read clearly in the final image because the focal length doesn’t exaggerate perspective the way a wide angle does. What you see is very close to what you get.
Step 5: Go Extreme With Camera Position to Find Unexpected Compositions
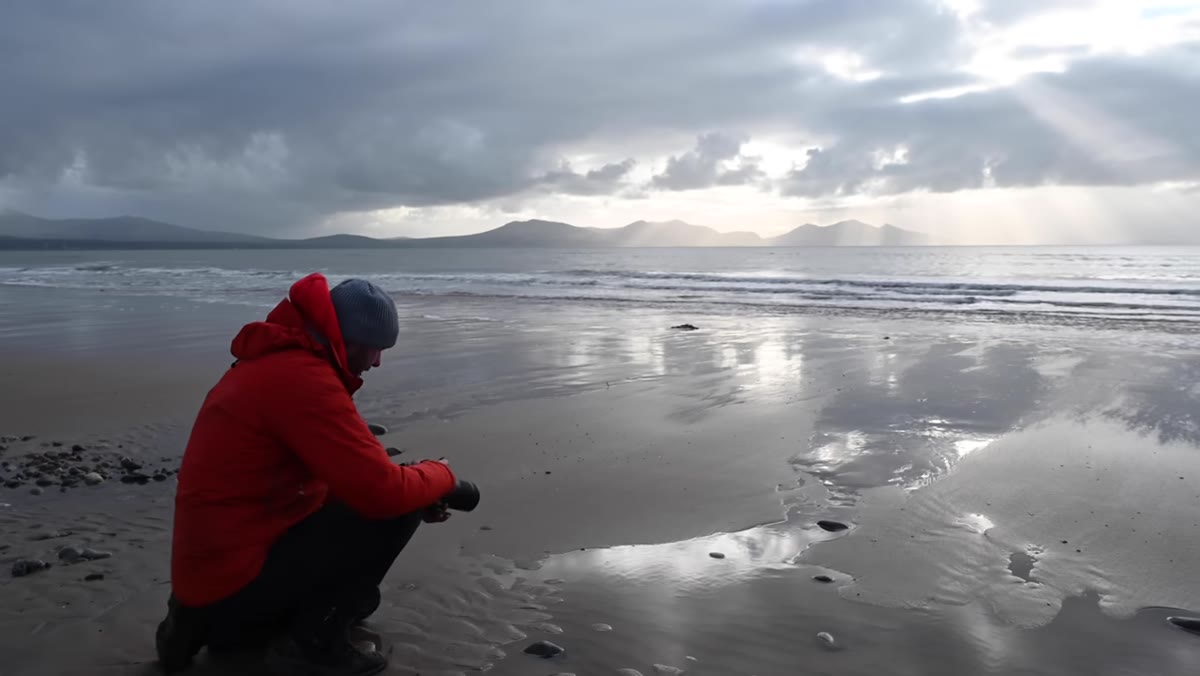 Camera placed almost on the ground near the water
This is where the challenge gets genuinely useful. After working his standard angles, Nigel drops the camera almost completely to ground level. We’re talking lens a few inches off the sand. The result is a completely different image from the same location and the same focal length. Waves appear larger. The horizon shifts. The foreground becomes a compositional problem to solve rather than dead space to crop out.
Getting low forces you to find foreground interest, and at 70mm that’s not automatic the way it is at 20mm. You have to physically place your camera where something interesting is happening. A wet sand reflection, a rock texture, a patch of foam. If the foreground is empty in a low-angle shot at 70mm, it reads as empty. There’s nowhere to hide.
Step 6: Look for Reflections to Anchor the Foreground
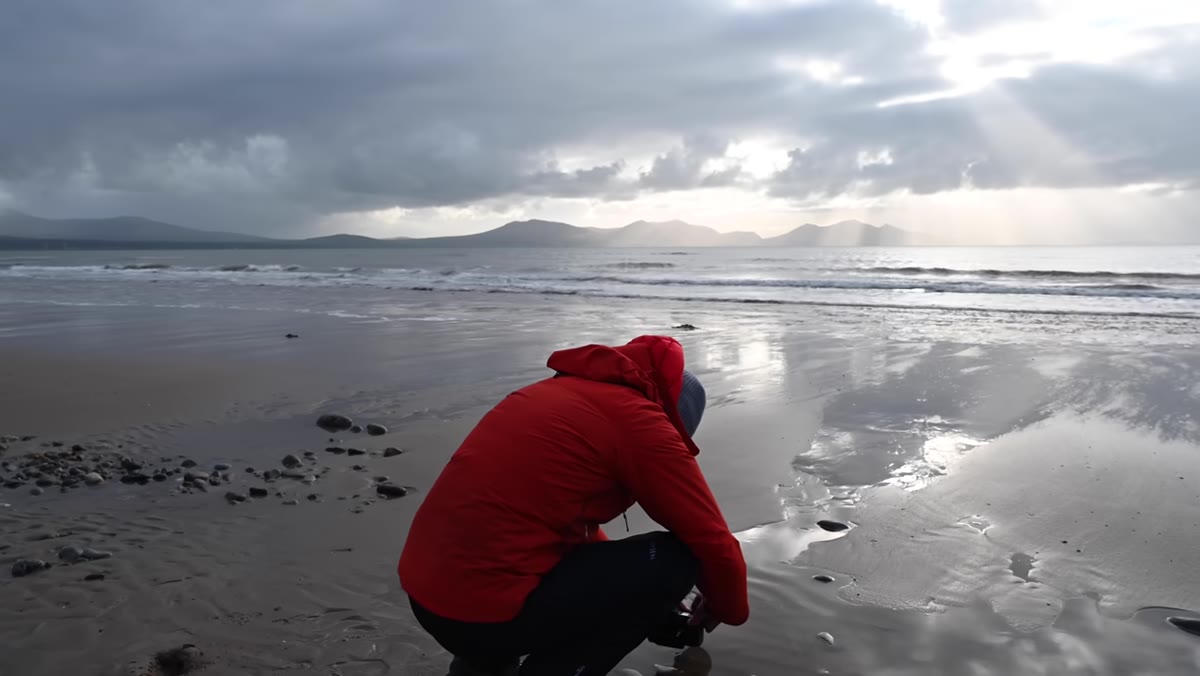 Camera low, capturing sky reflection in wet sand
Once Nigel is working at ground level, he starts hunting for a reflection in the wet sand to give that empty foreground zone something to do. This is a direct solution to the 70mm ground-level problem. The focal length won’t stretch a reflection dramatically the way a 16mm would, but it will render it clearly and in proportion to the sky above. The result feels grounded and clean rather than distorted.
When you’re in the same situation, look for shallow pools left by receding waves. Move your camera laterally, not just forward and back. Sometimes the difference between a clean reflection and a broken one is six inches to the left.
What I’d Add: Budget Lens Reality Check
Here’s something the tutorial doesn’t address directly, but matters if you’re doing this challenge on a kit zoom or a budget telephoto. The 70mm mark on cheaper lenses can be soft in the corners wide open. Before you run this challenge at your local beach, spend ten minutes at home shooting a flat surface at 70mm across several apertures. Find where your specific lens is sharpest at that focal length, and set that as your default aperture for the day. On most budget 70-300mm lenses I’ve tested in my spreadsheet, f/8 at 70mm is where things tighten up noticeably. Don’t waste a whole challenge fighting your gear’s weak spot.
The single biggest thing I took from this tutorial is that creative constraints work because they redirect your problem-solving energy. When you can’t zoom, you move. When you can’t crop, you think before you shoot. That’s a skill that transfers directly back to your regular shooting, even when the tape comes off the focal length ring.
Watch the full tutorial on YouTube to see both Nigel and James work through the challenge in real time and compare their final images. It’s worth watching their thought process out loud, especially when the compositions aren’t working immediately.
Comments (2)
Quality content like this is rare. Keep it up.
Never thought of approaching it this way. Really creative.
Leave a Comment