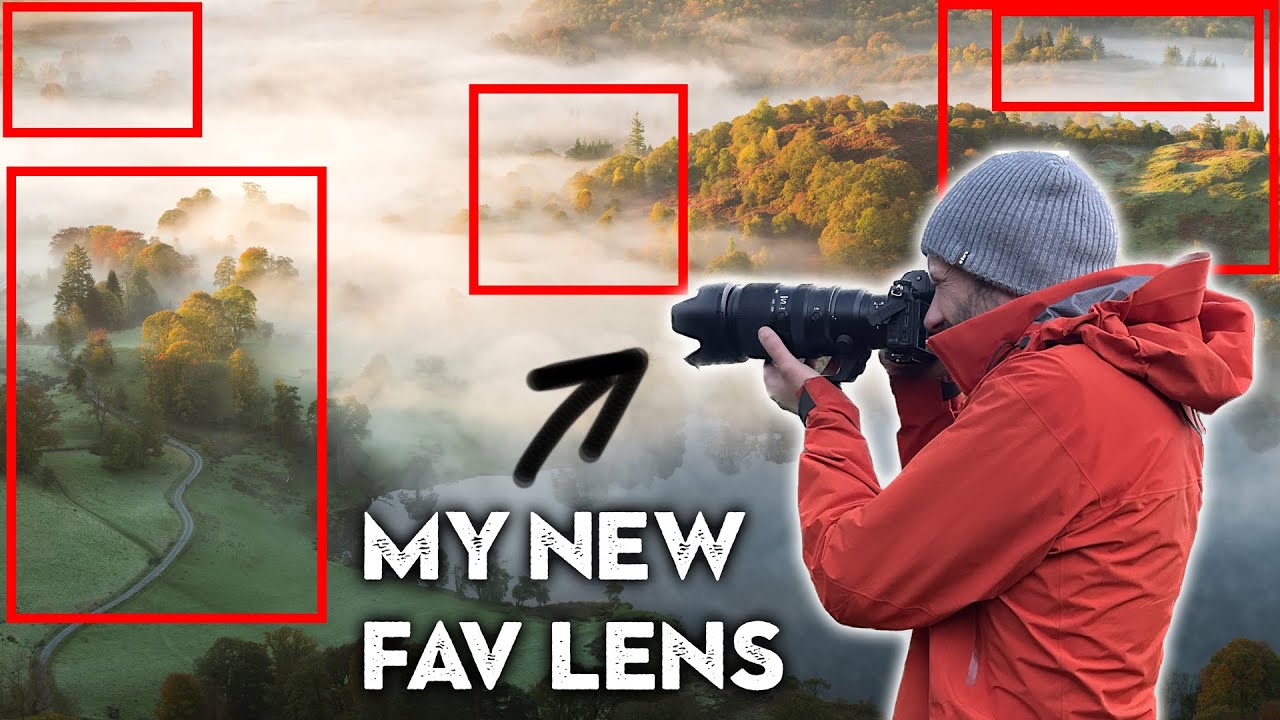
There’s a specific kind of frustration I used to feel constantly: I’d hike to a viewpoint, shoot the obvious wide-angle scene in about twenty minutes, and then just… stand there. Waiting. Watching other photographers keep shooting while I mentally checked out. The problem wasn’t the location. It was that I was treating every scene like it only had one composition in it, the big sweeping one you see on the postcard.
That changed when I started paying serious attention to how experienced photographers use long lenses in the field. In this Nigel Danson tutorial filmed at Loughrigg Fell in England’s Lake District, he demonstrates something I wish someone had shown me years ago: a single hillside location, one autumn morning with a temperature inversion, and he’s pulling compositions out of it the whole session. Not hunting for new spots. Not moving. Just working the scene with a 100-400mm zoom and actually seeing what’s there. Watch the full tutorial on YouTube
If you’ve been skeptical about whether a telephoto is worth it for landscape work, this video is the most practical argument I’ve seen for it. Here’s how he does it, broken into actionable steps.
Step 1: Choose Your Location Based on Light Direction, Not Just the View
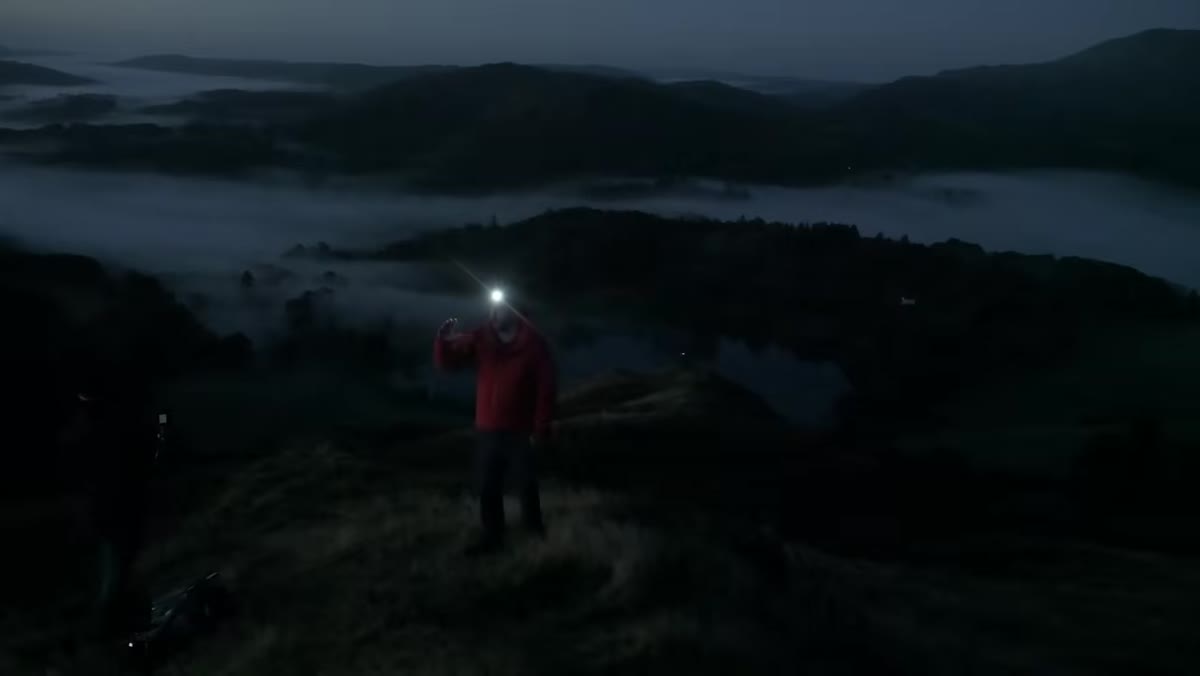 Danson pointing toward horizon where sunrise light will enter valley
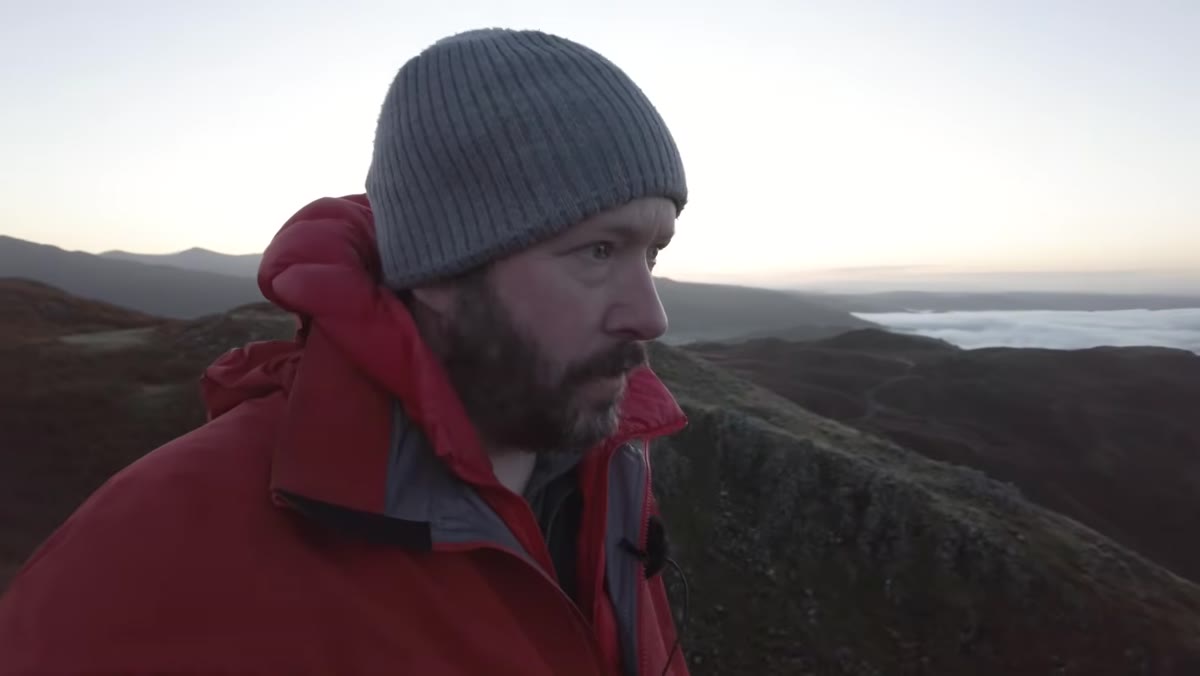
Before Danson fires a single shot, he talks through where the sun is going to rise relative to the valley and the specific trees he wants lit. This is the step most people skip. He’s not just showing up and hoping - he’s already mapped out which subjects will catch early directional light and roughly when. In a mountain environment, sunrise hits at different times depending on what’s blocking the horizon. He picked this ridge specifically because the light clears the peaks early and rakes across the trees below.
Danson pointing toward horizon where sunrise light will enter valley
Before Danson fires a single shot, he talks through where the sun is going to rise relative to the valley and the specific trees he wants lit. This is the step most people skip. He’s not just showing up and hoping - he’s already mapped out which subjects will catch early directional light and roughly when. In a mountain environment, sunrise hits at different times depending on what’s blocking the horizon. He picked this ridge specifically because the light clears the peaks early and rakes across the trees below.
The practical takeaway: scout on apps like PhotoPills or The Photographer’s Ephemeris before you go, and identify not just where the sun rises but what it will actually illuminate and when. That’s what you’re really there to photograph.
Step 2: Start at Maximum Focal Length to Find Hidden Compositions
 Camera viewfinder at 400mm isolating single tree in misty valley
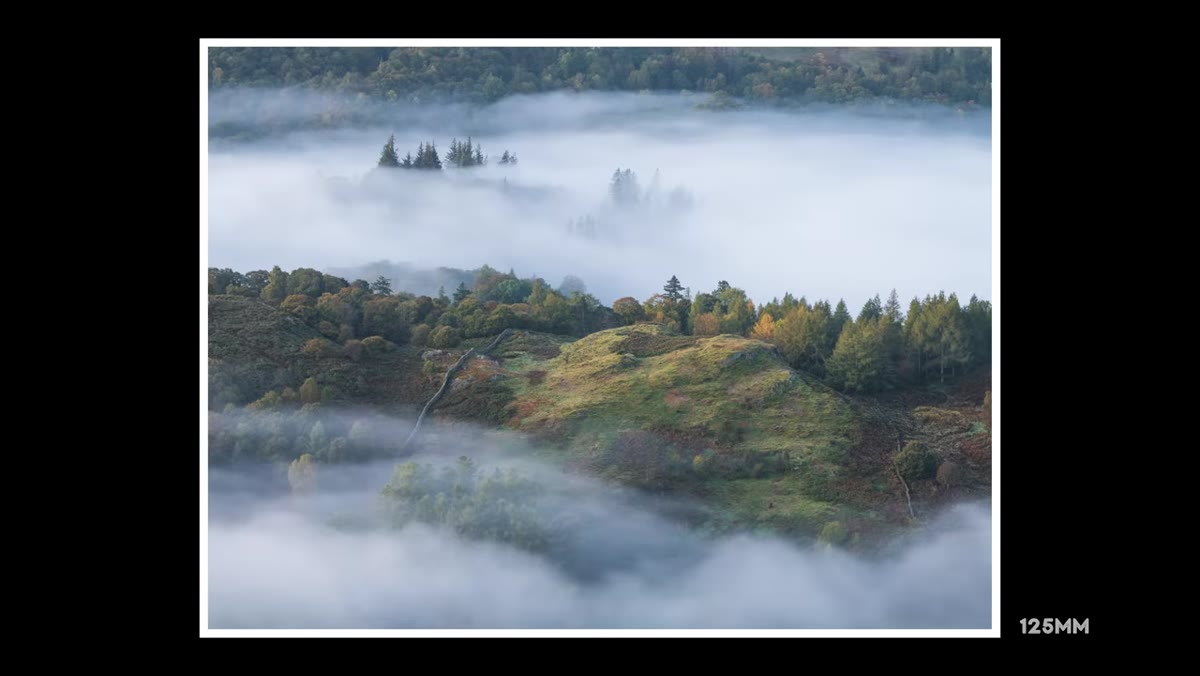
Once he’s in position, Danson goes straight to 400mm and starts hunting for isolated subjects. His first locked-in composition is a single tree pulled out of the valley fog. At that focal length, the compression flattens the mist layers, the tree becomes graphic and clean, and suddenly you have a minimalist image that wouldn’t exist at 24mm.
Camera viewfinder at 400mm isolating single tree in misty valley
Once he’s in position, Danson goes straight to 400mm and starts hunting for isolated subjects. His first locked-in composition is a single tree pulled out of the valley fog. At that focal length, the compression flattens the mist layers, the tree becomes graphic and clean, and suddenly you have a minimalist image that wouldn’t exist at 24mm.
This is the core technique: use maximum focal length first, not last. Most people walk up to a scene, slap on a wide lens, get the sweeping shot, and then maybe try zooming in as an afterthought. Flip that order. Start compressed, catalog what’s isolatable, then zoom out if you want the context shot. You’ll find things you would have walked right past.
Step 3: Watch the Edges and Corners of Every Frame
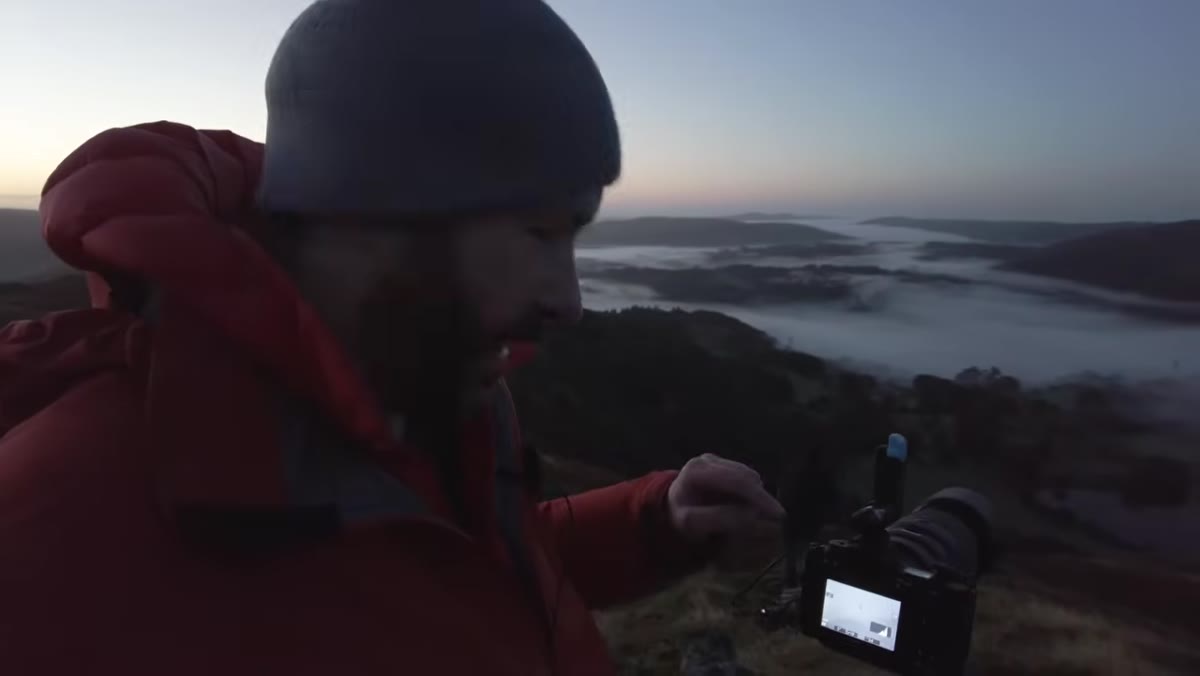
 Danson reviewing composition and checking frame edges on camera screen
Here’s a tip Danson mentions that sounds obvious but is genuinely easy to neglect when you’re excited about conditions: check every corner and edge of your frame before you shoot. At 400mm, small movements dramatically change what’s getting clipped. A tree branch you didn’t notice can cut the top of the frame. A hillside can intrude into a corner and kill the negative space you were counting on.
Danson reviewing composition and checking frame edges on camera screen
Here’s a tip Danson mentions that sounds obvious but is genuinely easy to neglect when you’re excited about conditions: check every corner and edge of your frame before you shoot. At 400mm, small movements dramatically change what’s getting clipped. A tree branch you didn’t notice can cut the top of the frame. A hillside can intrude into a corner and kill the negative space you were counting on.
His fix is simple: give your subject a bit more breathing room than you think you need, and crop tighter in post if necessary. You can always crop in. You cannot recover a subject that’s half-cut at the edge. At telephoto distances, this becomes even more critical because the margin for error on framing is much smaller.
Step 4: Adjust Composition as the Fog Moves, Not Just as the Light Changes
 Fog rolling and shifting around white farmhouse in valley below
This is the part of the video that really got me. Danson spots a white farmhouse sitting in the valley, and as the fog shifts, the relationship between the house, the mist, and the surrounding tones completely changes. He’s not waiting for the “perfect” moment and then shooting it once. He’s tracking how the fog creates different compositional balances, using a diagonal from darker tones in one corner to the bright house and back up through the frame.
Fog rolling and shifting around white farmhouse in valley below
This is the part of the video that really got me. Danson spots a white farmhouse sitting in the valley, and as the fog shifts, the relationship between the house, the mist, and the surrounding tones completely changes. He’s not waiting for the “perfect” moment and then shooting it once. He’s tracking how the fog creates different compositional balances, using a diagonal from darker tones in one corner to the bright house and back up through the frame.
The lesson here is that fog is an active compositional element, not just atmosphere. When you’re shooting at telephoto range, the compression makes fog layers look more distinct and dramatic than they do to the naked eye. Treat each new fog position as a potential new image. Danson is essentially getting multiple distinct shots from the same farmhouse subject just by being patient and responsive.
Step 5: Use a Timer Release to Eliminate Camera Shake at Long Focal Lengths
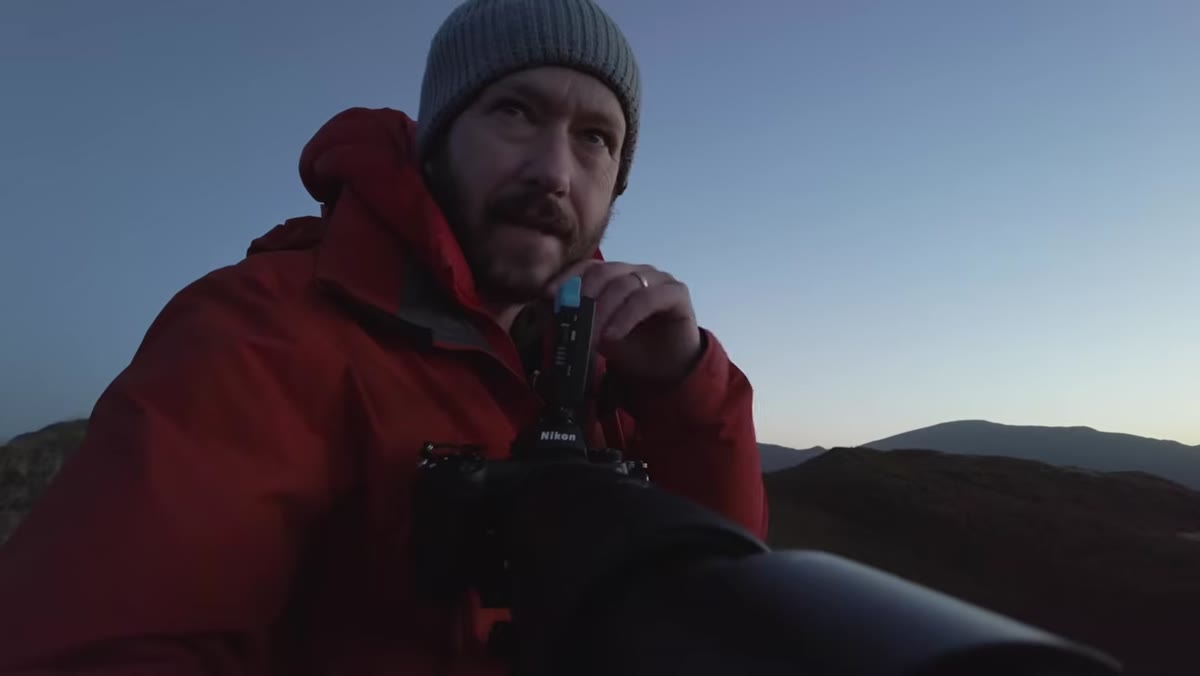
 Danson setting two-second timer on camera before shooting telephoto shot
At 400mm, any vibration from pressing the shutter shows up in the image. Danson uses a two-second self-timer on his shots to make sure there’s zero shake from his hand triggering the shutter. It’s one of those settings that costs you nothing and removes a real failure point, especially on a tripod where mirror slap or button pressure can still cause micro-blur.
Danson setting two-second timer on camera before shooting telephoto shot
At 400mm, any vibration from pressing the shutter shows up in the image. Danson uses a two-second self-timer on his shots to make sure there’s zero shake from his hand triggering the shutter. It’s one of those settings that costs you nothing and removes a real failure point, especially on a tripod where mirror slap or button pressure can still cause micro-blur.
If your camera supports an electronic front-curtain shutter or a fully silent electronic shutter, those are worth enabling too. But the two-second timer is universally available and works on any system. Set it once, leave it on for the whole session.
The Budget Angle: You Don’t Need the Flagship Version to Pull This Off
I’ll be honest - I have a spreadsheet with every 100-400mm equivalent lens I’ve tested across Nikon, Sony, Canon, and third-party options like Sigma and Tamron. The techniques Danson uses here don’t require the top-of-the-line version of anything. The Tamron 100-400mm, for example, consistently comes in at roughly half the price of the Nikon equivalent and produces images that I’ve had people fail to distinguish from the pricier version in blind tests.
What matters for this style of shooting is solid stabilization, reliable autofocus for when you’re tracking a composition as fog shifts, and enough sharpness at 400mm to hold detail when you crop. Mid-range telephoto zooms from Sigma and Tamron hit all three. If you’re on the fence about whether to add a long zoom to your kit, look for refurbished or open-box deals first. This focal range sees regular price drops, and a $100-$200 discount on a used copy is common if you watch the deal sites consistently.
The single most important thing to take from Danson’s approach is this: a long lens doesn’t just let you reach farther, it makes you slow down and actually interrogate a scene. Wide angles make it easy to be lazy. Telephoto forces you to look for the specific, the isolated, the deliberate. That discipline improves your wide-angle work too.
Watch the full tutorial on YouTube to see the actual footage and the prints Danson made from this session. The final images are worth seeing to understand what this technique looks like taken all the way through post-production.
Comments (1)
Simple but effective. Sometimes that's all you need.
Leave a Comment