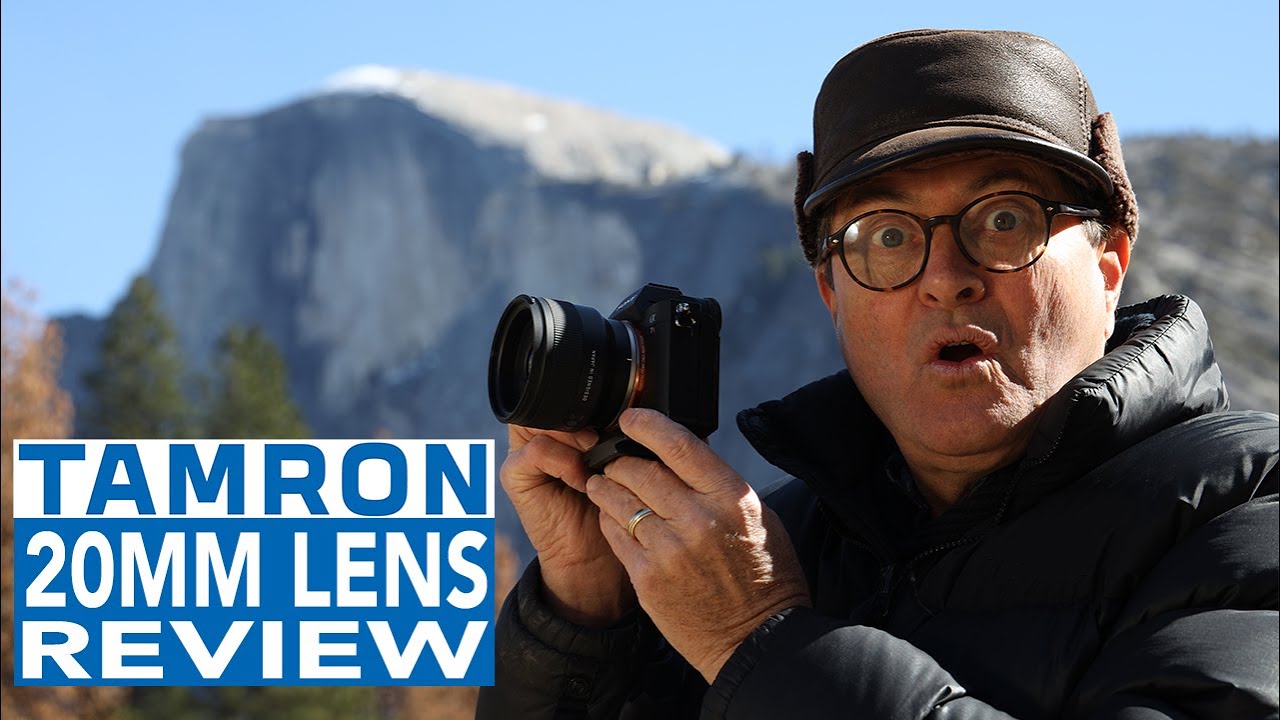
I have a bad habit of reaching for the “safe” focal length. Something in the 35-50mm range that feels natural, causes no drama, and produces competent, forgettable images. It took me longer than I’d like to admit to realize that safe focal lengths produce safe photos, and safe photos don’t stop anyone’s scroll. That’s exactly why a recent tutorial from JP Morgan over at The Slanted Lens hit differently. In it, he hauls a Tamron 20mm f/2.8 Sony E-mount lens to Yosemite for an entire weekend and shoots nothing else. No zoom, no backup prime, just 20mm. Watch the full tutorial on YouTube
The exercise forces a creative discipline that I think a lot of intermediate shooters skip entirely. When you can’t zoom or swap glass, you have to move your body, commit to a composition, and actually think about what a wide angle does best instead of treating it like a last resort for cramped spaces. What JP demonstrates across locations like Sentinel Bridge, El Capitan, and Valley View is that 20mm isn’t just a “get more in the frame” tool. Used intentionally, it’s an instrument for manufacturing depth, drama, and scale that longer lenses simply cannot replicate.
The Tamron 20mm f/2.8 he’s working with is part of a compact prime series that also includes 24mm and 35mm versions, all sharing the same roughly 2.5-inch barrel size. That form factor matters more than it sounds, especially if you’re trying to keep a travel or hiking kit light. Here’s what the tutorial actually shows you, broken down into repeatable steps.
Step 1: Embrace the Constraint of a Single Focal Length
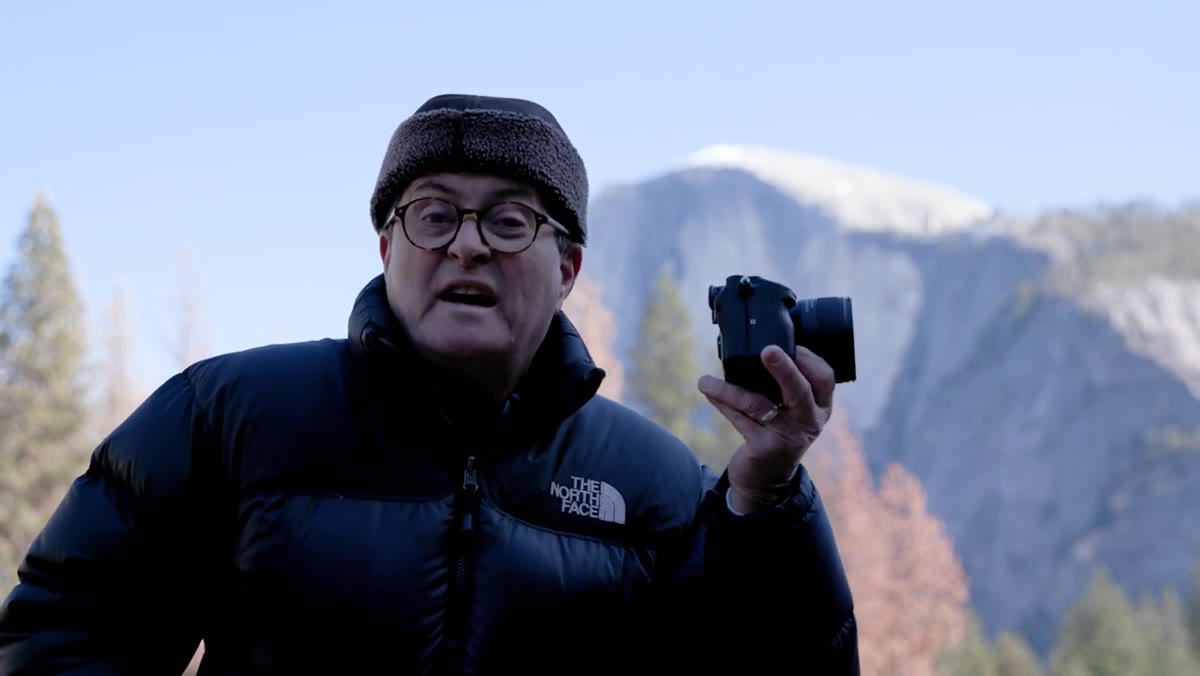 JP announces he’ll shoot the full weekend with only 20mm
Before you ever think about aperture or composition, the mental shift comes first. JP’s entire weekend experiment is built on a simple rule: one lens, full stop. That kind of constraint sounds limiting, but it forces your eye to solve problems with position instead of gear. If your subject isn’t reading correctly, you don’t reach for a different lens. You walk closer, get lower, or find a foreground element that gives the scene context. Try assigning yourself a single focal length for a full day out and notice how quickly your instincts sharpen.
JP announces he’ll shoot the full weekend with only 20mm
Before you ever think about aperture or composition, the mental shift comes first. JP’s entire weekend experiment is built on a simple rule: one lens, full stop. That kind of constraint sounds limiting, but it forces your eye to solve problems with position instead of gear. If your subject isn’t reading correctly, you don’t reach for a different lens. You walk closer, get lower, or find a foreground element that gives the scene context. Try assigning yourself a single focal length for a full day out and notice how quickly your instincts sharpen.
Step 2: Use the Wide Angle to Capture Reflection and Scale Simultaneously
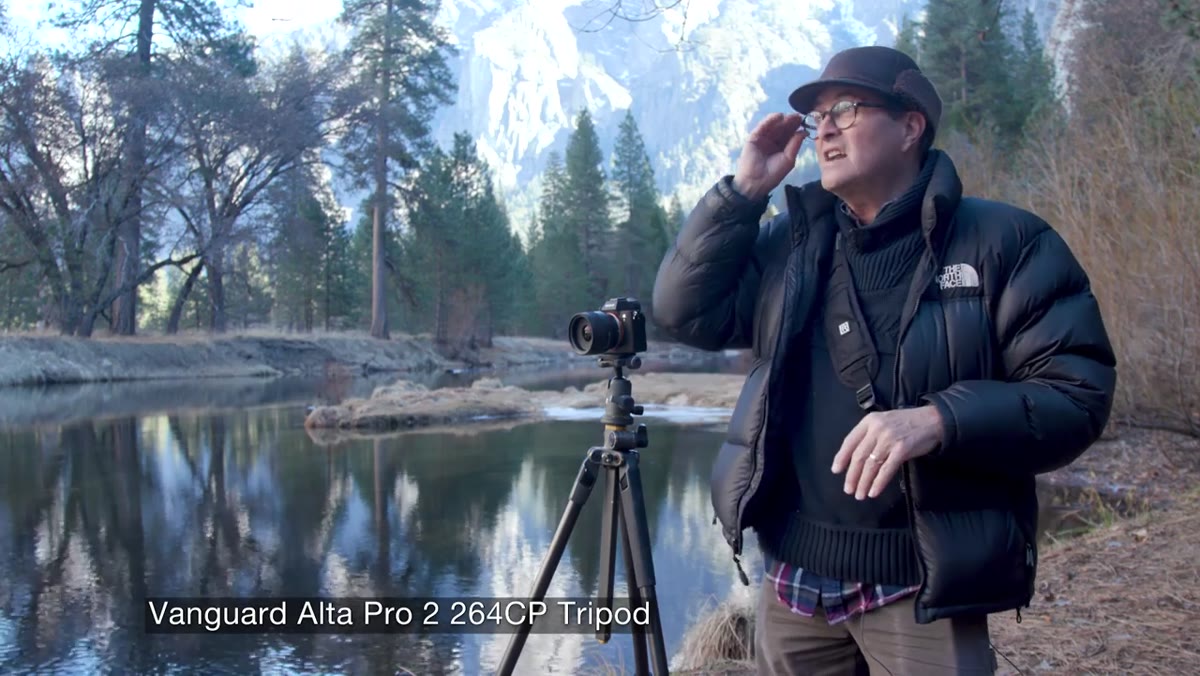 Wide shot of El Capitan reflecting in still water below
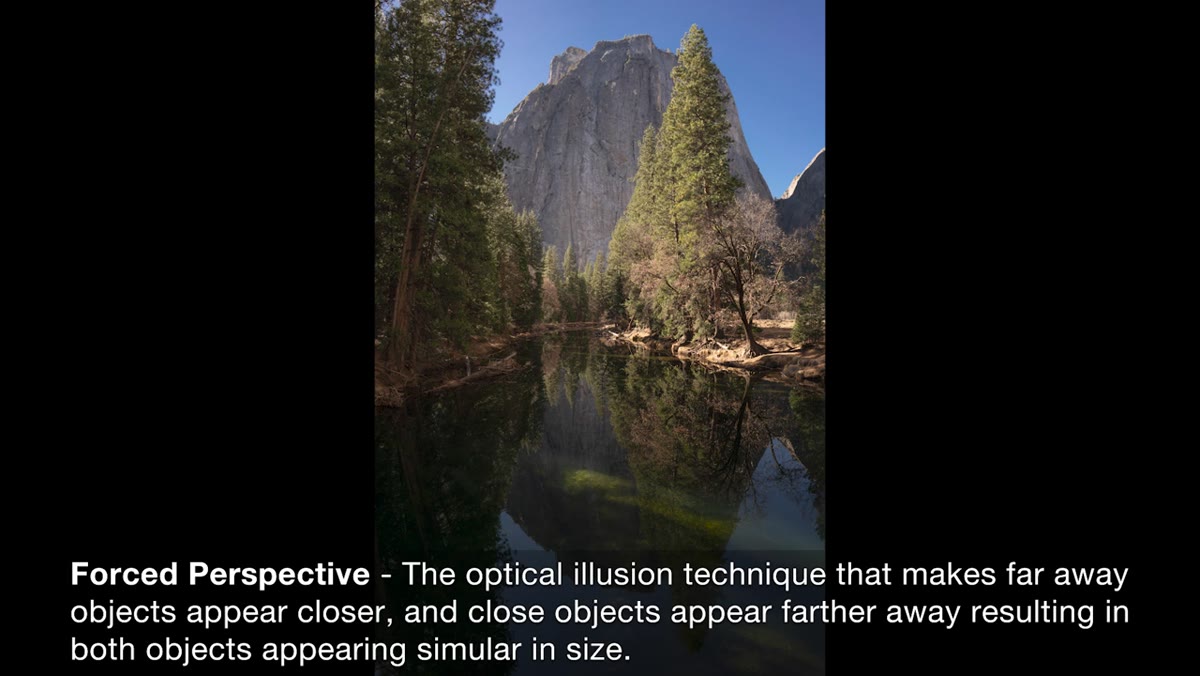
One of the first practical problems JP solves with the 20mm is a classic landscape challenge: you want the foreground detail AND the towering background in a single frame without stitching or cropping. At El Capitan, he uses the lens’s wide field of view to capture the rock face’s reflection in the water below while keeping the full height of the wall in the background. The technique here is positioning. Get low enough that the water surface becomes a significant part of the lower third of your frame, then let the lens do what it does best. A longer focal length would force you to choose one or the other.
Wide shot of El Capitan reflecting in still water below
One of the first practical problems JP solves with the 20mm is a classic landscape challenge: you want the foreground detail AND the towering background in a single frame without stitching or cropping. At El Capitan, he uses the lens’s wide field of view to capture the rock face’s reflection in the water below while keeping the full height of the wall in the background. The technique here is positioning. Get low enough that the water surface becomes a significant part of the lower third of your frame, then let the lens do what it does best. A longer focal length would force you to choose one or the other.
Step 3: Force Perspective with a Strong Foreground Subject
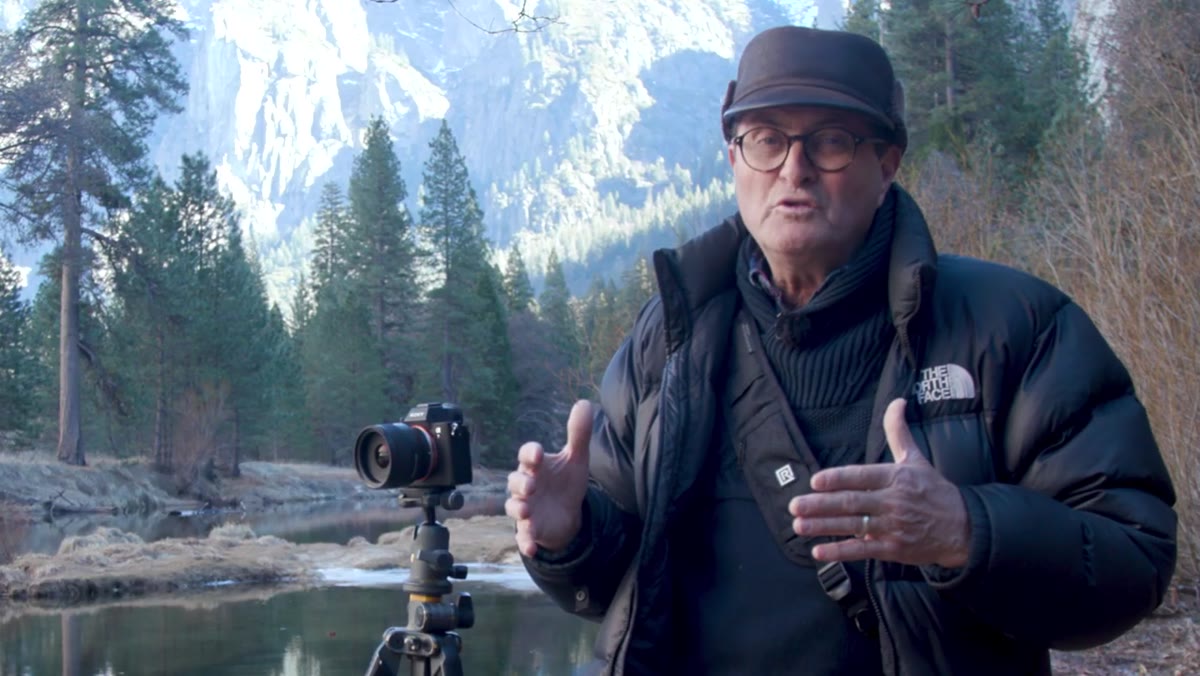 JP explains foreground-to-background forced perspective technique
This is the core lesson of the entire video and the thing most shooters underuse on wide primes. Forced perspective with a 20mm works by placing a deliberate subject close to the lens, which the wide angle exaggerates in size relative to the background, which then appears to stretch deep into the distance. The result is a sense of three-dimensional depth that feels almost cinematic. JP is explicit about this: the goal isn’t just to show more, it’s to make the foreground bold and the background infinite. Rocks, flowers, gear, a person’s hand, anything with defined shape works as that anchor element.
JP explains foreground-to-background forced perspective technique
This is the core lesson of the entire video and the thing most shooters underuse on wide primes. Forced perspective with a 20mm works by placing a deliberate subject close to the lens, which the wide angle exaggerates in size relative to the background, which then appears to stretch deep into the distance. The result is a sense of three-dimensional depth that feels almost cinematic. JP is explicit about this: the goal isn’t just to show more, it’s to make the foreground bold and the background infinite. Rocks, flowers, gear, a person’s hand, anything with defined shape works as that anchor element.
Step 4: Exploit the 1:2 Macro Capability for Close Foreground Work
 Discussion of 4.3-inch minimum focus distance on the Tamron 20mm
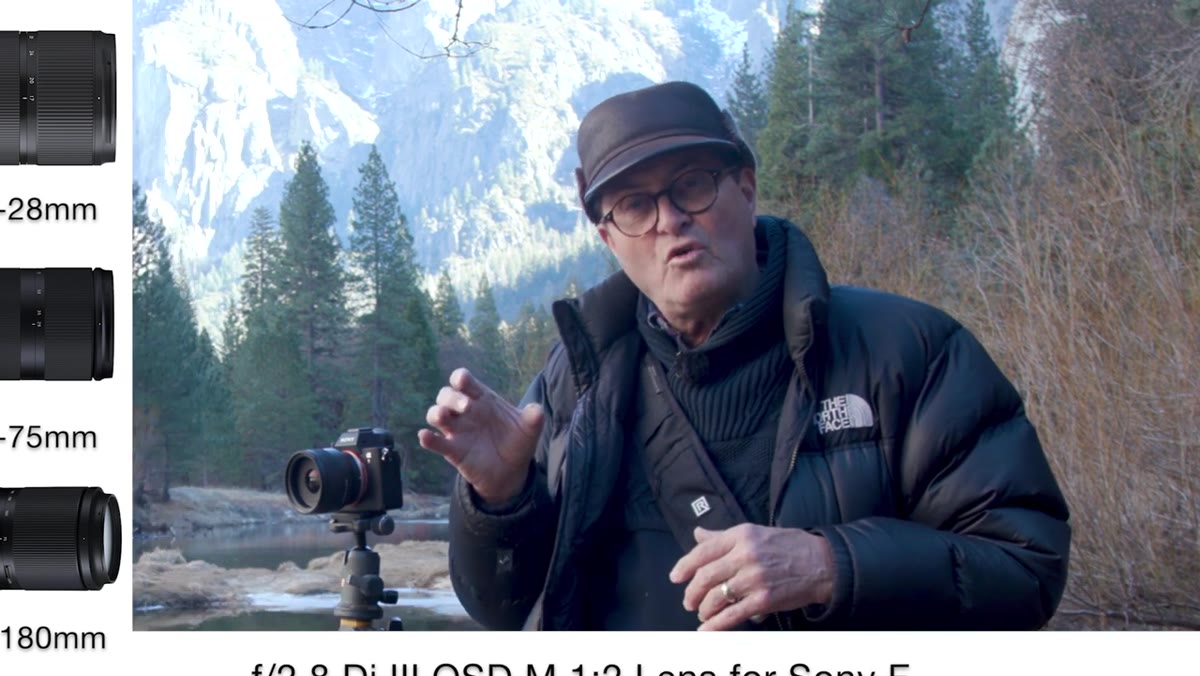
Here’s the spec that surprised me when I looked it up after watching. The Tamron 20mm f/2.8 has a 1:2 macro ratio with a minimum focus distance of just 4.3 inches. That’s close. For a wide prime, that’s remarkably close. What this means practically is that you can put a small subject, a wildflower, a rock texture, a leaf, almost right against the front element and still achieve sharp focus. Combined with the wide field of view, you get that compressed foreground-to-infinity effect JP describes, but with genuine macro-level detail on the near subject. Shoot wide open at f/2.8 and the background goes soft. Stop down to f/11 or f/16 and everything snaps into focus from a few inches out to the horizon.
Discussion of 4.3-inch minimum focus distance on the Tamron 20mm
Here’s the spec that surprised me when I looked it up after watching. The Tamron 20mm f/2.8 has a 1:2 macro ratio with a minimum focus distance of just 4.3 inches. That’s close. For a wide prime, that’s remarkably close. What this means practically is that you can put a small subject, a wildflower, a rock texture, a leaf, almost right against the front element and still achieve sharp focus. Combined with the wide field of view, you get that compressed foreground-to-infinity effect JP describes, but with genuine macro-level detail on the near subject. Shoot wide open at f/2.8 and the background goes soft. Stop down to f/11 or f/16 and everything snaps into focus from a few inches out to the horizon.
Step 5: Switch Between AF and Manual Focus Through the Camera Body
 JP demonstrates using Sony FN button to toggle focus mode
There’s no physical AF/MF switch on the Tamron 20mm, which is part of how they kept the barrel so small. If you’re used to lenses with dedicated switches, this takes about five minutes to adjust to. On Sony bodies, you access focus mode through the function (FN) button on the back of the camera. From that quick menu, you can select single-shot autofocus, continuous autofocus, or manual focus. Once you’re in manual, the focus ring on the lens responds exactly as you’d expect. It’s one extra button press compared to a physical switch, and the tradeoff is a significantly more pocketable lens.
JP demonstrates using Sony FN button to toggle focus mode
There’s no physical AF/MF switch on the Tamron 20mm, which is part of how they kept the barrel so small. If you’re used to lenses with dedicated switches, this takes about five minutes to adjust to. On Sony bodies, you access focus mode through the function (FN) button on the back of the camera. From that quick menu, you can select single-shot autofocus, continuous autofocus, or manual focus. Once you’re in manual, the focus ring on the lens responds exactly as you’d expect. It’s one extra button press compared to a physical switch, and the tradeoff is a significantly more pocketable lens.
Step 6: Shoot the Moon Rise and Leverage Low Light with f/2.8
 Night images from Sentinel Bridge with moon and water reflection
JP planned the Yosemite trip around a full moon rising at sunset, and the Tamron’s f/2.8 maximum aperture is what makes that kind of shot viable without cranking ISO into painful territory. The Tamron series has no internal optical stabilization, but most current Sony bodies handle in-body stabilization well enough to cover handheld work in moderate low light. For static scenes like the Sentinel Bridge moonrise shots JP reviews, a tripod removes that variable entirely. The lesson here is to plan shoots around light events, golden hour, moonrise, blue hour, and bring a lens fast enough to keep your shutter speed usable.
Night images from Sentinel Bridge with moon and water reflection
JP planned the Yosemite trip around a full moon rising at sunset, and the Tamron’s f/2.8 maximum aperture is what makes that kind of shot viable without cranking ISO into painful territory. The Tamron series has no internal optical stabilization, but most current Sony bodies handle in-body stabilization well enough to cover handheld work in moderate low light. For static scenes like the Sentinel Bridge moonrise shots JP reviews, a tripod removes that variable entirely. The lesson here is to plan shoots around light events, golden hour, moonrise, blue hour, and bring a lens fast enough to keep your shutter speed usable.
What I’d Add from My Own Testing
Budget-conscious shooters sometimes dismiss the Tamron compact prime series because they’re not Zeiss and they’re not the Sony G Master line. I get it. When I first started reviewing gear, I had a reflexive suspicion of anything mid-tier. But when I actually run the numbers across comparable options, the value math on these Tamrons is hard to argue with. The 20mm sits in a price range where you’re getting a genuinely small, genuinely sharp native Sony mount prime that covers focal lengths most shooters overlook. The forced perspective technique JP demonstrates in this video works on any wide prime, but the macro capability on this particular lens makes it more versatile for the technique than most budget alternatives.
The single biggest thing I took from JP’s tutorial is also the simplest: go uncomfortable with your focal length. Spending a full day or weekend locked to a 20mm won’t just teach you what the lens can do. It’ll expose every lazy compositional habit you’ve been hiding behind a zoom ring.
Watch the full tutorial on YouTube to see all of JP’s Yosemite images alongside his breakdown. The finished shots make the techniques click in a way that text alone can’t fully deliver.
Comments
Leave a Comment