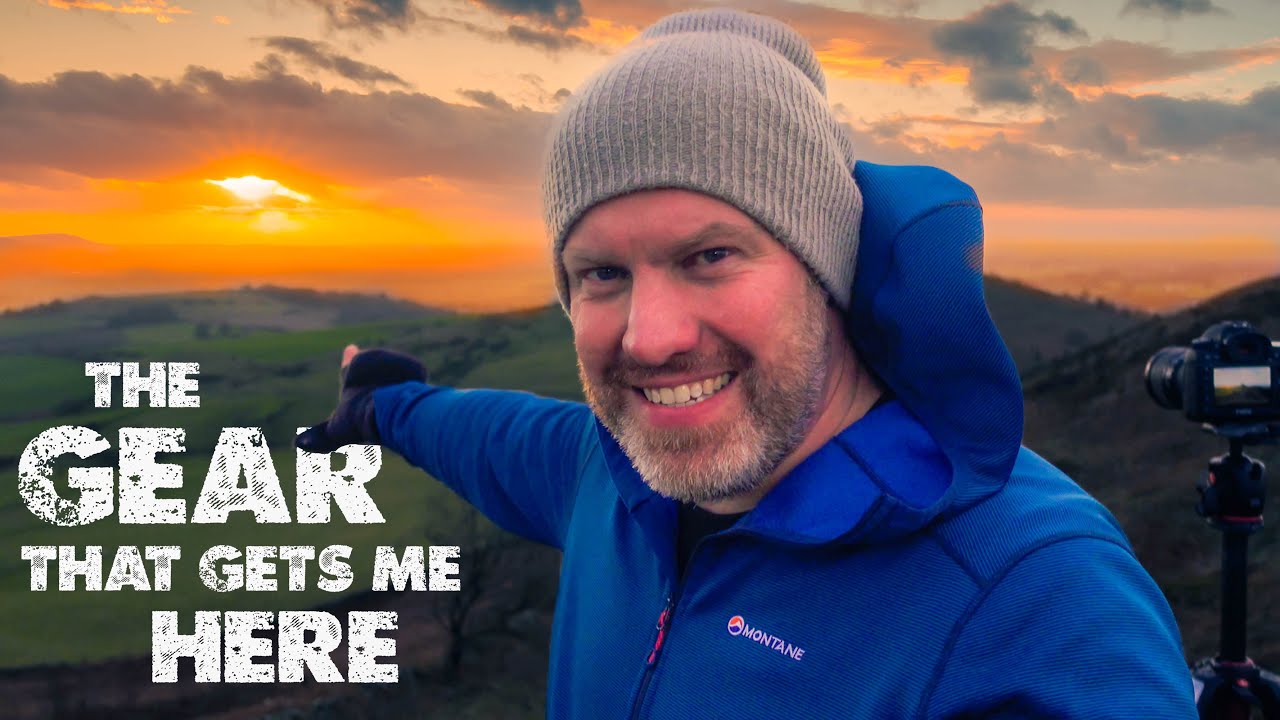
I’ve lost count of how many times I’ve bailed on a shoot early because I was cold, wet, or my feet were wrecked. Not because the light wasn’t there. Not because I lacked the right lens. Because I was miserable and couldn’t focus on anything except getting back to the car. That’s a gear problem, but not the kind most photography sites talk about. It’s not about your camera body or your filters. It’s about the stuff that keeps you functional in the field long enough to actually get the shot.
Watch the full tutorial on YouTube
In this First Man Photography tutorial, Adam Carach takes a six-mile hike and walks through the hiking and photography gear he genuinely relies on. Nearly everything he covers comes in under 100 dollars or pounds, which immediately got my attention. I spend more time than I’d like to admit researching whether a piece of gear is actually worth its price before I buy it. Adam’s list is the kind of thing I want to hand to every photographer who keeps skipping sunrise shoots because they don’t feel prepared for the cold.
Step 1: Build Your Layering System Before You Spend Anything
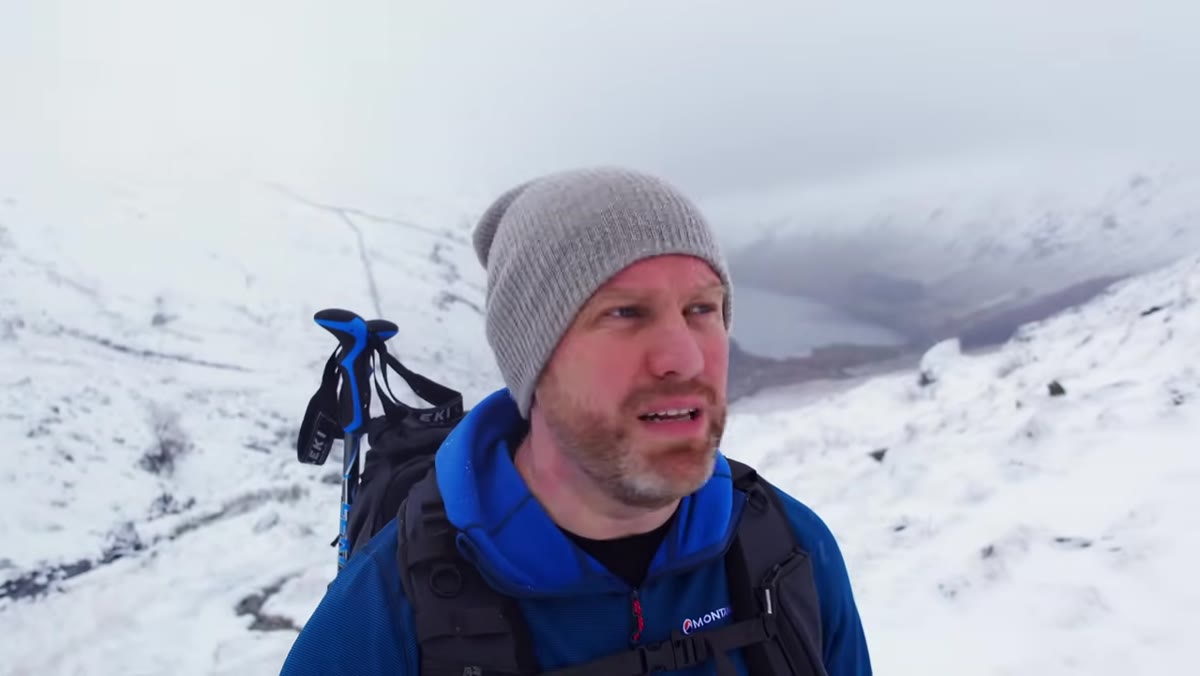 Adam explaining layering principle while hiking outdoors
The foundational principle Adam leads with is layering, and he frames it in a way that’s hard to argue with. Multiple thinner layers trap more warmth than a single thick coat, and they give you the flexibility to regulate your temperature as you move and stop throughout a hike. If you start the walk at the right temperature, you’re going to overheat once your body gets moving. The fix is simple: start slightly cold and let the exertion bring you up to comfortable.
Adam explaining layering principle while hiking outdoors
The foundational principle Adam leads with is layering, and he frames it in a way that’s hard to argue with. Multiple thinner layers trap more warmth than a single thick coat, and they give you the flexibility to regulate your temperature as you move and stop throughout a hike. If you start the walk at the right temperature, you’re going to overheat once your body gets moving. The fix is simple: start slightly cold and let the exertion bring you up to comfortable.
You don’t need to buy anything specific to apply this right now. Two t-shirts, a hoodie, and a windproof outer shell is already a functional layering system. The principle matters more than the brand. That said, if you’re going to invest in one layer, Adam makes a strong case for starting with the base layer.
Step 2: Invest in a Merino Wool Base Layer First
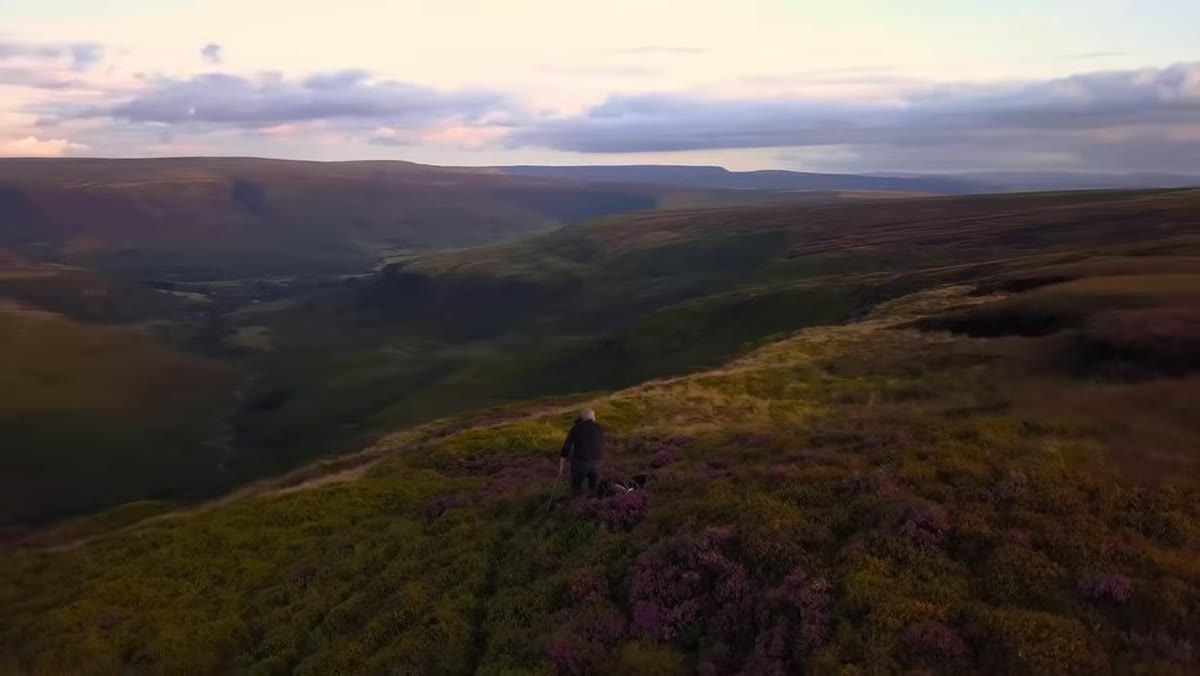 Adam showing merino wool base layer while on the trail
Adam’s base layer of choice is merino wool, and he spent around 70 pounds on his. That’s not cheap, but his reasoning is solid. Merino wool continues to insulate even when damp from sweat or rain, it dries faster than synthetic fleece, and it has natural antibacterial properties that keep odor under control even after a full day of hard hiking. For multi-day trips or long shoots where you’re wearing the same underlayer repeatedly, that last point matters more than people expect.
Adam showing merino wool base layer while on the trail
Adam’s base layer of choice is merino wool, and he spent around 70 pounds on his. That’s not cheap, but his reasoning is solid. Merino wool continues to insulate even when damp from sweat or rain, it dries faster than synthetic fleece, and it has natural antibacterial properties that keep odor under control even after a full day of hard hiking. For multi-day trips or long shoots where you’re wearing the same underlayer repeatedly, that last point matters more than people expect.
If 70 pounds is too steep right now, there are merino blends available at lower price points that still deliver most of the benefit. Search for anything with at least 50 percent merino content and you’ll get closer to the performance Adam describes than any synthetic-only option at the same price.
Step 3: Protect Your Feet Like Your Shoot Depends on It
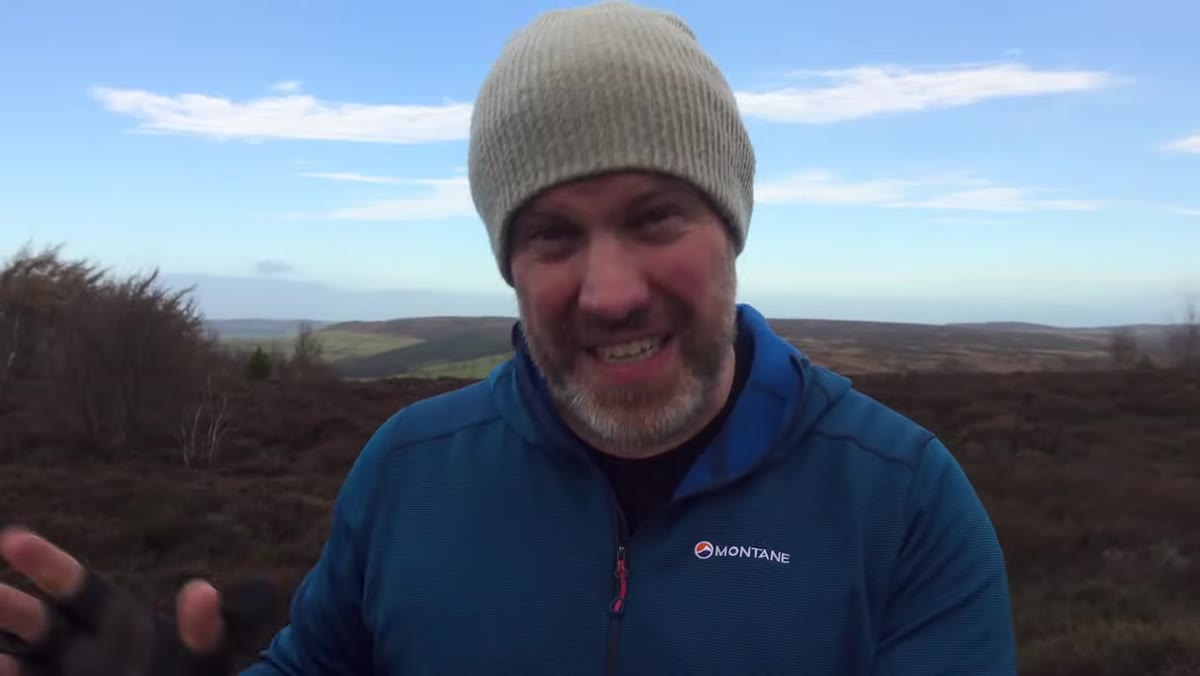 Adam gesturing toward his hiking boots on the trail
Adam’s second major piece of gear is quality footwear, and he calls it the most important item on the entire list. His logic is direct: wet or painful feet end a hike faster than any weather condition. Once your feet go, your ability to push to a better vantage point, wait out the light, or cover any meaningful distance is gone. The shoot is effectively over.
Adam gesturing toward his hiking boots on the trail
Adam’s second major piece of gear is quality footwear, and he calls it the most important item on the entire list. His logic is direct: wet or painful feet end a hike faster than any weather condition. Once your feet go, your ability to push to a better vantage point, wait out the light, or cover any meaningful distance is gone. The shoot is effectively over.
He uses Scarpa boots, which run over 200 pounds, and he’s clear that you don’t need to spend that much. The key features to prioritize are waterproofing and ankle support, in that order. A mid-range waterproof boot from a brand like Salomon or Merrell in the 80 to 130 dollar range will cover most landscape photography terrain without the premium price tag. Whatever you pick, buy them early enough to break them in before a big shoot. New boots on a long hike is its own kind of suffering.
Step 4: Don’t Wait for Perfect Conditions to Test Your Setup
 Adam setting up tripod on the moorland with dramatic sky
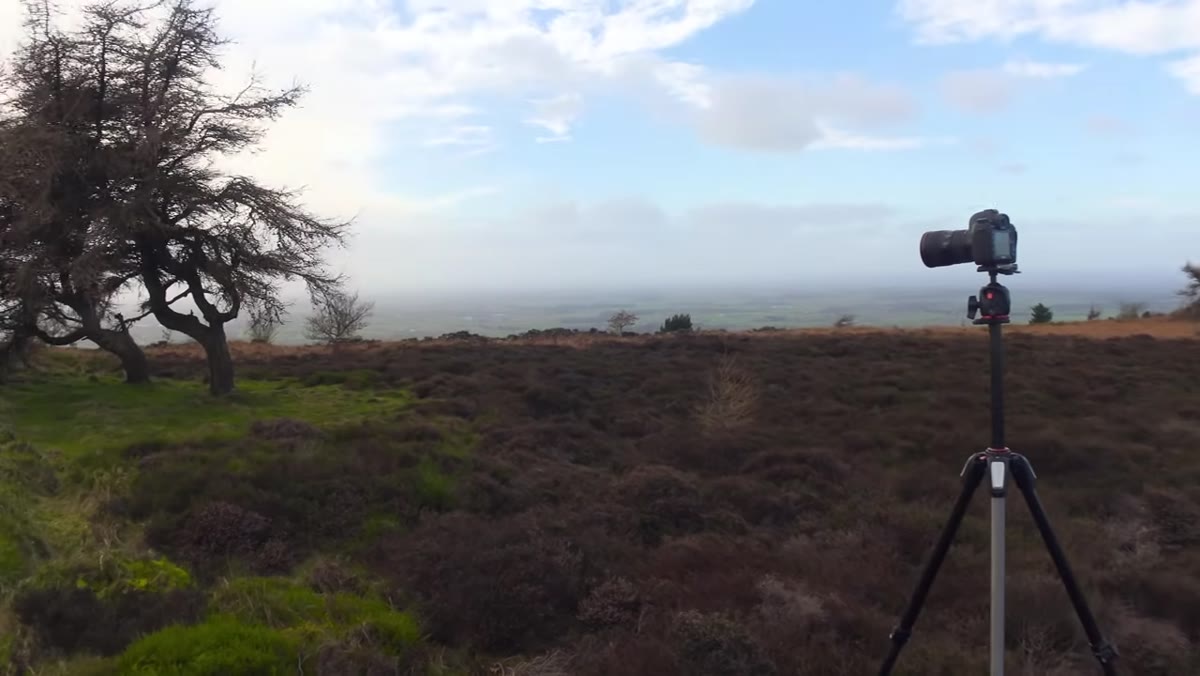
One thing Adam demonstrates throughout this video that doesn’t get stated explicitly is field-testing your gear in real conditions, not ideal ones. He’s out on a windy moor with a dramatic, unsettled sky, not on a calm blue-sky day. He’s actively shooting while talking through his gear, and that context matters. Gear that works in comfortable conditions isn’t the same as gear that works when it counts.
Adam setting up tripod on the moorland with dramatic sky
One thing Adam demonstrates throughout this video that doesn’t get stated explicitly is field-testing your gear in real conditions, not ideal ones. He’s out on a windy moor with a dramatic, unsettled sky, not on a calm blue-sky day. He’s actively shooting while talking through his gear, and that context matters. Gear that works in comfortable conditions isn’t the same as gear that works when it counts.
The practical takeaway here is to do your own version of this. Take a shorter hike specifically to evaluate your layering system, your boots, your pack. Notice where you’re uncomfortable, what you reach for, what slows you down. You’ll learn more from one two-hour field test than from reading ten gear reviews, including mine.
Step 5: Keep Your Total Loadout Under Budget by Prioritizing in Order
 Adam introducing the gear list while hiking with camera visible
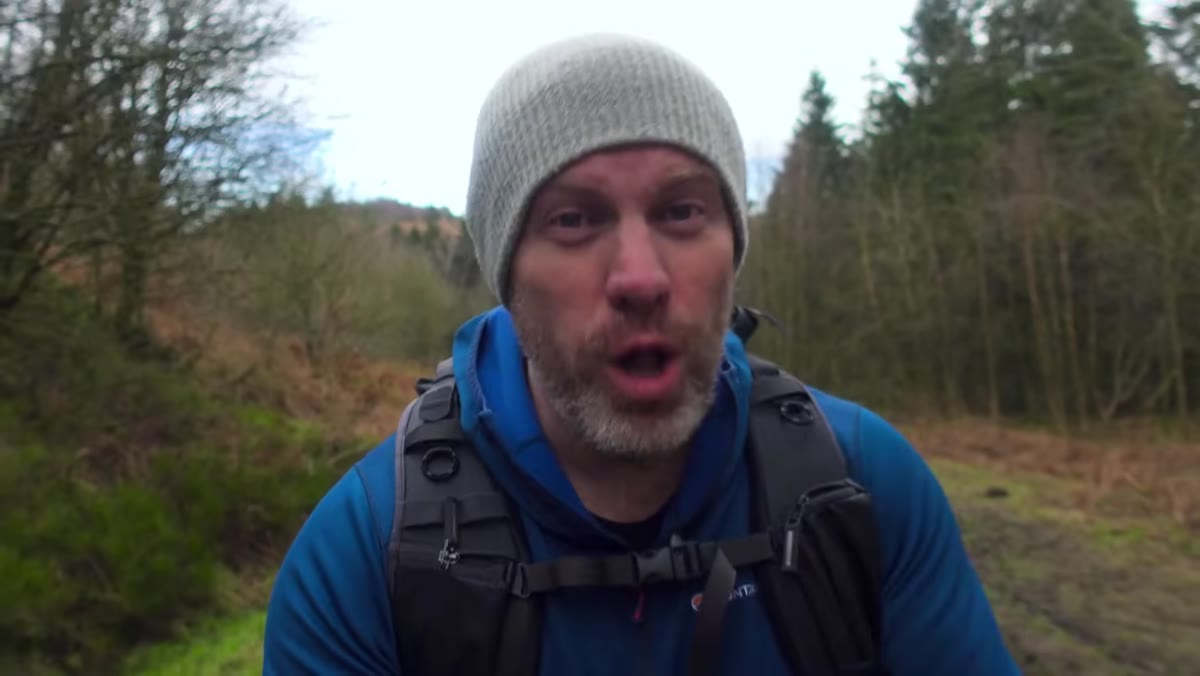
Adam’s structure throughout the video is a prioritized list, and that framing is worth borrowing. He isn’t saying “buy all of this.” He’s saying here’s what matters most, in order. Layering first because it costs almost nothing to implement. Footwear second because it has the biggest impact on how long you can stay out. Everything else builds from that foundation.
Adam introducing the gear list while hiking with camera visible
Adam’s structure throughout the video is a prioritized list, and that framing is worth borrowing. He isn’t saying “buy all of this.” He’s saying here’s what matters most, in order. Layering first because it costs almost nothing to implement. Footwear second because it has the biggest impact on how long you can stay out. Everything else builds from that foundation.
If you’re working with a limited budget, use that same logic. Solve comfort and endurance before you solve any camera gear problem. A photographer who’s warm and mobile with a kit lens will consistently out-shoot a photographer who’s freezing with a prime.
What I’d Add From My Own Experience
Adam’s list is solid and I don’t have a single complaint about his recommendations. But one thing I’d stack on top of his layering advice is hand and finger management, specifically gloves that let you actually operate your camera. Standard hiking gloves are useless for adjusting dials or changing settings quickly. I’ve tested a handful of options under 30 dollars and the ones with removable fingertips on the index finger and thumb are genuinely functional in the field. Look for anything marketed as “photographer gloves” or “touchscreen gloves” and cross-reference the reviews for durability in wet conditions. Cold hands will shut down a shoot just as fast as cold feet.
The single most transferable idea from Adam’s tutorial is this: physical comfort is a photography problem, not just a hiking problem. Every minute you spend being cold, wet, or dealing with sore feet is a minute you’re not thinking about composition, light, or timing. Solving for comfort first is how you stay in the field long enough for the conditions to turn in your favor.
Watch the full tutorial on YouTube and see the rest of the gear Adam covers on the hike. His approach to keeping costs down while staying functional in tough conditions is exactly the kind of thinking this site was built around.
Comments (1)
Clear and practical. No fluff. Appreciate that.
Leave a Comment