
I’ve spent years arguing that you don’t need to spend big to get great results. That’s still true. But every once in a while a piece of gear comes along that makes me stop, look at the specs, and think hard about what “worth it” actually means. Canon’s new RF 135mm f/1.8 is one of those lenses. Not because of the hype, but because the original EF 135mm f/2 was genuinely one of the most underrated portrait lenses ever made, and Canon just rebuilt it with better glass, a faster aperture, and image stabilization it never had before.
In this Peter McKinnon tutorial, Watch the full tutorial on YouTube, McKinnon walks through what makes this lens special, takes it on a legitimately wild Iceland wedding shoot, and covers the technical details that matter for both photo and video work. I’m breaking it down step by step because the information is dense and the context he adds from real field use is the kind of thing you won’t get from a spec sheet.
I’ll be honest, a lens at this price point isn’t something I’d normally cover here. But understanding what a top-tier 135mm does well is exactly how you figure out whether a cheaper alternative is actually giving you the same results or quietly cutting corners. So consider this the reference point.
Step 1: Understand What the 135mm Focal Length Actually Does
 Peter McKinnon explaining focal length overlap between lenses
The 135mm focal length sits in a genuinely interesting spot. It’s long enough to compress a background and create that creamy separation between subject and surroundings, but not so long that you’re constantly backing up across a parking lot to frame a single person. McKinnon explains that his hesitation with the original EF version was that it overlapped with his 70-200mm, covering ground that lens already handled. That’s a real concern if you’re building a kit on a budget. But the argument for a dedicated 135mm is that at f/1.8 you’re getting a stop and a half more light than a 70-200mm f/2.8 at the same focal length. That difference is visible in low light and in the character of the background blur.
Peter McKinnon explaining focal length overlap between lenses
The 135mm focal length sits in a genuinely interesting spot. It’s long enough to compress a background and create that creamy separation between subject and surroundings, but not so long that you’re constantly backing up across a parking lot to frame a single person. McKinnon explains that his hesitation with the original EF version was that it overlapped with his 70-200mm, covering ground that lens already handled. That’s a real concern if you’re building a kit on a budget. But the argument for a dedicated 135mm is that at f/1.8 you’re getting a stop and a half more light than a 70-200mm f/2.8 at the same focal length. That difference is visible in low light and in the character of the background blur.
Step 2: Know What Nine Aperture Blades Mean for Your Bokeh
 Close-up of lens construction showing aperture blade detail
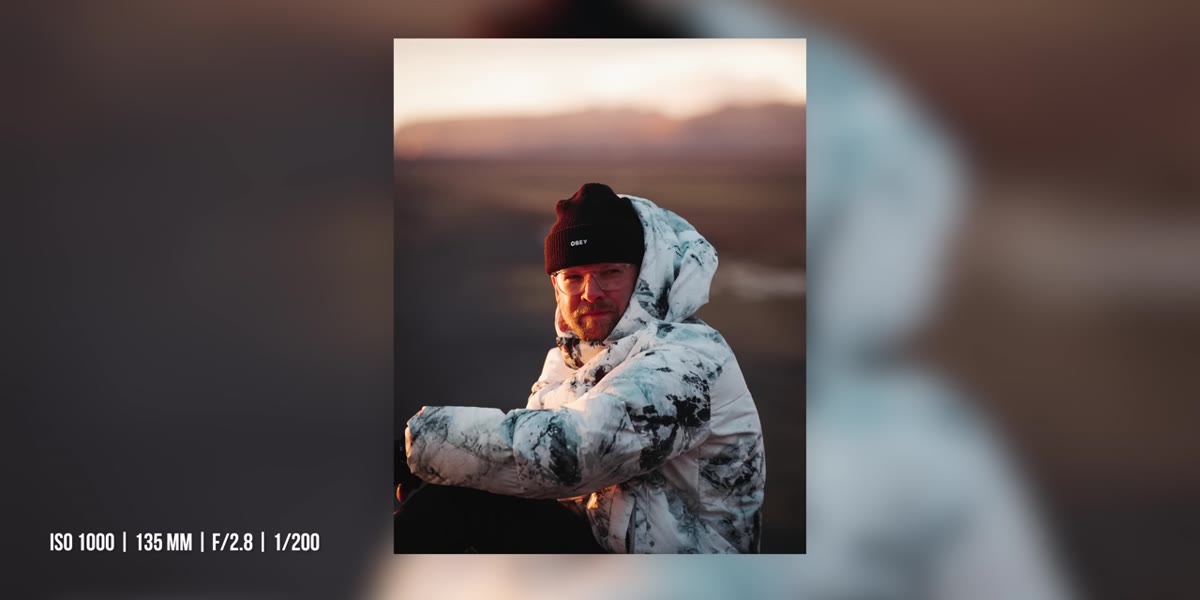
This lens has nine rounded aperture blades. That number matters because the shape of the aperture determines what out-of-focus highlights look like in your frame. Nine blades produce circles that stay circular even when the aperture is stopped down slightly. Cheaper lenses with five or seven straight blades create hexagonal or pentagonal shapes in the background that can look harsh or mechanical. If you’re shooting portraits or any subject where background lights or reflections appear as blobs behind the subject, nine rounded blades are what keep those blobs looking smooth. It’s one of the first things I check when I’m evaluating a budget portrait lens, because it’s a cost that manufacturers cut early.
Close-up of lens construction showing aperture blade detail
This lens has nine rounded aperture blades. That number matters because the shape of the aperture determines what out-of-focus highlights look like in your frame. Nine blades produce circles that stay circular even when the aperture is stopped down slightly. Cheaper lenses with five or seven straight blades create hexagonal or pentagonal shapes in the background that can look harsh or mechanical. If you’re shooting portraits or any subject where background lights or reflections appear as blobs behind the subject, nine rounded blades are what keep those blobs looking smooth. It’s one of the first things I check when I’m evaluating a budget portrait lens, because it’s a cost that manufacturers cut early.
Step 3: Use Image Stabilization Strategically, Not as a Crutch
 McKinnon demonstrating handheld shooting with lens in windy conditions
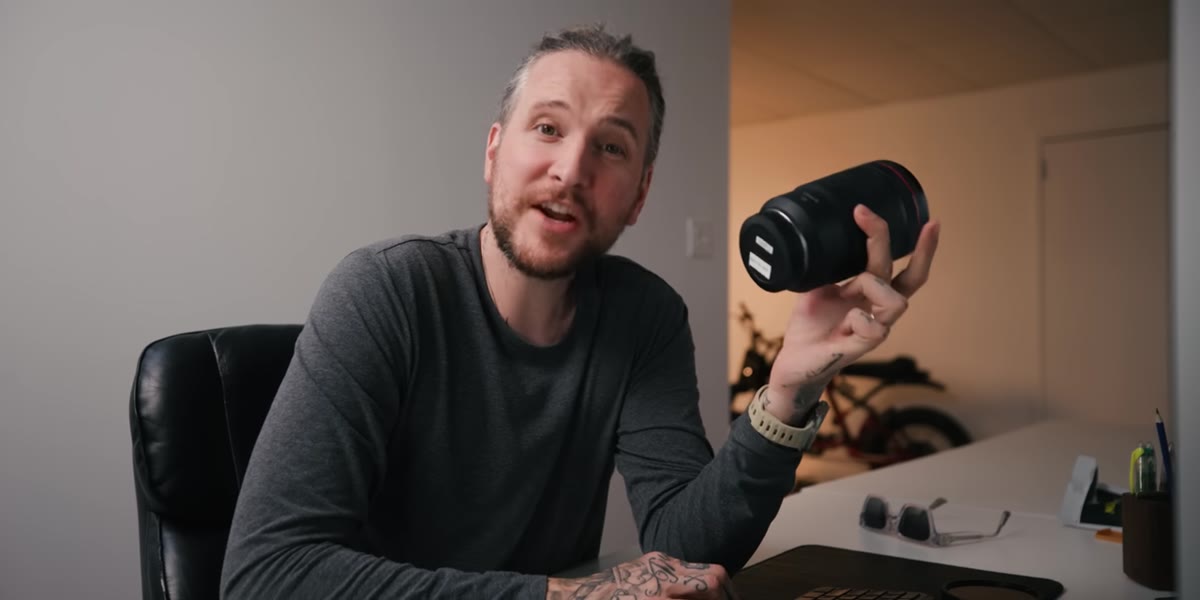
The RF 135mm f/1.8 includes optical image stabilization rated at five and a half stops. Pair it with a camera body that has in-body stabilization and Canon claims you can push that to nearly nine stops of combined correction. McKinnon tested this in Iceland in winds hitting 70 kilometers per hour. His honest takeaway, which I respect, is that even with that much stabilization, extreme wind is still moving your entire body and the camera with it. Stabilization corrects for small tremors and handheld shake. It does not correct for gusts that physically displace you mid-shot. The practical lesson is this: stabilization expands your shooting envelope, it doesn’t replace your technique. At longer focal lengths any camera movement is amplified significantly, so stabilization is more critical than at 24mm or 35mm, but it’s still a tool with real limits.
McKinnon demonstrating handheld shooting with lens in windy conditions
The RF 135mm f/1.8 includes optical image stabilization rated at five and a half stops. Pair it with a camera body that has in-body stabilization and Canon claims you can push that to nearly nine stops of combined correction. McKinnon tested this in Iceland in winds hitting 70 kilometers per hour. His honest takeaway, which I respect, is that even with that much stabilization, extreme wind is still moving your entire body and the camera with it. Stabilization corrects for small tremors and handheld shake. It does not correct for gusts that physically displace you mid-shot. The practical lesson is this: stabilization expands your shooting envelope, it doesn’t replace your technique. At longer focal lengths any camera movement is amplified significantly, so stabilization is more critical than at 24mm or 35mm, but it’s still a tool with real limits.
Step 4: Consider the Autofocus Motor When You’re Also Recording Audio
 McKinnon pointing out Nano USM motor designation on lens barrel
This is the detail that often gets buried in reviews. The RF 135mm uses Canon’s Nano USM autofocus system, which runs quieter than older motor designs. For still photography, autofocus noise is almost irrelevant. For video it becomes a real problem. When you’re shooting at 135mm handheld, the stabilization system is working harder and the autofocus motor is adjusting more frequently than it would on a wider lens. Older or cheaper autofocus designs produce an audible hum or buzz that gets picked up by your camera’s built-in microphone and sometimes even by external mics mounted close to the body. If you’re building a one-camera video setup and you rely on camera audio as a scratch track or a backup, this matters more than most reviewers acknowledge.
McKinnon pointing out Nano USM motor designation on lens barrel
This is the detail that often gets buried in reviews. The RF 135mm uses Canon’s Nano USM autofocus system, which runs quieter than older motor designs. For still photography, autofocus noise is almost irrelevant. For video it becomes a real problem. When you’re shooting at 135mm handheld, the stabilization system is working harder and the autofocus motor is adjusting more frequently than it would on a wider lens. Older or cheaper autofocus designs produce an audible hum or buzz that gets picked up by your camera’s built-in microphone and sometimes even by external mics mounted close to the body. If you’re building a one-camera video setup and you rely on camera audio as a scratch track or a backup, this matters more than most reviewers acknowledge.
Step 5: Build a Two-Lens Travel Kit Around a Long Prime
 McKinnon showing two-camera setup used during Iceland trip
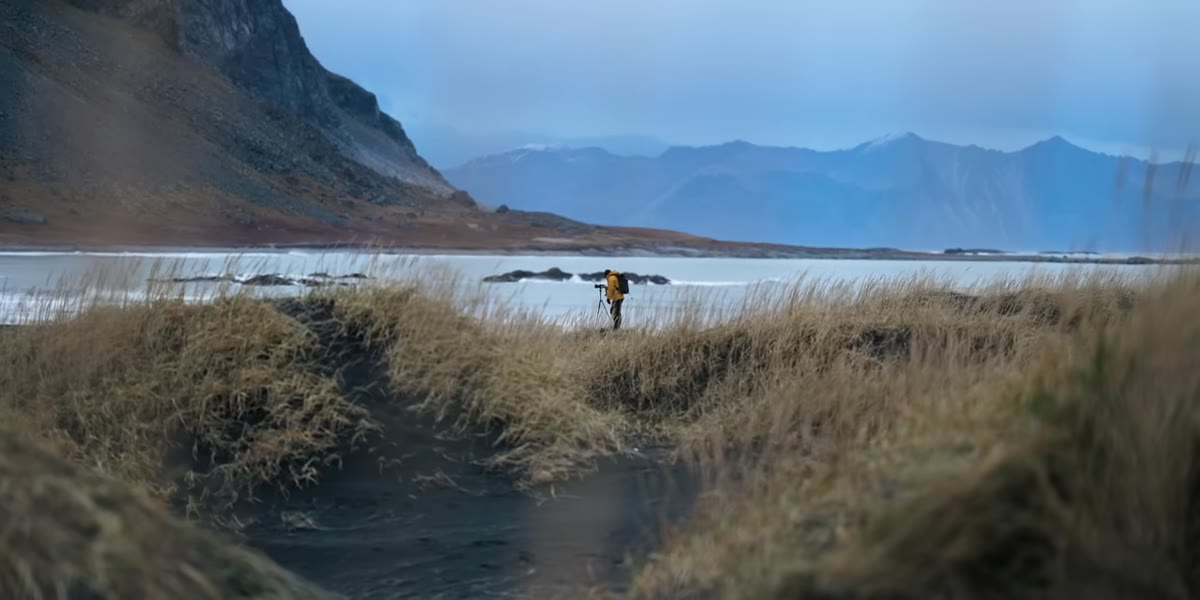
McKinnon’s field setup in Iceland was a wide lens and the 135mm, one for environment and one for compression and intimacy. That pairing is actually a smart approach at any budget level. A wide prime in the 24-35mm range combined with a 135mm covers most of what a zoom covers, often with better image quality and faster apertures throughout. The tradeoff is that you have to move your feet more and commit to a focal length instead of reaching for the zoom ring. For wedding work or portrait sessions where you have some control over positioning, this is a workable constraint. For run-and-gun events where you can’t always reposition, a zoom still wins.
McKinnon showing two-camera setup used during Iceland trip
McKinnon’s field setup in Iceland was a wide lens and the 135mm, one for environment and one for compression and intimacy. That pairing is actually a smart approach at any budget level. A wide prime in the 24-35mm range combined with a 135mm covers most of what a zoom covers, often with better image quality and faster apertures throughout. The tradeoff is that you have to move your feet more and commit to a focal length instead of reaching for the zoom ring. For wedding work or portrait sessions where you have some control over positioning, this is a workable constraint. For run-and-gun events where you can’t always reposition, a zoom still wins.
Step 6: Evaluate Whether Premium Lens Features Appear in Budget Alternatives
 Two programmable buttons shown on lens barrel exterior
The RF 135mm includes two programmable control buttons on the barrel, a feature McKinnon notes is typically found only on super-telephoto lenses costing thousands more. These let you assign custom functions, things like autofocus hold or switching autofocus zones, without taking your eye from the viewfinder. Budget lenses almost never include this. But before you treat it as a dealbreaker, think honestly about whether you’d use it. I’ve tested plenty of lenses that lack this and never missed it during a shoot. Where it does matter is in fast-moving situations: sports, wildlife, unpredictable event work. For portrait sessions in controlled environments, a barrel button won’t change your results.
Two programmable buttons shown on lens barrel exterior
The RF 135mm includes two programmable control buttons on the barrel, a feature McKinnon notes is typically found only on super-telephoto lenses costing thousands more. These let you assign custom functions, things like autofocus hold or switching autofocus zones, without taking your eye from the viewfinder. Budget lenses almost never include this. But before you treat it as a dealbreaker, think honestly about whether you’d use it. I’ve tested plenty of lenses that lack this and never missed it during a shoot. Where it does matter is in fast-moving situations: sports, wildlife, unpredictable event work. For portrait sessions in controlled environments, a barrel button won’t change your results.
What I’d Actually Do With This Information
I’m not buying the RF 135mm f/1.8. At my price point, the math doesn’t work yet. But what this tutorial did was remind me exactly which features separate genuinely useful premium glass from marketing noise: aperture blade count, motor noise in video use, and honest stabilization limits. Those are the same tests I run on every $200 third-party lens I put through the spreadsheet. The RF 135mm sets a clear benchmark. Anything I recommend has to explain clearly where it falls short of that benchmark and why the price difference justifies the compromise, or doesn’t.
The single most important thing McKinnon demonstrates here is that image stabilization is a tool with a ceiling. Know where that ceiling is before you’re standing on a cliff in Iceland counting on it to do more than it can.
Watch the full tutorial on YouTube to see the Iceland footage and the side-by-side shots that show what this lens actually produces under real field conditions.
Comments (2)
Printing this out and pinning it next to my monitor. That good.
Shared this with my photography group. Everyone loved it.
Leave a Comment