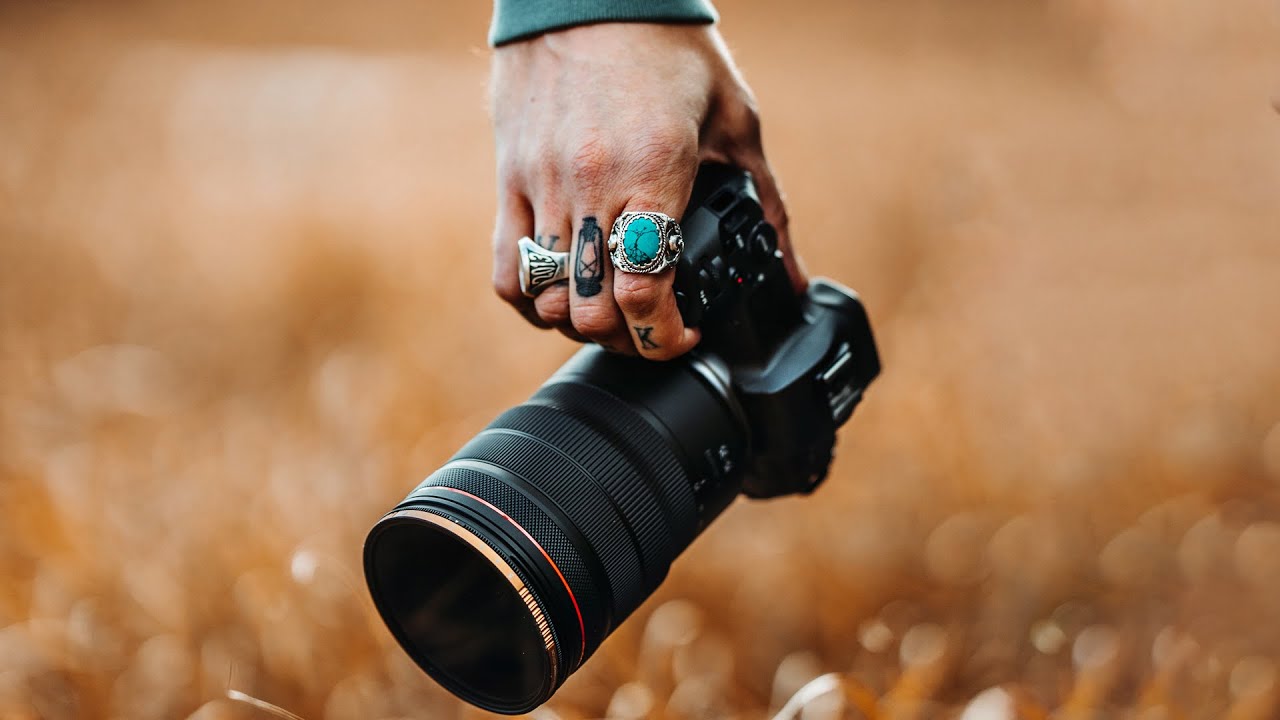
Wide-angle lenses are where I see photographers waste the most money. They chase maximum sharpness at the edges, obsess over distortion charts, and end up buying twice because they didn’t think through how they’d actually use the lens in the field. My whole thing is finding gear that solves real problems without burning your budget. But every once in a while, a higher-end piece of kit does something genuinely new, and it’s worth paying attention.
In this Peter McKinnon tutorial, he takes the Canon RF 15-35mm f/2.8 out for a pre-dawn vlog shoot in Los Angeles and uses it as a real working test rather than a controlled lab review. Watch the full tutorial on YouTube. What caught my attention wasn’t the image quality, which you’d expect to be good at this price point. It was the stabilization. A stabilized 15mm wide-angle is not something we’ve seen much of, and for run-and-gun shooting, vlogging, or handheld landscape work at dusk, that changes the math considerably.
The context of the shoot matters here. McKinnon is out at 5:30 a.m., riding in a doorless Jeep through Los Angeles, off-roading in the hills, catching a sunrise. That’s exactly the kind of chaotic, handheld, no-tripod-setup scenario where a stabilized wide-angle earns its keep, or exposes itself as a gimmick. Let me walk through what he demonstrates and what you can actually take from it.
Step 1: Choose the Right Scenario to Test Stabilization
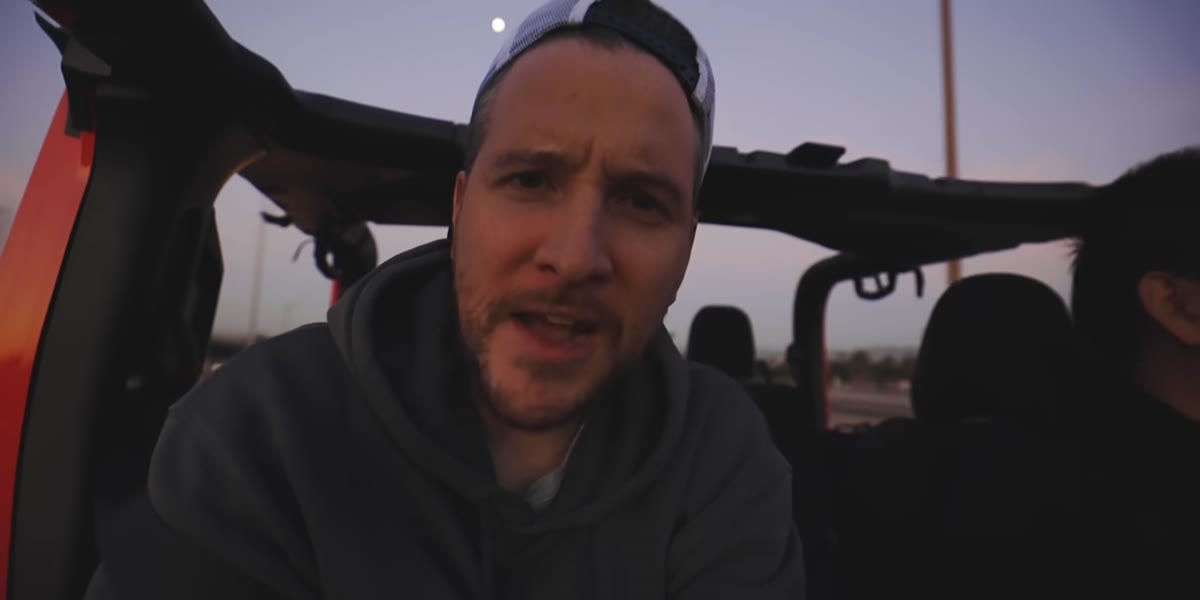 Peter filming handheld from moving Jeep at sunrise
Before you even pick up this lens, be honest about what you’re testing. Stabilization on a wide-angle is most useful when you’re moving, in low light, or both at the same time. McKinnon deliberately sets up a scenario that hits all three. He’s shooting handheld from a moving vehicle before sunrise, which is about as demanding a test as you can give an image stabilization system. If you want to evaluate whether a stabilized wide-angle actually helps your work, recreate your worst-case shooting condition, not your ideal one.
Peter filming handheld from moving Jeep at sunrise
Before you even pick up this lens, be honest about what you’re testing. Stabilization on a wide-angle is most useful when you’re moving, in low light, or both at the same time. McKinnon deliberately sets up a scenario that hits all three. He’s shooting handheld from a moving vehicle before sunrise, which is about as demanding a test as you can give an image stabilization system. If you want to evaluate whether a stabilized wide-angle actually helps your work, recreate your worst-case shooting condition, not your ideal one.
For most of us, that means a late golden hour walk, a handheld interior shot without a flash, or a vlog setup where you’re talking to camera while moving. Pick the scenario first, then evaluate the lens against it.
Step 2: Understand the Zoom Barrel Difference From Previous Versions
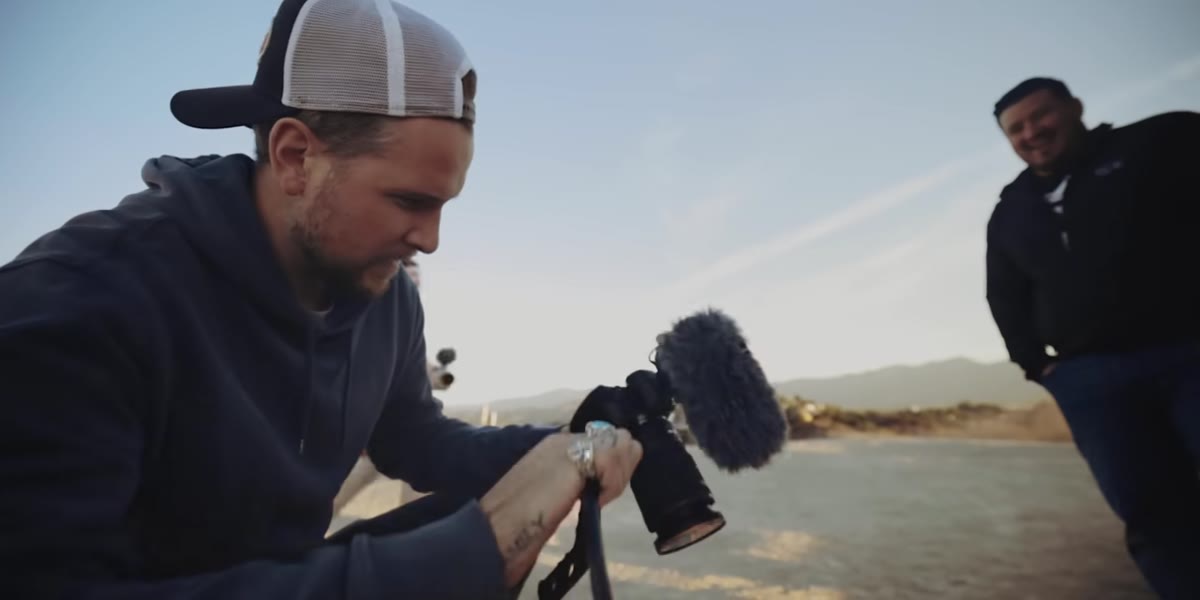 Close-up of lens barrel extended during zoom
McKinnon makes a point of flagging that the RF 15-35mm has an extending zoom barrel, unlike the older EF 16-35mm where the zoom was internal. This is not a minor thing if you’re shooting in dusty or sandy environments. During the shoot, he picks up significant sand in the barrel in under a minute of off-road driving with the lens exposed. The lens required a full compressed-air blowout afterward.
Close-up of lens barrel extended during zoom
McKinnon makes a point of flagging that the RF 15-35mm has an extending zoom barrel, unlike the older EF 16-35mm where the zoom was internal. This is not a minor thing if you’re shooting in dusty or sandy environments. During the shoot, he picks up significant sand in the barrel in under a minute of off-road driving with the lens exposed. The lens required a full compressed-air blowout afterward.
If you’re buying this lens for outdoor adventure work, landscape photography, or anything where you’re not shooting in a controlled environment, factor that in. An extending barrel collects debris. It doesn’t mean the lens is fragile, Canon builds this thing to pro standards, but you need to know what you’re dealing with before you’re standing on a windy ridge with nowhere to clean it.
Step 3: Shoot Into the Light to Evaluate Flare and Contrast Handling
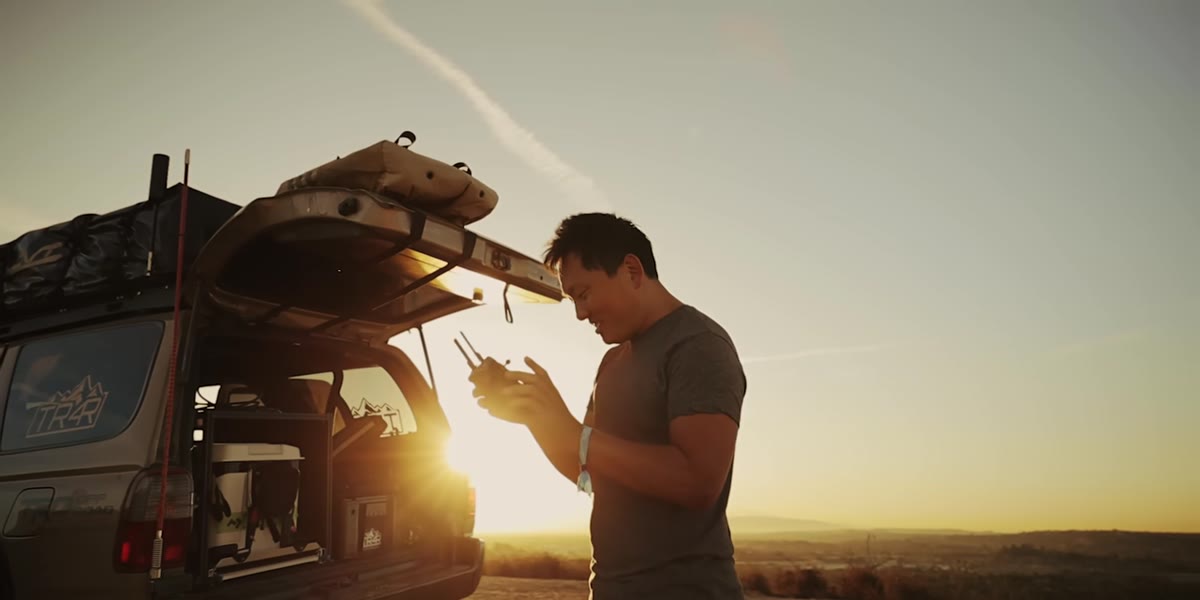 Wide landscape shot directly into California sunrise light
One of the most useful real-world tests McKinnon does here is shooting directly into the rising sun. Wide-angle lenses at sunrise or sunset are constantly fighting backlit situations, and how a lens handles flare and contrast retention tells you a lot about its optical coatings. He consistently shoots toward the light source and the footage holds contrast well without the washed-out, milky look that cheaper wide-angles produce in the same conditions.
Wide landscape shot directly into California sunrise light
One of the most useful real-world tests McKinnon does here is shooting directly into the rising sun. Wide-angle lenses at sunrise or sunset are constantly fighting backlit situations, and how a lens handles flare and contrast retention tells you a lot about its optical coatings. He consistently shoots toward the light source and the footage holds contrast well without the washed-out, milky look that cheaper wide-angles produce in the same conditions.
When you’re testing any wide-angle, especially one you plan to use for landscapes or video, shoot directly into a bright light source and look at the corners. That’s where cheap coatings fall apart first. A lens that holds contrast and color accuracy while shooting into the sun is earning its price.
Step 4: Test Stabilization Through Active, Handheld Motion
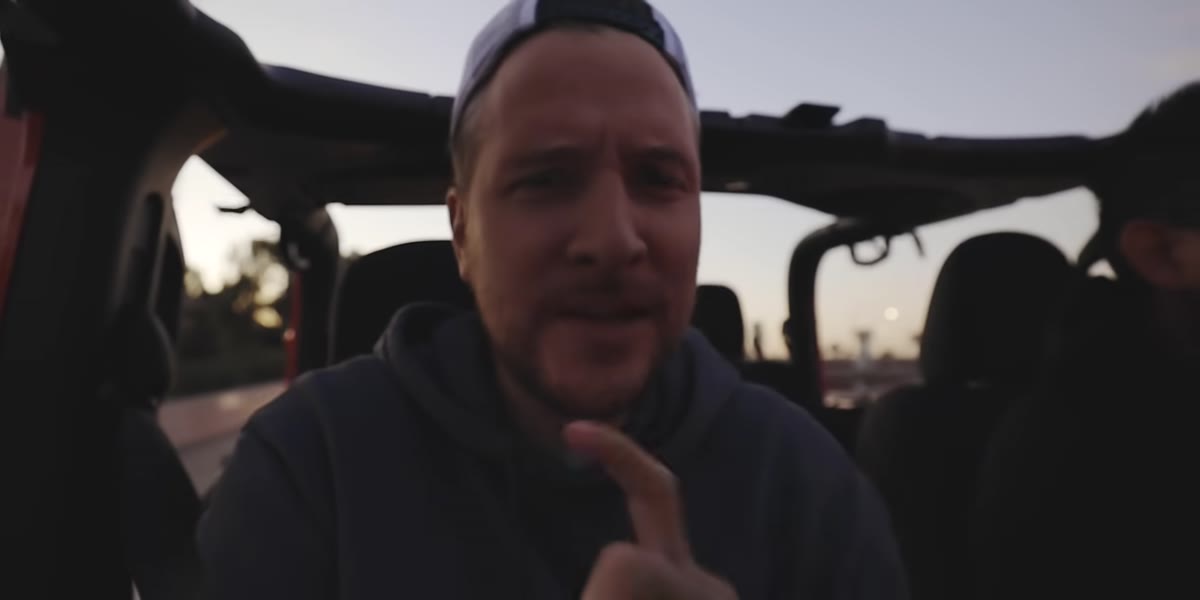 Handheld footage shot from moving vehicle without a rig
The whole point of optical stabilization on a wide-angle is to give you usable footage in situations where you’d normally need a gimbal or a tripod. McKinnon shoots handheld from the Jeep and on foot across the trail without any stabilizing rig. Watch the footage closely. At 15mm you’re working with a field of view wide enough that small movements are less obvious, but the stabilization here is doing real work in the bumpy off-road sections.
Handheld footage shot from moving vehicle without a rig
The whole point of optical stabilization on a wide-angle is to give you usable footage in situations where you’d normally need a gimbal or a tripod. McKinnon shoots handheld from the Jeep and on foot across the trail without any stabilizing rig. Watch the footage closely. At 15mm you’re working with a field of view wide enough that small movements are less obvious, but the stabilization here is doing real work in the bumpy off-road sections.
The practical takeaway is that if you’re a solo shooter who doesn’t want to carry a gimbal, this lens can cover situations where you’d otherwise need one. That’s a legitimate gear consolidation argument. A gimbal plus a non-stabilized lens versus one stabilized lens is a real tradeoff worth pricing out.
Step 5: Note the Low-Light and Golden Hour Performance
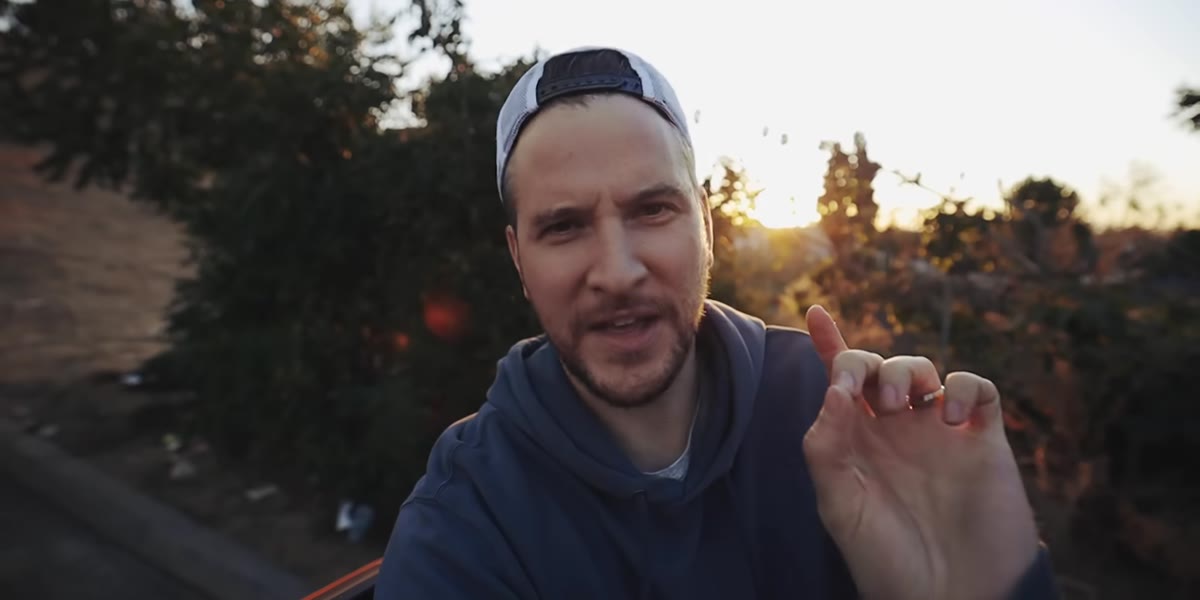 Trail footage shot in early morning before full sunrise
Before the sun fully rises, McKinnon is getting usable footage. Wide-angle and low-light are not always friendly partners, especially when you’re also asking for stabilization. The f/2.8 aperture gives him the light-gathering he needs, and the stabilization means he’s not compensating with a shutter speed so fast it negates the low-light advantage.
Trail footage shot in early morning before full sunrise
Before the sun fully rises, McKinnon is getting usable footage. Wide-angle and low-light are not always friendly partners, especially when you’re also asking for stabilization. The f/2.8 aperture gives him the light-gathering he needs, and the stabilization means he’s not compensating with a shutter speed so fast it negates the low-light advantage.
If you’re shooting at dawn, dusk, or indoors without flash, the combination of f/2.8 and optical stabilization on a single lens is genuinely useful. You’re not juggling as many variables. Set your aperture wide, let the stabilization handle the motion blur risk, and adjust ISO to taste.
My Budget-Conscious Take: What This Lens Actually Costs You
I’m not going to pretend the RF 15-35mm f/2.8 is an easy buy for most photographers. At its current street price, it’s a significant investment, and for Canon shooters earlier in their career it’s probably not the first lens you buy. But here’s what I think McKinnon’s vlog actually demonstrates that matters even if you’re not buying this specific lens.
Stabilization on a wide-angle changes your kit weight and complexity in ways that compound over a day of shooting. If you’re already shooting RF mount and you’re renting lenses for specific projects, this one is worth putting on your rental list before committing to a purchase. Rent it for a weekend shoot in mixed conditions and see if it actually reduces your rig. I’ve found that lenses which look expensive in isolation sometimes replace two or three other pieces of gear you were already buying, and that’s where the real value calculation lives.
The single clearest lesson from McKinnon’s shoot is this: stabilization on a wide-angle lens isn’t a luxury feature for tripod shooters. It’s an active tool that changes how and where you can shoot, and if your work regularly puts you in moving, low-light, or handheld situations, it earns its place faster than any spec sheet will tell you.
Watch the full tutorial on YouTube to see the actual footage and hear McKinnon’s full breakdown of how the lens performed across the shoot.
Comments
Leave a Comment