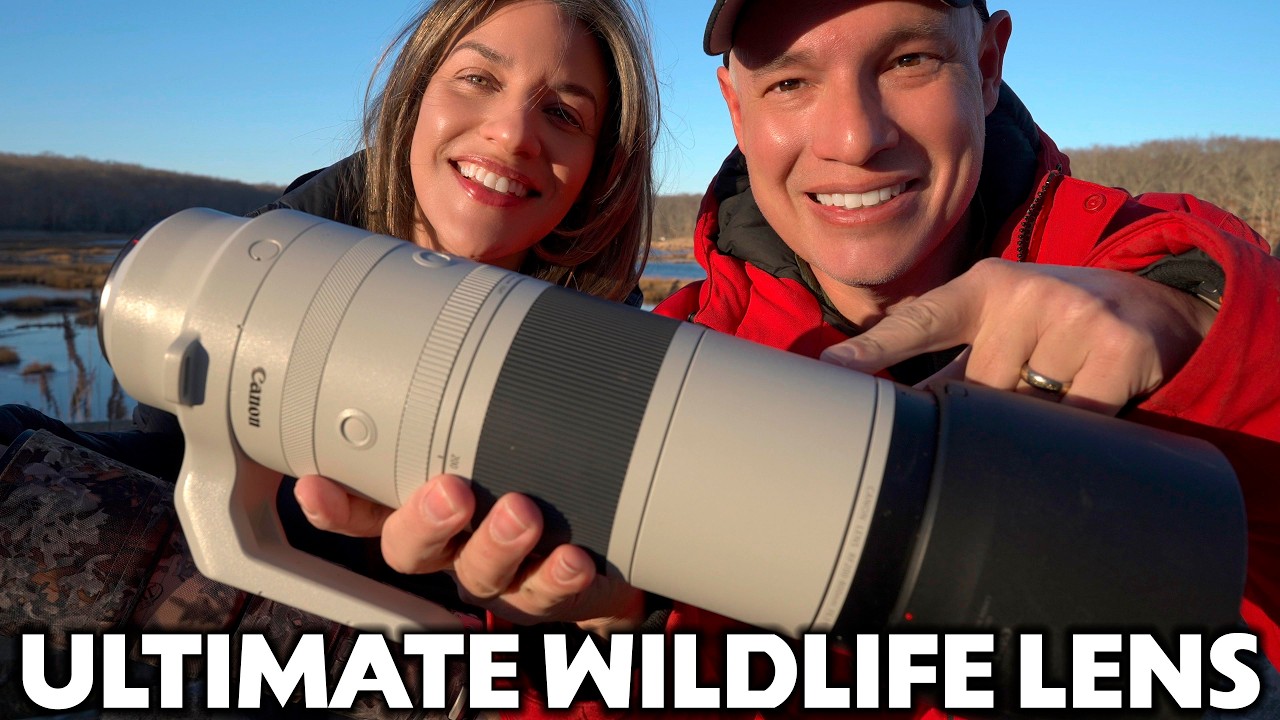
I’ve been down the wildlife lens rabbit hole more times than I care to admit. Every time I think I’ve landed on the right setup, something new drops and the math changes. The tension I keep running into is this: do you buy a dedicated super-telephoto zoom and be done with it, or do you stack a solid mid-range zoom with a teleconverter and call it good? That question has a real cost attached to it, and for Canon shooters especially, it’s been frustratingly hard to answer because the options until recently were either too short or too expensive.
In this Tony and Chelsea Northrup tutorial, they take the brand-new Canon 200-800mm out into the field for a proper shootout against three serious competitors: the Sony 200-600mm (their previous top pick from an earlier wildlife zoom comparison), the Canon 100-500mm paired with a 1.4x teleconverter, and the Canon 600mm f/4 prime, which runs around $13,000. That last comparison is for anyone actually weighing a zoom against a flagship prime, which is a real conversation people have. Watch the full tutorial on YouTube if you want to see the raw footage and test charts yourself. What follows is a breakdown of what they tested, how they tested it, and what it means if you’re shopping right now.
Step 1: Understand What You’re Actually Holding
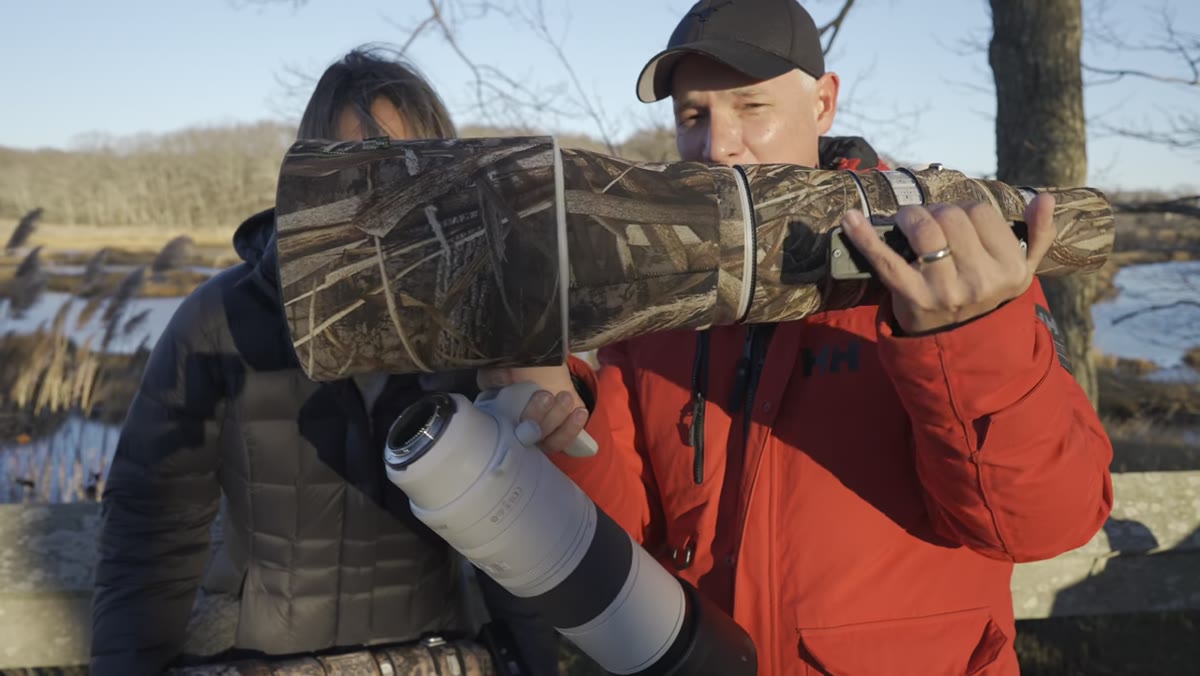
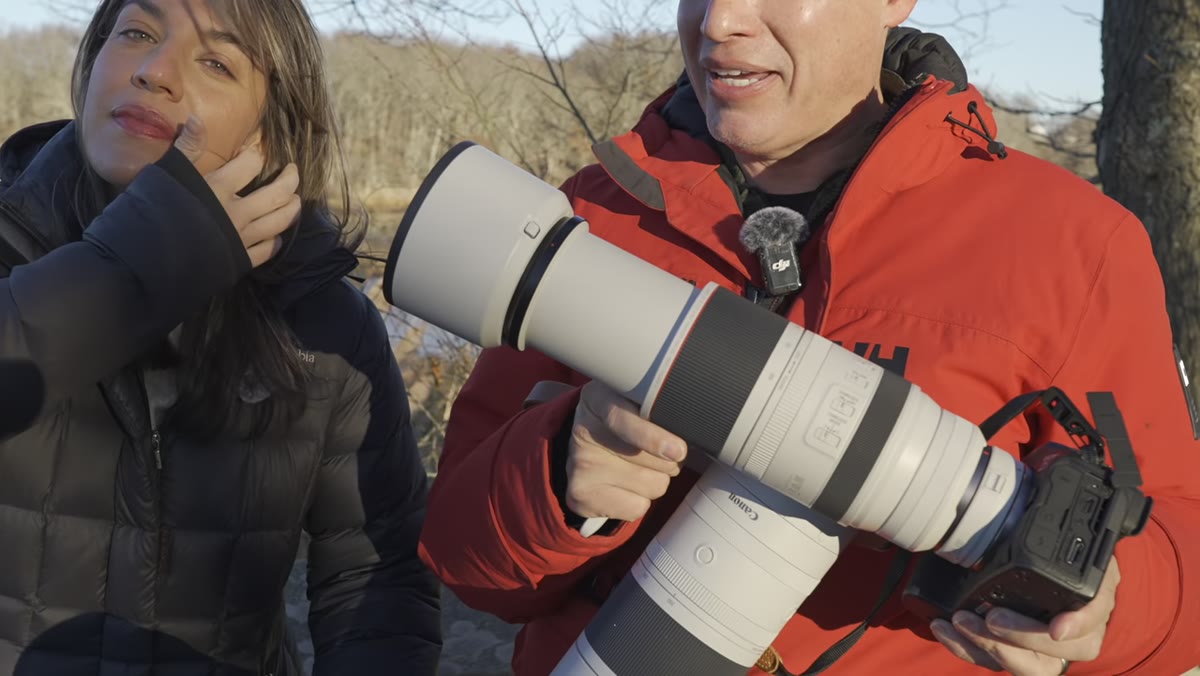 Tony holding the Canon 200-800mm lens outdoors in cold weather
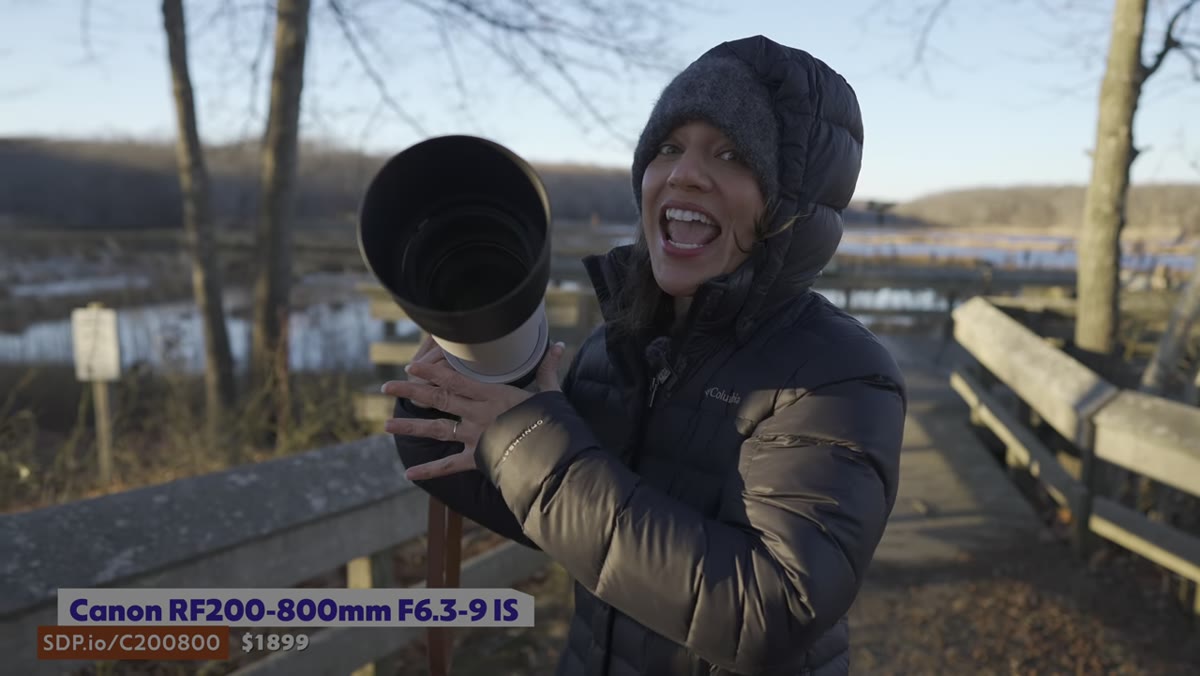
Before any test results matter, you need to understand the physical reality of the Canon 200-800mm. Tony and Chelsea lead with build and handling, which is the right call because a lens you can’t comfortably operate in the field is a liability regardless of its optical specs. The 200-800mm is described as surprisingly light given its size, particularly when zoomed in. That’s not a small thing when you’re hand-holding at 800mm or shooting from a kayak.
Tony holding the Canon 200-800mm lens outdoors in cold weather
Before any test results matter, you need to understand the physical reality of the Canon 200-800mm. Tony and Chelsea lead with build and handling, which is the right call because a lens you can’t comfortably operate in the field is a liability regardless of its optical specs. The 200-800mm is described as surprisingly light given its size, particularly when zoomed in. That’s not a small thing when you’re hand-holding at 800mm or shooting from a kayak.
There’s also a zoom resistance adjustment on the barrel that lets you switch between a tighter, more resistant zoom action and a smoother, faster one. In fast-moving wildlife situations, the tight setting can actually slow you down because you may need to reposition your grip mid-zoom. Switching to smooth mode fixes that, but it takes some wrist control to keep from overshooting your focal length. Worth practicing before you’re on the water with birds moving at speed.
Step 2: Know the Focal Shrink Issue Before It Surprises You
 On-screen text or diagram illustrating 800mm vs effective focal length at minimum focus distance
This is the kind of detail that rarely makes it into spec sheets but matters constantly in practice. When the 200-800mm is zoomed to its maximum 800mm and you’re shooting at or near the minimum focusing distance, the effective focal length drops closer to 600mm. This is a physics phenomenon called focal breathing or focal reduction under close focus, not a flaw unique to Canon, but it’s relevant if you’re planning to use this lens for subjects at shorter distances.
On-screen text or diagram illustrating 800mm vs effective focal length at minimum focus distance
This is the kind of detail that rarely makes it into spec sheets but matters constantly in practice. When the 200-800mm is zoomed to its maximum 800mm and you’re shooting at or near the minimum focusing distance, the effective focal length drops closer to 600mm. This is a physics phenomenon called focal breathing or focal reduction under close focus, not a flaw unique to Canon, but it’s relevant if you’re planning to use this lens for subjects at shorter distances.
Tony and Chelsea demonstrate this with extension tubes, showing what true 800mm rendering looks like versus the compressed version you get at minimum focus distance. The practical takeaway: for distant birds or animals, you’re getting the full reach. For closer subjects, adjust your expectations or step back if your shooting position allows it.
Step 3: Compare It to the Canon 100-500mm Plus Teleconverter Combo
 Side-by-side of Canon 100-500mm with teleconverter attached next to Canon 200-800mm
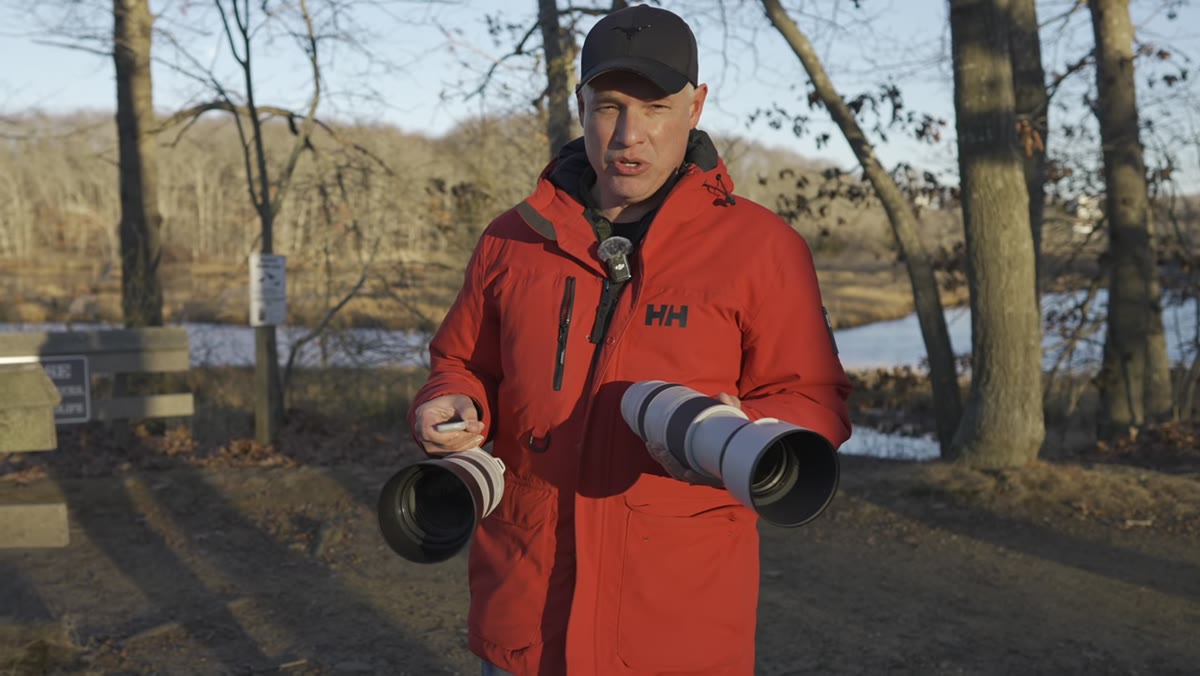
Chelsea mentions using the 100-500mm with a 1.4x teleconverter as her regular wildlife setup before this lens existed, and that combo has genuinely been a popular workaround. It gets you to 700mm equivalent with solid sharpness, and the 100-500mm on its own is a well-regarded lens. But the teleconverter creates one hard limitation: once attached, you can’t zoom back below 300mm because the converter physically blocks the rear optics from retracting. That kills your flexibility if a subject moves closer suddenly.
Side-by-side of Canon 100-500mm with teleconverter attached next to Canon 200-800mm
Chelsea mentions using the 100-500mm with a 1.4x teleconverter as her regular wildlife setup before this lens existed, and that combo has genuinely been a popular workaround. It gets you to 700mm equivalent with solid sharpness, and the 100-500mm on its own is a well-regarded lens. But the teleconverter creates one hard limitation: once attached, you can’t zoom back below 300mm because the converter physically blocks the rear optics from retracting. That kills your flexibility if a subject moves closer suddenly.
Their sharpness test using a Canon R5 Mark II shows that without the teleconverter, if you’re cropping the 100-500mm image to match 800mm framing, the 200-800mm delivers noticeably more detail. But here’s the honest part: if you’re willing to use the teleconverter, the two setups come out roughly equivalent in sharpness, and in some test frames the 100-500mm combo even edges ahead slightly. So if you already own the 100-500mm and a 1.4x teleconverter, you are not leaving significant image quality on the table. The 200-800mm wins on convenience and flexibility, not on a dramatic optical gap.
Step 4: Run the Cross-Brand Comparison Against the Sony 200-600mm
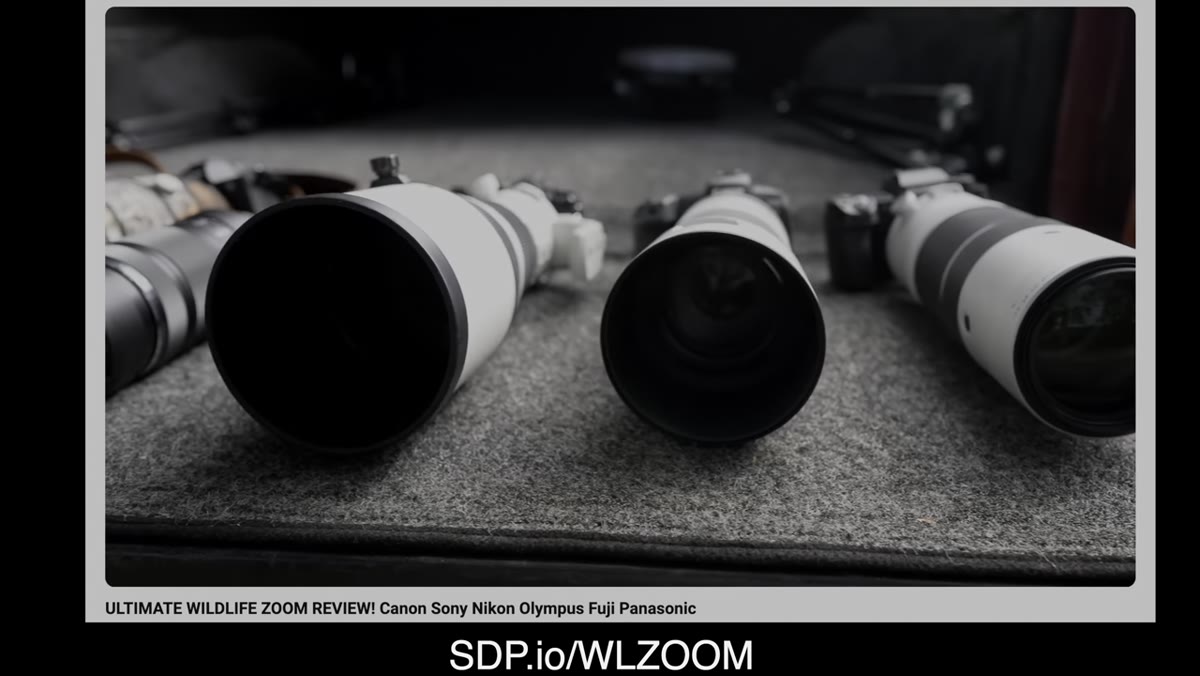 Tony and Chelsea with Canon and Sony lenses side by side outdoors
The Sony 200-600mm was their previous recommendation for wildlife super-zoom, and they’re not shy about putting it directly against the Canon here. This comparison matters for two reasons. First, it tells Canon shooters whether the new lens actually outperforms the benchmark that pushed Sony as a system for wildlife work. Second, it’s an honest acknowledgment that system loyalty shouldn’t override optical reality.
Tony and Chelsea with Canon and Sony lenses side by side outdoors
The Sony 200-600mm was their previous recommendation for wildlife super-zoom, and they’re not shy about putting it directly against the Canon here. This comparison matters for two reasons. First, it tells Canon shooters whether the new lens actually outperforms the benchmark that pushed Sony as a system for wildlife work. Second, it’s an honest acknowledgment that system loyalty shouldn’t override optical reality.
The tutorial works through sharpness and reach comparisons between the two. The Canon’s 800mm ceiling gives it an obvious reach advantage over the Sony’s 600mm maximum. Whether that translates to better images depends heavily on your subject distance and your willingness to crop. For shooters already in the Sony ecosystem, the results here aren’t going to make you feel like you’re missing out. For Canon shooters, the 200-800mm now gives you a competitive native option that no longer requires looking across the aisle.
Step 5: Weigh It Against the Canon 600mm f/4 Prime
 Canon 600mm f/4 prime lens positioned next to Canon 200-800mm zoom
The f/4 prime comparison is partly a thought experiment and partly a real question for photographers at a certain level of commitment. The 600mm f/4 runs around $13,000. The 200-800mm is a fraction of that. Tony raises this directly for anyone weighing the two options, particularly given that the zoom actually reaches 800mm, making it technically longer than the prime.
Canon 600mm f/4 prime lens positioned next to Canon 200-800mm zoom
The f/4 prime comparison is partly a thought experiment and partly a real question for photographers at a certain level of commitment. The 600mm f/4 runs around $13,000. The 200-800mm is a fraction of that. Tony raises this directly for anyone weighing the two options, particularly given that the zoom actually reaches 800mm, making it technically longer than the prime.
What the prime gives you is maximum sharpness, a wider aperture for low light and subject separation, and the build quality that justifies a professional rental or ownership investment. What the zoom gives you is range, portability, and accessibility. These are genuinely different tools for different use cases, but the fact that they’re even in the same conversation says something real about where zoom lens quality has landed.
My Take: Flexibility Beats Perfection When You’re Actually Shooting
I’ve tested enough gear to know that the lens you have with you at the right moment beats the lens you left home because it was too heavy or too fiddly to configure mid-shoot. The teleconverter limitation on the 100-500mm combo is exactly the kind of friction that costs you shots. You’re fiddling with glass while the heron takes off. The 200-800mm removes that friction entirely with a continuous zoom range and no add-ons required.
For photographers who are just getting into wildlife work and building a Canon RF kit from scratch, this lens closes a gap that used to push people toward Sony. That’s the real story here, not that it beats every competitor on a test chart, but that it removes a legitimate reason to switch systems.
The single most important thing this tutorial confirms is that the Canon 200-800mm earns its place not by being perfect, but by being the most practical wildlife zoom Canon has ever made at this price point. Flexibility in the field has compounding value that no spec sheet captures.
Watch the full tutorial on YouTube to see the actual test chart comparisons and sample wildlife images that back up everything covered here.
Comments (2)
Would love to see a follow-up going deeper into this topic.
Solid advice. Especially the part about taking your time with it.
Leave a Comment