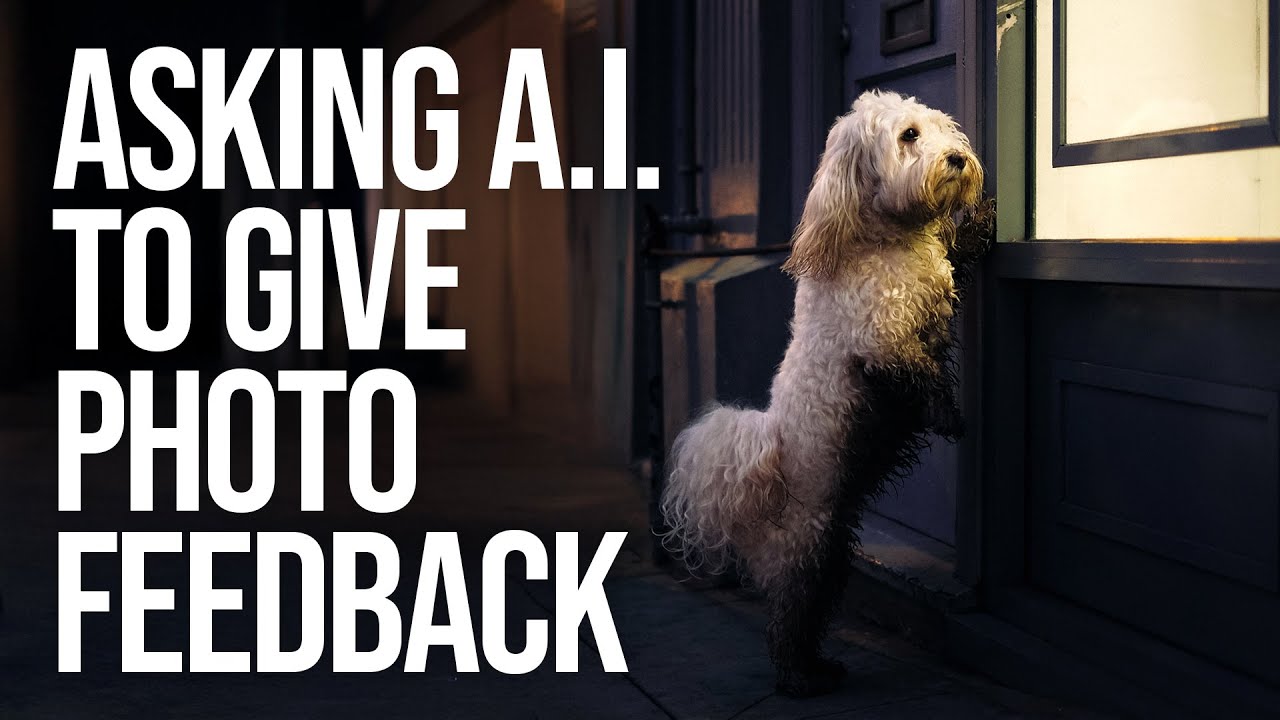
Getting honest feedback on your photos is one of the hardest parts of improving as a photographer. Most working photographers don’t have time to review your portfolio for free, and the ones who charge for it aren’t always worth the cost. I’ve been shooting long enough to know that the gap between “I think this image is good” and “this image is actually good” can be enormous, and without someone experienced telling you which side of that gap you’re on, you can spin your wheels for years. That problem doesn’t go away just because you get better, either. I still second-guess edits and compositions all the time.
That’s why I was genuinely interested when I came across this Sean Tucker tutorial where he uploads his own street photography to ChatGPT and asks it for a real critique. Watch the full tutorial on YouTube. Tucker isn’t a wide-eyed AI booster here. He’s skeptical, structured, and honest about where the tool falls flat, which is exactly the kind of framing I can work with. What follows is a breakdown of his process and how you can replicate it yourself.
Step 1: Start With the Free Version of ChatGPT
You don’t need a paid subscription to try this. Tucker runs the entire first test inside the free tier of ChatGPT on desktop. Open your browser, go to chat.openai.com, and log in or create a free account. That’s it. No plugins, no third-party tools, no API keys. The free version supports image uploads, which is the feature you actually need here.
If you’ve been putting this off because you assumed AI feedback required some expensive setup, stop waiting. The barrier to entry is zero dollars.
Step 2: Upload Your Image Using the Attachment Button
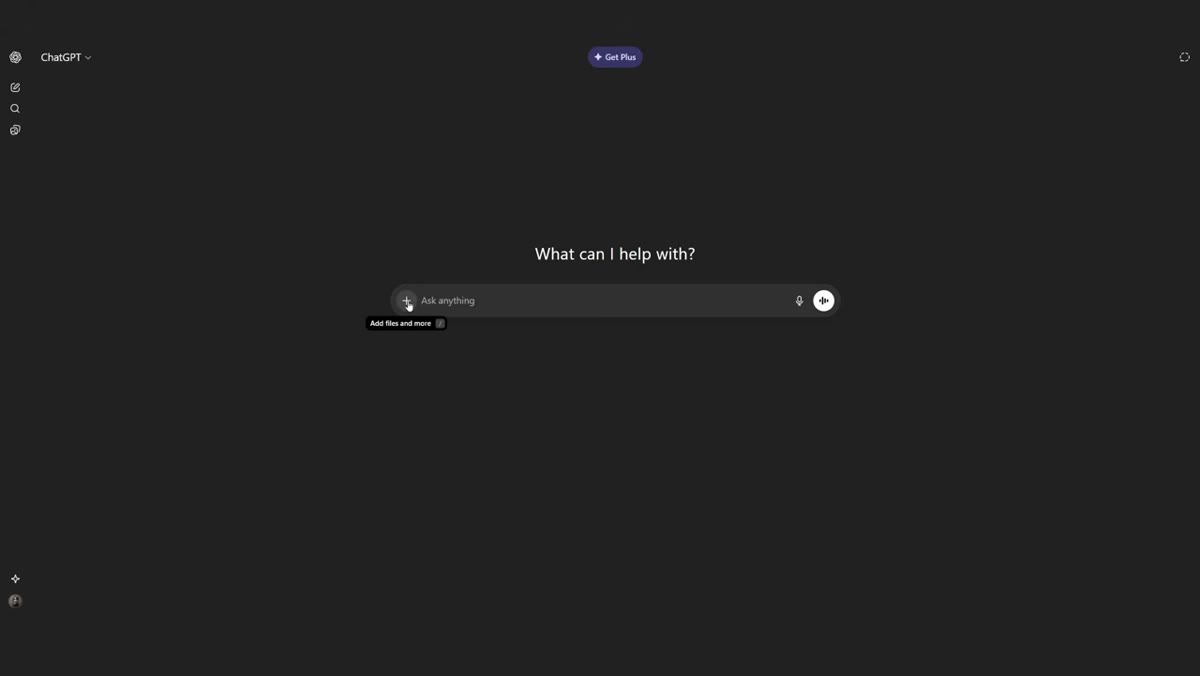 Clicking the plus button to attach an image file
In the ChatGPT chat window, look for the small plus icon next to the text input field. Click it, choose “Upload from computer,” and select the photo you want critiqued. Tucker grabs a street photo of a dog waiting outside a shop, a candid moment with mixed artificial and natural light. It’s a real-world image with genuine compositional decisions, not a test chart.
Clicking the plus button to attach an image file
In the ChatGPT chat window, look for the small plus icon next to the text input field. Click it, choose “Upload from computer,” and select the photo you want critiqued. Tucker grabs a street photo of a dog waiting outside a shop, a candid moment with mixed artificial and natural light. It’s a real-world image with genuine compositional decisions, not a test chart.
Pick a photo you actually care about, not your strongest or weakest shot. Choose something you’re genuinely uncertain about. That’s where the feedback will be most useful.
Step 3: Write a Simple Prompt, Not a Fancy One
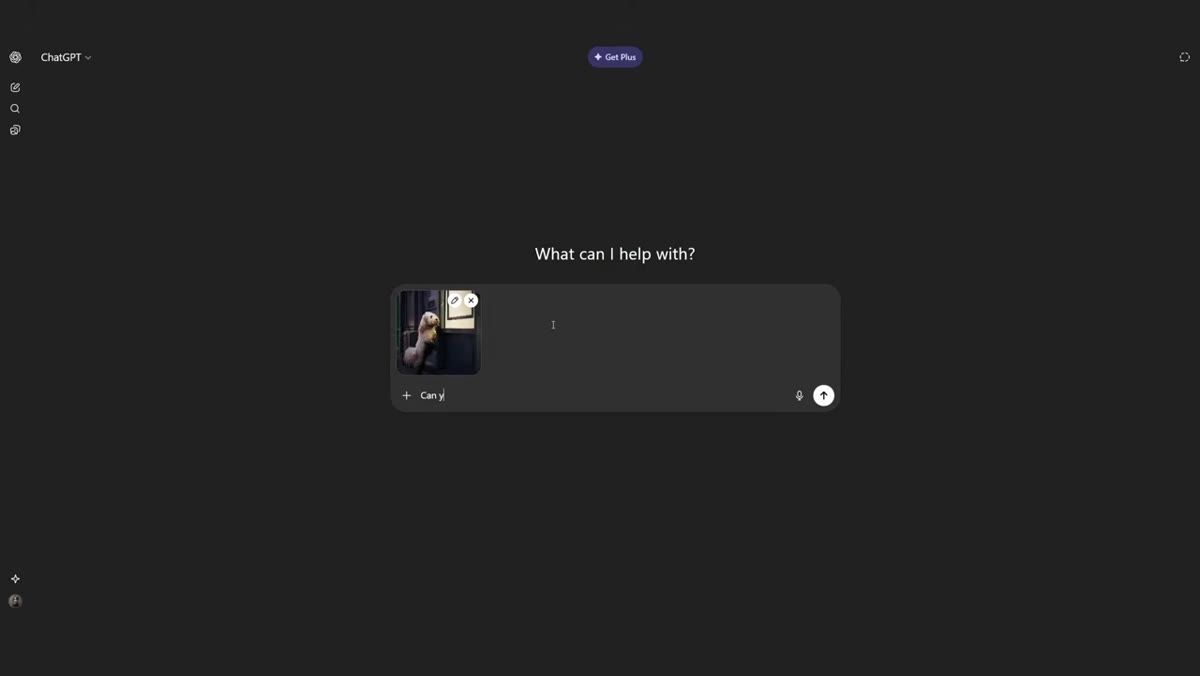 Typing a basic critique prompt into the ChatGPT text box
Tucker’s first prompt is intentionally basic: he asks ChatGPT to share its thoughts on the image and give notes for improvement. No elaborate instruction, no persona-setting, no word count requests. Just a plain question.
Typing a basic critique prompt into the ChatGPT text box
Tucker’s first prompt is intentionally basic: he asks ChatGPT to share its thoughts on the image and give notes for improvement. No elaborate instruction, no persona-setting, no word count requests. Just a plain question.
The response comes back in seconds and covers mood, composition, lighting quality, and color depth. It correctly identifies that the dog is placed off-center in a way that follows the rule of thirds, and it notes that warm indoor light is playing against cooler ambient street light. Whether Tucker planned that or not, the AI saw it and named it. That alone is useful, because it can confirm intentions you weren’t fully conscious of making.
Step 4: Read the Critique Critically, Not Defensively
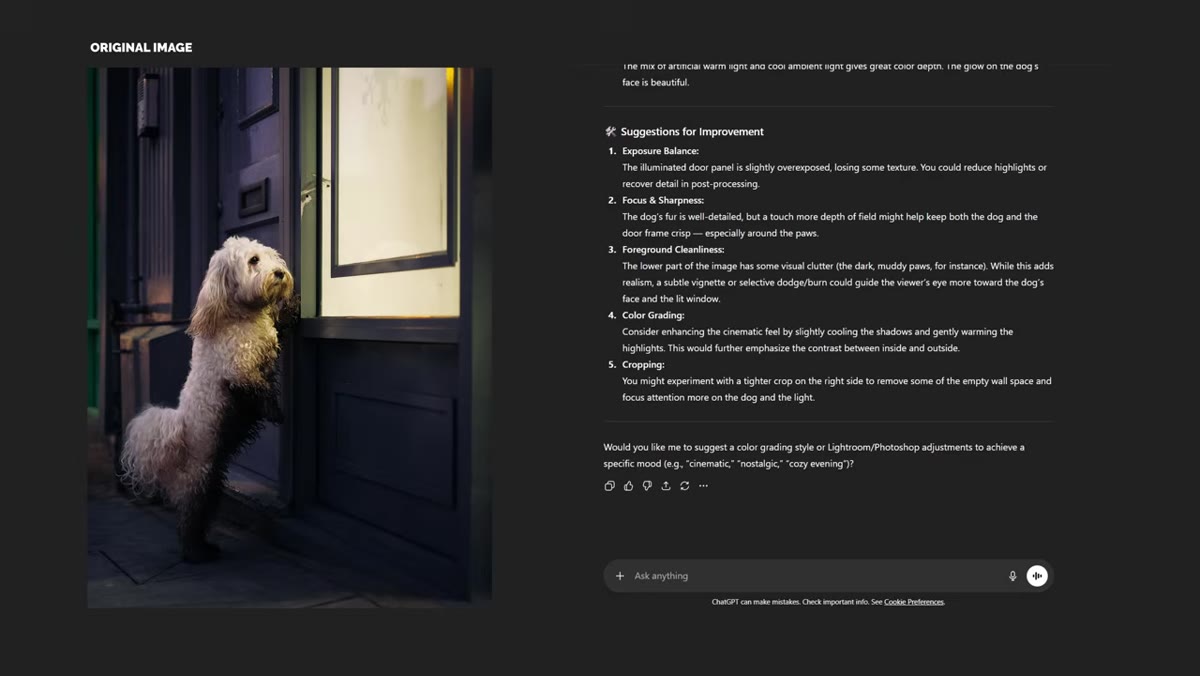 ChatGPT critique displayed with strengths and improvement sections
The response Tucker receives is structured into strengths and suggestions for improvement. One suggestion flags that a bright door panel in the image is slightly overexposed, causing texture loss in the highlights. That’s a legitimate technical observation. Another note suggests exploring a tighter crop to strengthen the subject-to-frame relationship.
ChatGPT critique displayed with strengths and improvement sections
The response Tucker receives is structured into strengths and suggestions for improvement. One suggestion flags that a bright door panel in the image is slightly overexposed, causing texture loss in the highlights. That’s a legitimate technical observation. Another note suggests exploring a tighter crop to strengthen the subject-to-frame relationship.
Not every point will land. Tucker is upfront that some of the feedback felt generic or didn’t quite apply. The skill here is reading the output like you’d read notes from a mentor, taking what’s useful, ignoring what isn’t, and not letting a vague suggestion shake your confidence in a decision you made deliberately. AI feedback is a starting point, not a verdict.
Step 5: Iterate With Follow-Up Prompts
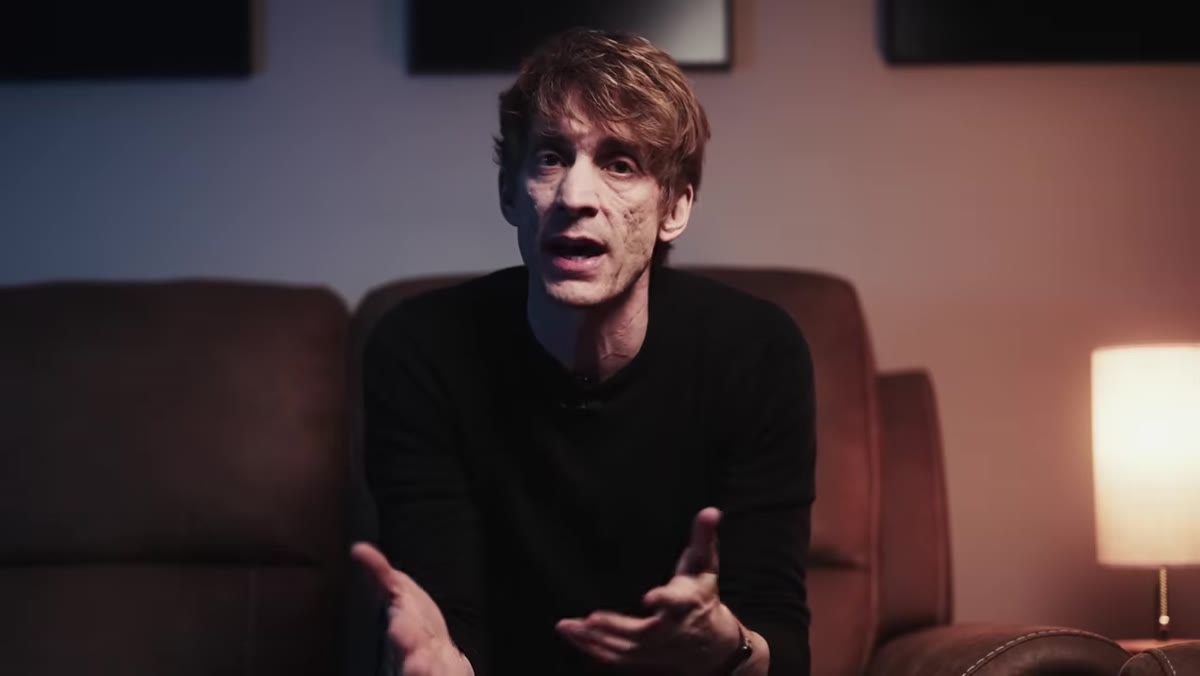 Tucker describing how to refine the AI conversation with context
One thing Tucker emphasizes is that a single prompt is rarely the whole conversation. If an AI suggestion doesn’t make sense, push back or ask for clarification. You can type something like “I composed it that way intentionally to leave negative space on the left. Does that change your assessment?” and the model will engage with your reasoning.
Tucker describing how to refine the AI conversation with context
One thing Tucker emphasizes is that a single prompt is rarely the whole conversation. If an AI suggestion doesn’t make sense, push back or ask for clarification. You can type something like “I composed it that way intentionally to leave negative space on the left. Does that change your assessment?” and the model will engage with your reasoning.
This back-and-forth is where the tool earns its keep. It stops being a static comment and starts functioning more like a discussion with someone who has read every photography textbook ever written, even if they’ve never actually stood on a street corner at golden hour trying to nail a candid shot.
Step 6: Use More Specific Prompts for Deeper Feedback
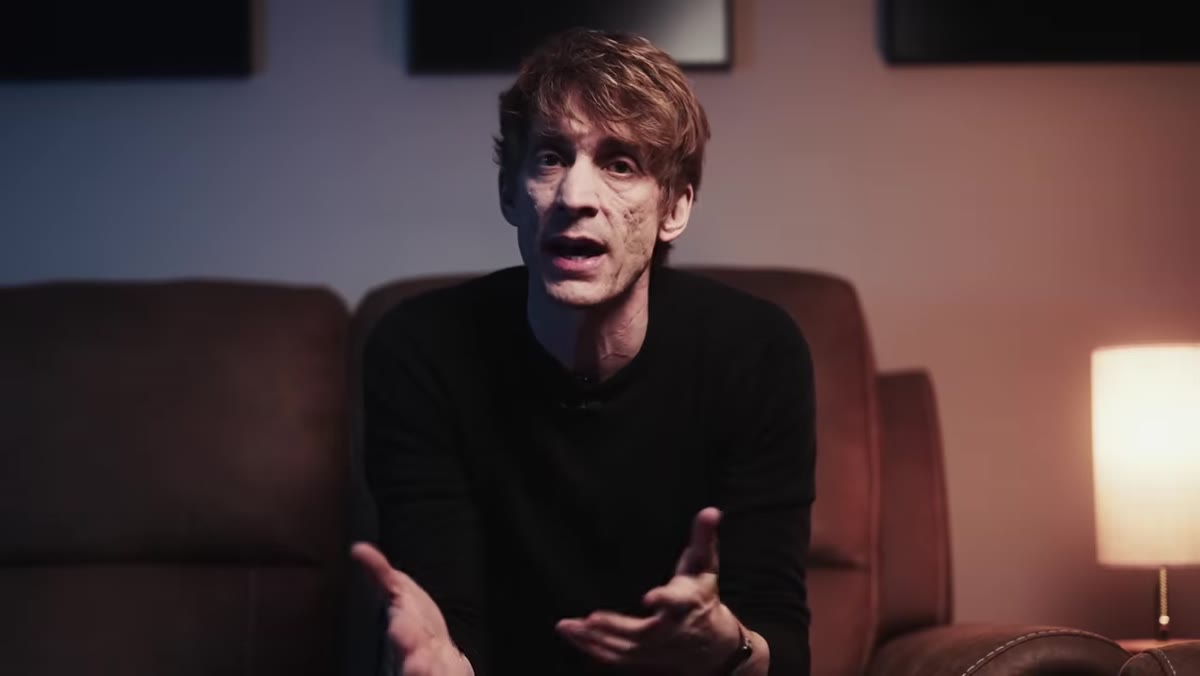 Tucker explaining prompt strategy in the second half of the video
In the second half of the tutorial, Tucker shares how to sharpen your prompts once you’ve seen what a basic one returns. Instead of “give me feedback,” try something like: “Critique this image from the perspective of a street photographer focused on decisive moment and emotional resonance. Be specific about what is and isn’t working compositionally.” The more context you give, the less generic the response.
Tucker explaining prompt strategy in the second half of the video
In the second half of the tutorial, Tucker shares how to sharpen your prompts once you’ve seen what a basic one returns. Instead of “give me feedback,” try something like: “Critique this image from the perspective of a street photographer focused on decisive moment and emotional resonance. Be specific about what is and isn’t working compositionally.” The more context you give, the less generic the response.
You can also specify the style or era of photography you’re working toward. If you’re shooting in the tradition of Vivian Maier or fan of high-contrast black and white reportage, say so. The model will calibrate its feedback to that reference frame rather than defaulting to broad advice about “warm tones and cozy atmosphere.”
What I’d Add From My Own Experience
I’ve run my own tests with ChatGPT on images ranging from budget lens comparisons to travel shots, and my honest take is that AI critique is most valuable for technical feedback and least valuable for artistic judgment. It will reliably catch blown highlights, awkward horizon lines, and distracting background elements. It will rarely tell you whether a photo has soul.
That maps directly to where most photographers actually need help when they’re early in their development. The technical stuff is learnable and correctable. The artistic intuition develops over time and through experimentation, not through AI feedback loops. Use this tool to tighten up the fundamentals so your eye can focus on the harder work.
The single most useful thing Tucker demonstrates here is that getting feedback no longer requires knowing the right people or paying for a formal review. You can upload a photo right now, get a structured critique in under a minute, and walk away with at least two or three concrete things to think about. That’s a genuinely useful shift, especially if you’re shooting regularly and improving fast.
Watch the full tutorial on YouTube to see Tucker’s actual images, the full AI responses, and his honest assessment of where the tool falls short. It’s worth the 20 minutes.
Comments (1)
Been doing this wrong for years apparently. Thanks for the wake-up call.
Leave a Comment